Let’s be honest—remodeling a bathroom seems fun until you check your bank account.
But here’s the good news: you don’t need a big budget to make a small bathroom shine. A limited budget can spark creativity, often leading to better, more personal results.
I learned this when I remodeled my tiny bathroom last year.
I had big dreams but a small budget. The key? Smart planning, some DIY spirit, and knowing where to splurge and where to save.
So, if you want to turn your small bathroom into a stylish, functional space without overspending, let’s go through the plan together.
Step 1: Start with a Clear Budget & Priorities
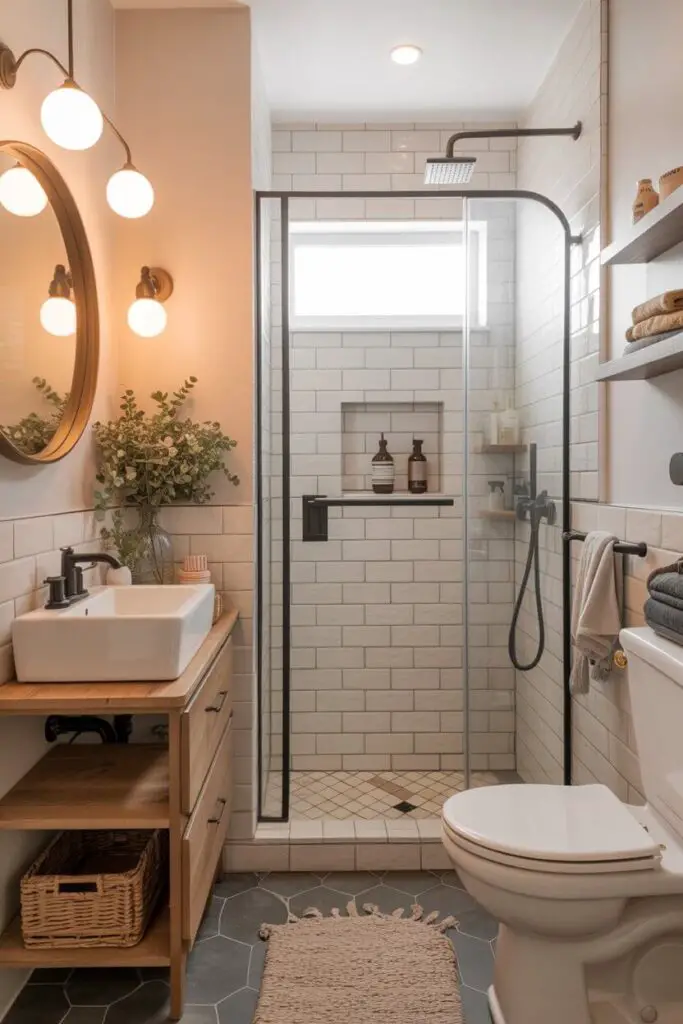
Before you start knocking down walls (or daydreaming about gold taps), you need to set a realistic budget.
Decide What Matters Most
Ask yourself:
- Do I want to improve the look or functionality more?
- Will I keep the same layout to save money?
- Are there must-haves I can’t compromise on?
When I remodeled mine, my top priorities were better storage and modern finishes. Fancy rainfall shower? Tempting. But my wallet said, “Maybe next decade.”
Factor in Hidden Costs
Even in a small bathroom, costs creep up. Account for:
- Plumbing adjustments
- Electrical updates (hello, safe lighting!)
- Waterproofing repairs
Tip: Always keep about 10–15% of your budget as a contingency. Something always pops up.
Step 2: Keep the Layout the Same
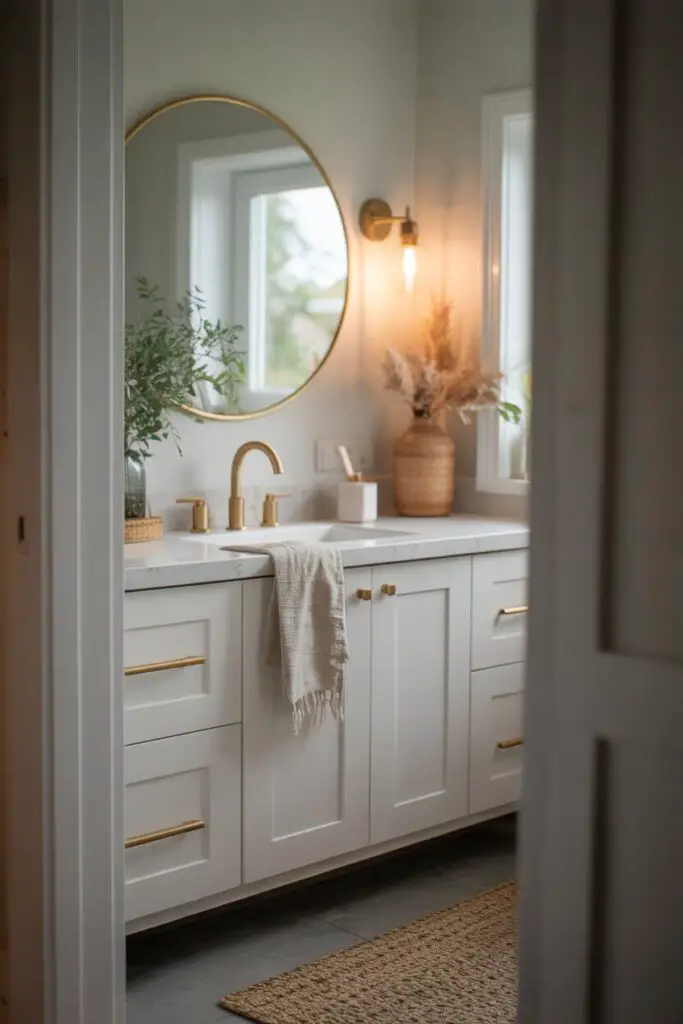
Changing where the sink, toilet, or shower is? That’s basically a one-way ticket to Budget-Bust Town.
Why Layout Consistency Saves Big
- Plumbing: Moving pipes is expensive.
- Electrical: Relocating outlets or fixtures adds labor and parts costs.
- Time: The more you move, the longer it takes.
When I left everything where it was, I cut at least a third of the potential cost right there.
Step 3: Refresh, Don’t Replace (When You Can)
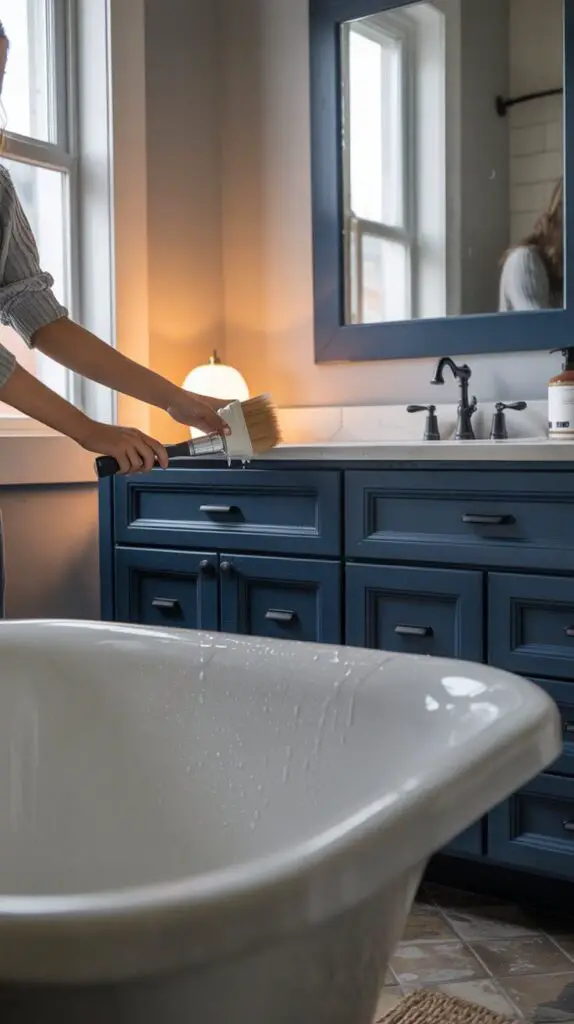
Full replacements eat your budget fast. But a little TLC can make old fixtures look new.
Ways to Refresh Without Big Spending
- Refinish your tub or shower instead of ripping it out.
- Repaint or re-stain cabinets for an instant facelift.
- Swap out hardware (handles, knobs) for stylish, budget-friendly upgrades.
FYI: I kept my existing vanity but gave it a new coat of navy paint and added matte black handles. It now looks custom—and cost under $50.
Step 4: Choose Budget-Friendly Materials That Still Look Luxe
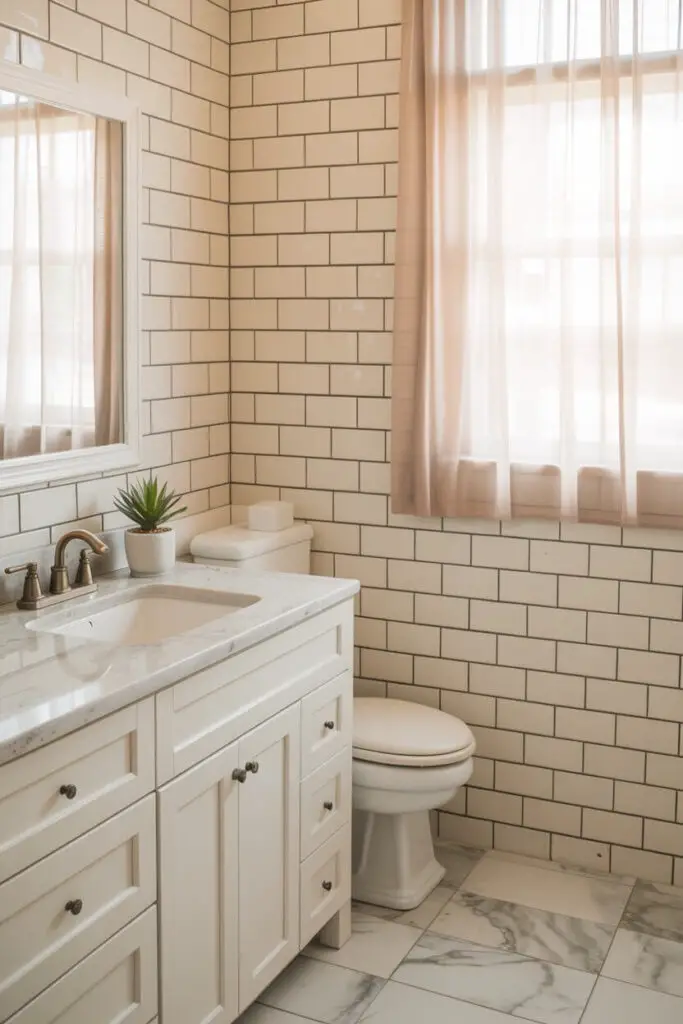
This is where you get creative. Expensive doesn’t always mean better-looking.
Affordable Alternatives
- Laminate countertops with stone-look finishes
- Luxury vinyl tile (LVT) that mimics ceramic or marble
- Ceramic subway tile instead of pricier glass or porcelain options
IMO, the right grout color with budget tile can make it look way more expensive than it is.
Step 5: Go Big on Paint & Lighting
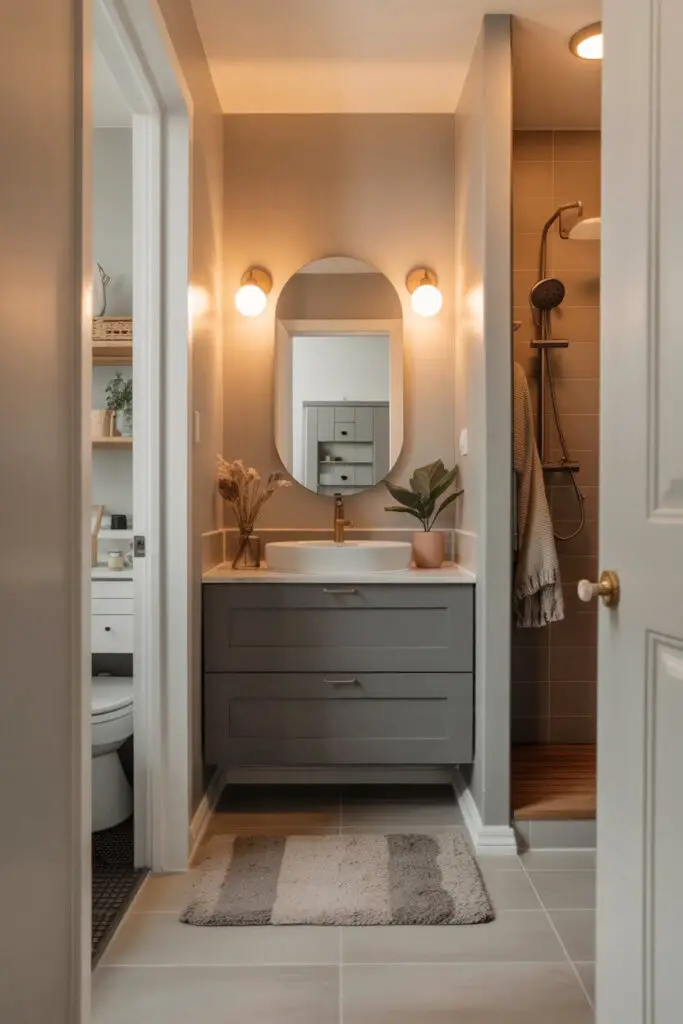
When space is small, paint and lighting are your MVPs.
Paint Tricks for Small Bathrooms
- Use light, neutral colors to make the space feel open.
- Dark accents can still work—just balance them with lighter surroundings.
- Don’t forget moisture-resistant paint for durability.
Lighting Tips
- Replace harsh overhead lights with warm, diffused lighting.
- Add mirror lighting for function and style.
- Consider LED fixtures to save energy and money long-term.
When I switched to warm LED vanity lights, my bathroom instantly felt like a spa (minus the cucumber water).
Step 6: Focus on Statement Details
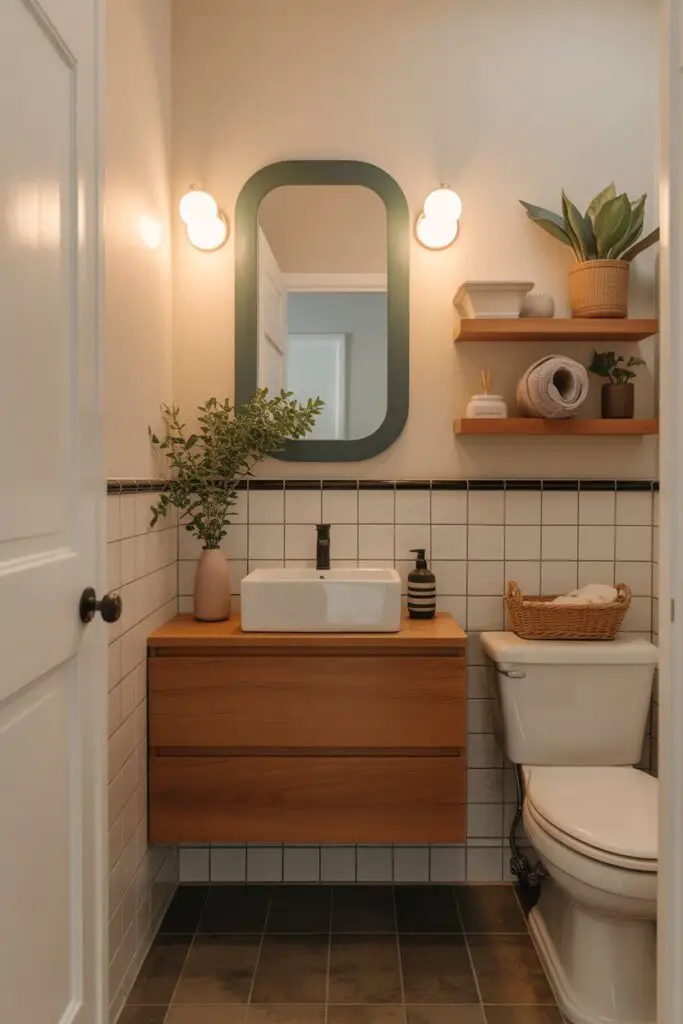
Small bathrooms benefit from just one or two statement moments.
Ideas for a Budget-Friendly “Wow” Factor
- An accent wall with patterned tile or wallpaper
- A bold-framed mirror above the vanity
- Unique towel hooks or shelves that double as art
I went with a geometric black-and-white tile wall behind my mirror. People notice it before they notice the space is small.
Step 7: Maximize Storage Creatively
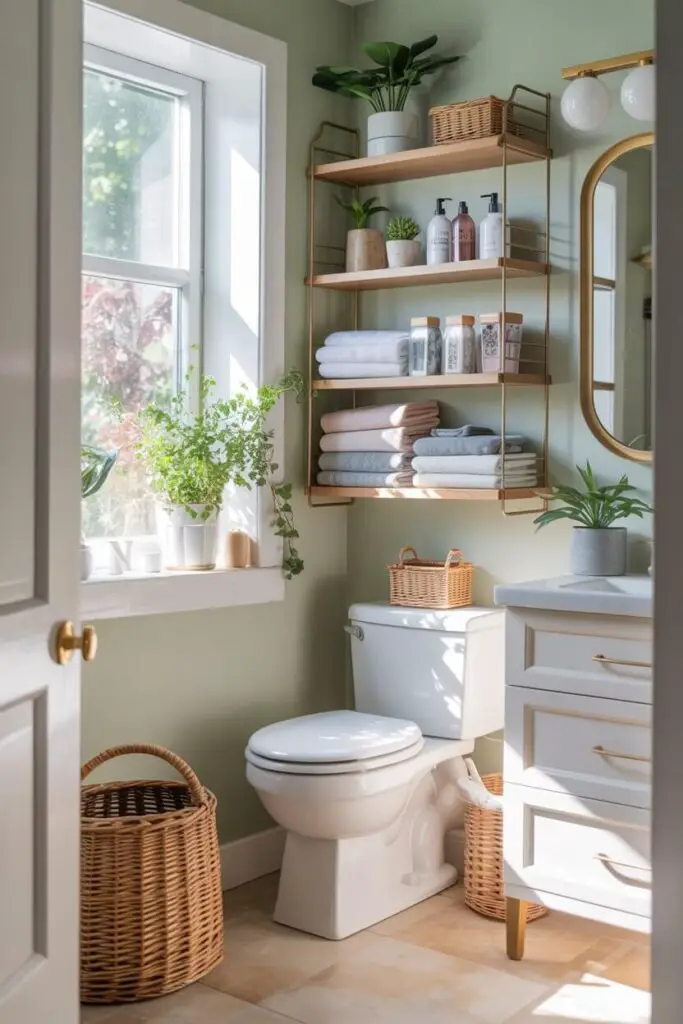
In small bathrooms, storage isn’t optional—it’s survival.
Smart Storage Solutions
- Over-the-toilet shelving for extra space without floor clutter
- Floating shelves to keep things airy
- Built-in niches in the shower for bottles (goodbye, plastic caddies!)
Pro tip: Use baskets and labeled containers to keep things looking tidy. Chaos never looks classy.
Step 8: Upgrade Fixtures Strategically
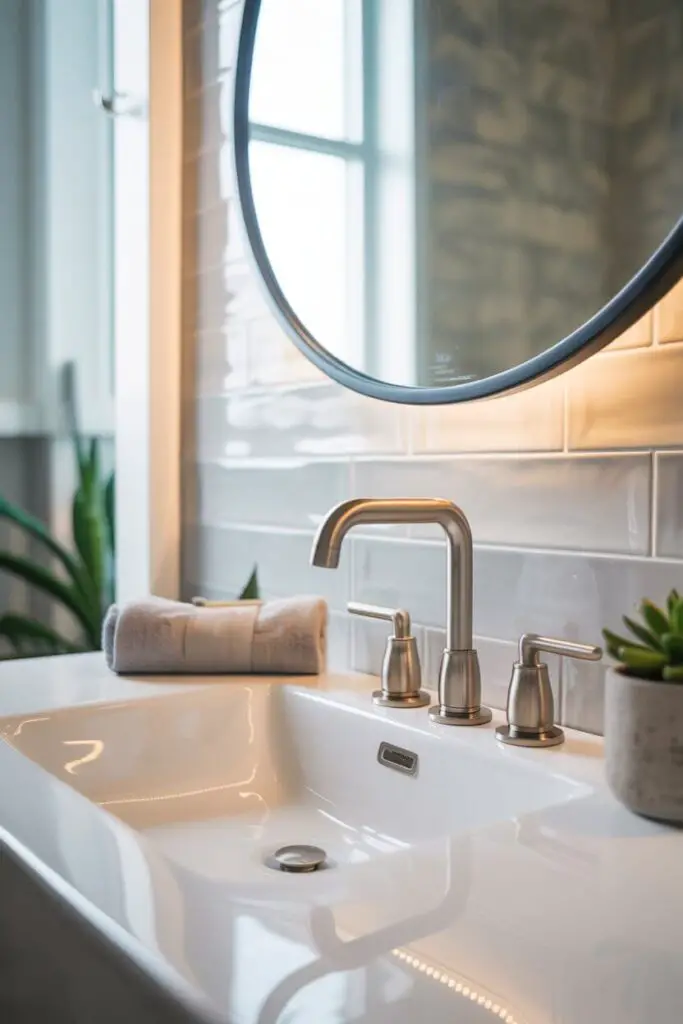
You can give the bathroom a modern feel by upgrading just a few key fixtures.
Best Bang-for-Buck Upgrades
- Faucets and showerheads: Go stylish but water-efficient.
- Toilet: Newer models save water (and money) over time.
- Mirror: Pick a framed or backlit option for impact.
If you choose just one upgrade, make it the faucet—it’s amazing how much it sets the tone for the space.
Step 9: DIY Where You Can (But Know Your Limits)
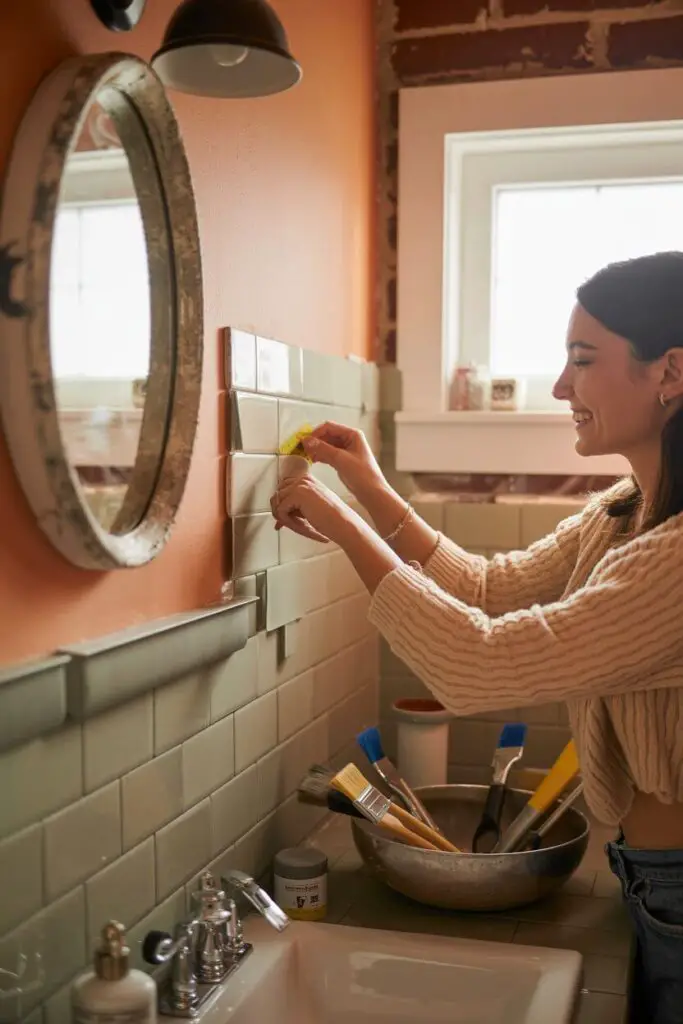
Sweat equity saves money, but avoid biting off more than you can chew.
Good DIY Tasks
- Painting walls or cabinets
- Installing shelves or mirrors
- Updating hardware
Leave It to the Pros
- Electrical rewiring
- Plumbing work
- Waterproofing
I installed my own peel-and-stick backsplash in one afternoon—fun, cheap, and way less stressful than learning plumbing via YouTube.
Step 10: Shop Smart & Source Secondhand
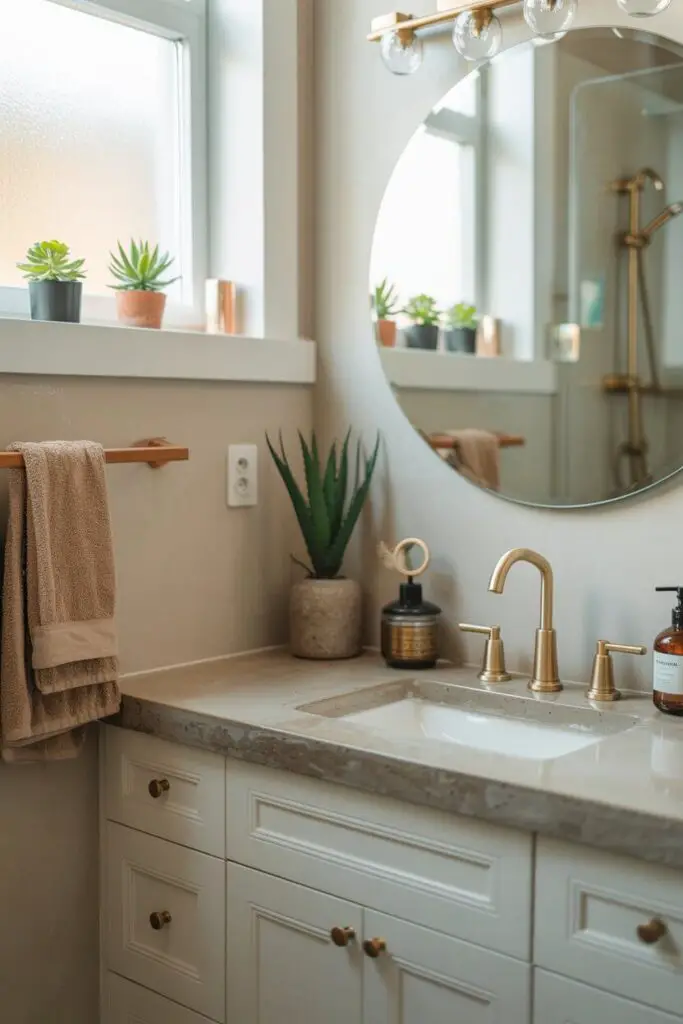
Your wallet will love you if you’re open to deals.
Where to Look
- Clearance sections at home improvement stores
- Online marketplaces for gently used fixtures
- Thrift stores for unique mirrors or storage pieces
Once, I scored a like-new vanity mirror for a tenth of the original price because it had a barely noticeable scratch. Best $20 I’ve spent.
Step 11: Use Accessories to Finish the Look
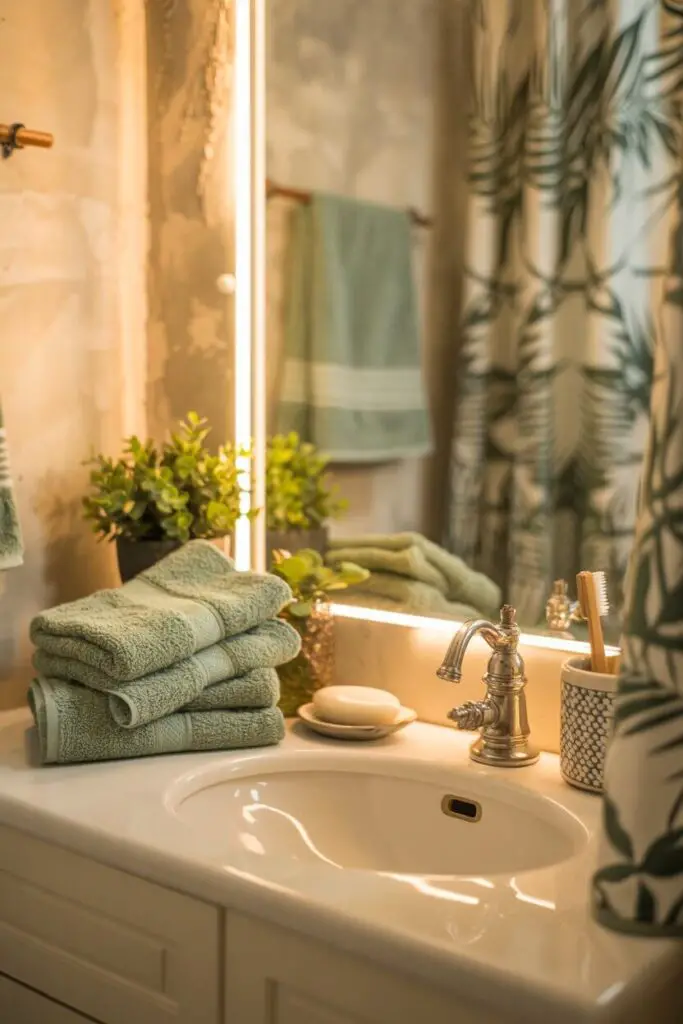
The right accessories make a budget remodel feel complete.
Budget-Friendly Additions
- Fresh, fluffy towels in a coordinating color
- A new shower curtain with a bold pattern
- Small plants for a fresh touch
Even swapping out an old soap dish and adding a matching toothbrush holder can give the space a mini glow-up.
Budget Remodel Mistakes to Avoid
Save yourself the regret (and extra costs) by steering clear of these.
Common Pitfalls
- Skipping prep work: Poor prep means you’ll redo it sooner.
- Buying trendy everything: Choose timeless for big items—go trendy with accessories.
- Overcrowding the space: In small bathrooms, less is more.
And please—measure twice, buy once. I learned that one after ordering a shelf too wide for my wall. Twice. :/
Example Budget Breakdown
Here’s a rough idea of where your money might go for a small, budget-friendly remodel:
| Item/Category | Estimated Cost (USD) |
|---|---|
| Paint & supplies | $60–$150 |
| Lighting upgrade | $100–$200 |
| Flooring (vinyl/LVT) | $150–$300 |
| Vanity refresh | $50–$200 |
| New fixtures | $100–$300 |
| Accessories | $50–$100 |
| Total | $510–$1,250 |
Of course, your costs depend on your choices and whether you DIY.
Final Thoughts: Style Without the Splurge
Remodeling a small bathroom on a budget isn’t about settling for less—it’s about being intentional with every dollar.
You focus on changes that have high impact, skip the unnecessary gut jobs, and add personality through affordable details.
Keep your layout, refresh instead of replace, and don’t underestimate the magic of paint, light, and accessories.
And remember—small spaces are actually easier to transform because every update feels bigger.
So, grab your budget sheet, make your list, and get ready to enjoy a small bathroom that feels fresh, functional, and totally you.
Bonus: You’ll still have money left for, you know, actual bubble bath nights. 😉