The floor is key to the bathroom. It handles splashes, soap, and muddy footprints. Plus, it should look good with a bath mat at 6 a.m.
If you want a cozy bathroom floor that feels spacious and suits daily life, you’re in the right place. I’ve made mistakes so you don’t have to.
I’ve learned tips to make small floors look custom. Ready to jump in?
I design small bathrooms with a clear goal: keep water in, make the space feel longer, and use easy-to-clean materials.
I focus on layout and grout choices because they can change the look entirely.
Ever wonder why one 2×2 m bathroom feels like a spa, while another feels cramped? The floor often tells that story.
Start with function: water, safety, and maintenance
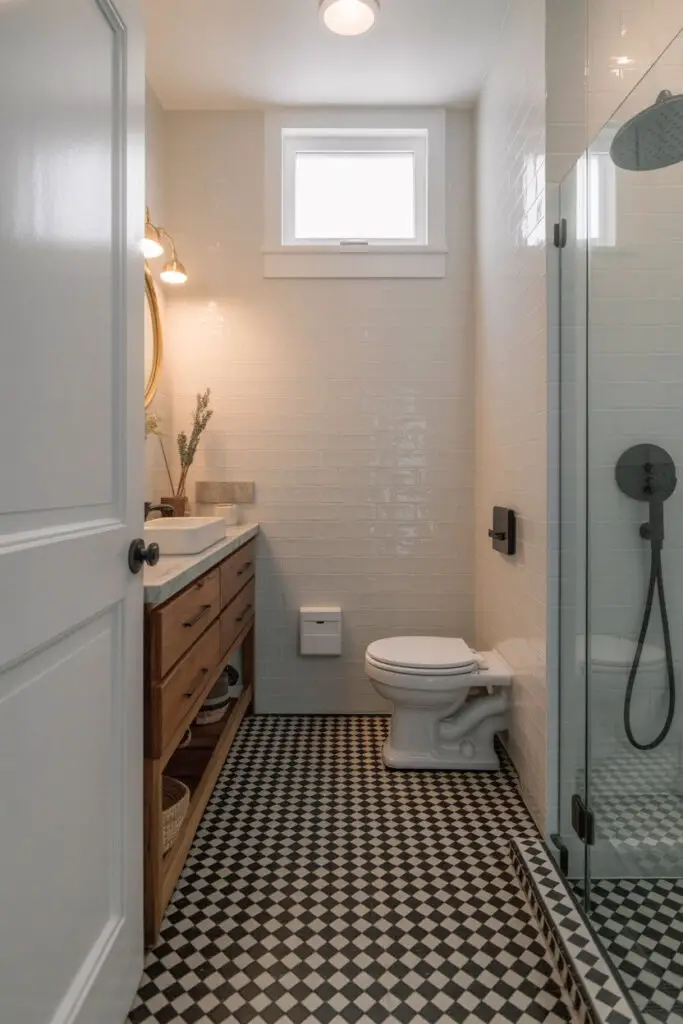
Before you fall in love with a gorgeous tile, set the ground rules. Small bathrooms work best when you design for water first and beauty second.
Don’t worry—you’ll get both.
Know the wet zones and traffic lines
- Map splash points: Identify the shower, vanity, and toilet splash zones. Plan extra slip resistance in those areas and carry it across the floor for consistency.
- Track traffic flow: Note door to vanity, vanity to shower, and toilet access paths. Run your tile direction with these lines to elongate the room.
- Define thresholds: Decide on curbless vs. curb now. Design the slope and transition profile so you avoid awkward cuts later.
Prioritize safety underfoot
- Choose slip-tested surfaces: Aim for textured porcelain or matte finishes with a wet DCOF of ≥ 0.42 for safety. You keep the feel grippy, not gritty.
- Size smart in the shower: Use small mosaics (2.5–5 cm) on the shower floor for more grout lines and better traction. Your feet will thank you.
- Avoid ice-rink finishes: Skip high-gloss tiles on the main floor. Save shiny moments for walls or accents.
Pick maintenance you can live with
- Favor porcelain: Choose porcelain for low porosity, stain resistance, and strength. You win on durability and easy cleaning.
- Treat grout like a design element: Use epoxy grout for stain resistance or high-performance cement grout with sealer. Keep grout joints small for a sleeker look.
- Plan cleaning rituals: Keep one gentle cleaner that tackles soap scum and hard water. You’ll stay ahead of buildup with minimal effort.
Choose the right material (and make it look expensive)
You don’t need to spend like you’re tiling a palace. You need the right material in the right layout. Here’s how I compare them, honestly.
Porcelain vs. ceramic vs. stone vs. vinyl
- Porcelain tile (MVP):
- Why I love it: Dense, water-resistant, tons of looks (stone, cement, wood).
- Best use: Entire floor including shower.
- Watch-outs: Heavier; budget for a quality thinset and a solid substrate.
- Ceramic tile:
- Why it works: Affordable, easy to cut.
- Best use: Powder rooms or walls; light-use floors.
- Watch-outs: Chips easier than porcelain.
- Natural stone (marble, slate, travertine):
- Why it seduces: Timeless, organic variation, luxe feel.
- Best use: Low-traffic or well-sealed spaces.
- Watch-outs: Needs sealing, can stain or etch. High maintenance in wet rooms.
- Luxury vinyl tile/plank (LVT/LVP):
- Why it helps: Warm underfoot, softer, easier install.
- Best use: Half-baths or where you want quick install.
- Watch-outs: Moisture tolerance varies; avoid inside showers; choose waterproof spec and seal edges.
- Cement tile and microcement:
- Why it’s cool: Colorful patterns or seamless, modern look.
- Best use: Feature floor or whole-floor minimalist vibe.
- Watch-outs: Cement needs sealing; microcement needs a skilled installer.
IMO, textured porcelain wins small bathroom floors nine times out of ten. It gives you beauty, durability, and sane cleaning.
Nail the size and layout: the illusion of more space
The way you cut and place the floor can visually stretch the room by a shocking amount. Tiny space? Big illusions.
Tile size rules that actually help
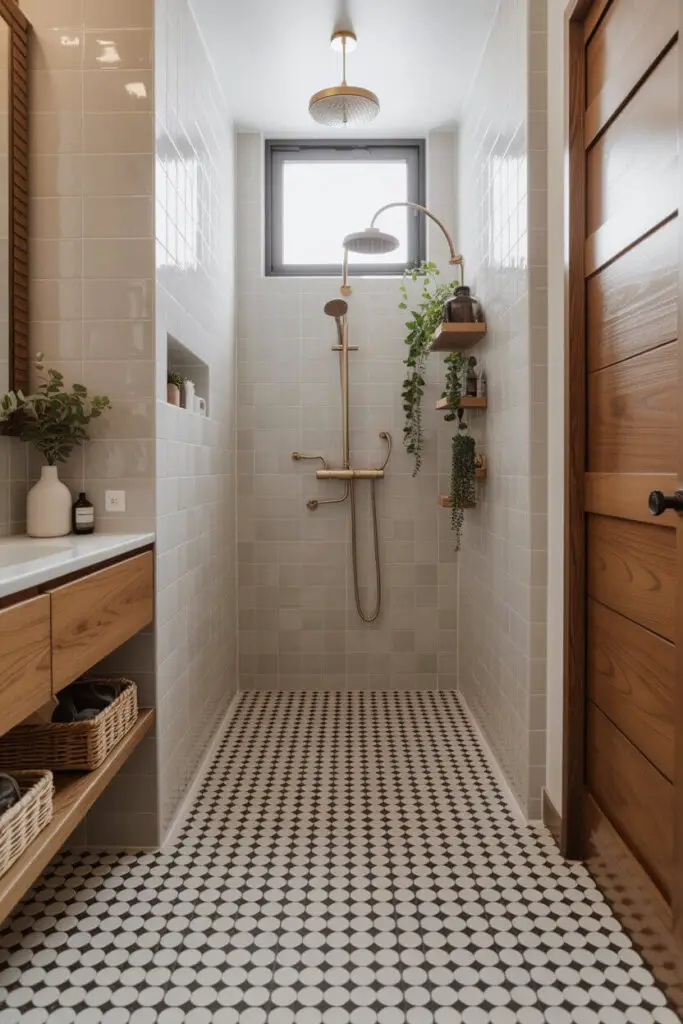
- Large format, fewer lines: Use 60×60 cm or 30×60 cm tiles to reduce grout lines and make the floor feel calm and expansive.
- Small format in showers: Choose mosaics where you need slope and grip. Keep the main floor larger for visual breadth.
- Avoid postage-stamp cuts: Measure so you center the layout and avoid slivers at walls and doorways. Start with a dry layout.
Orientation that elongates
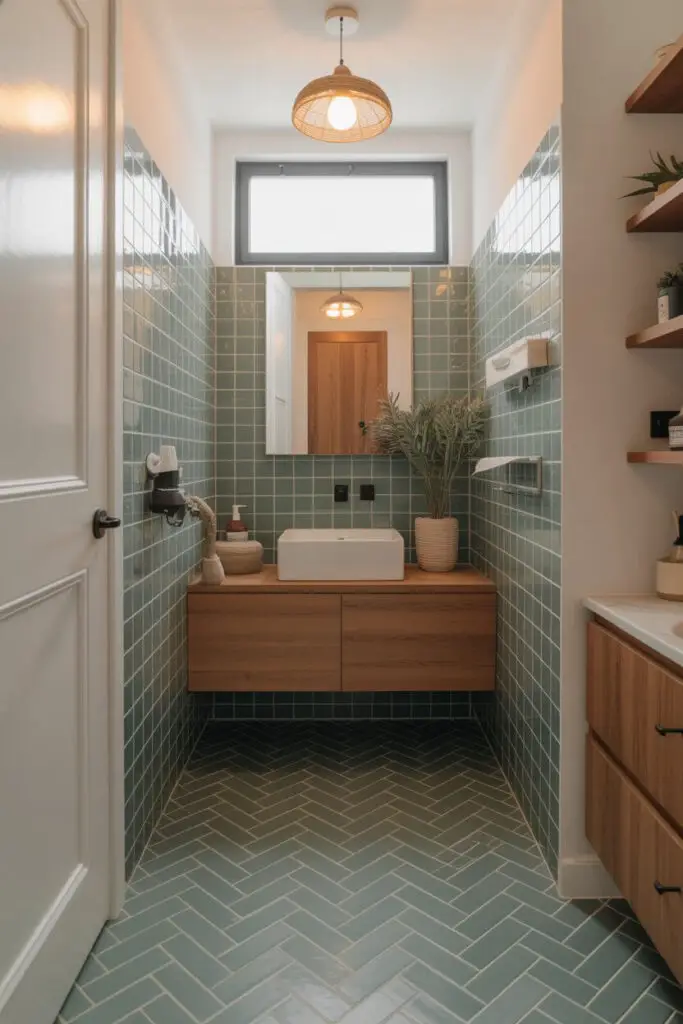
- Run long edges with traffic: Align planks or rectangular tiles from the door toward the back wall to lengthen the visual line.
- Diagonal for visual width: A 45° diagonal can make a narrow room feel wider. Use it when walls aren’t perfectly parallel to hide imperfections.
- Herringbone for movement: A tight herringbone in 30×10 cm or 30×7.5 cm tiles adds energy without looking busy if you keep the color quiet.
Pattern that stays classy
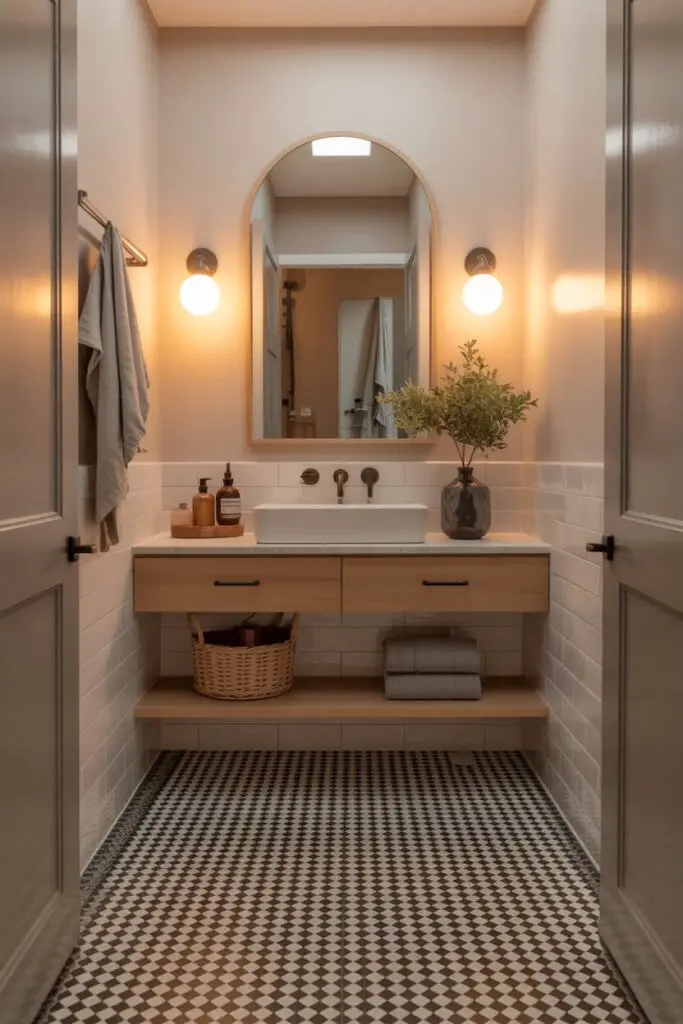
- Keep contrast light-to-moderate: High contrast looks great in photos and chaotic in small spaces. Favor tone-on-tone patterns.
- Use borders strategically: Add a simple border or inset “rug” to frame a freestanding vanity or centered space. Keep the palette subtle.
- Repeat somewhere else: Echo a floor tone in the vanity or wall tile. Repetition = calm.
Color and finish: warmth, depth, and easy cleaning
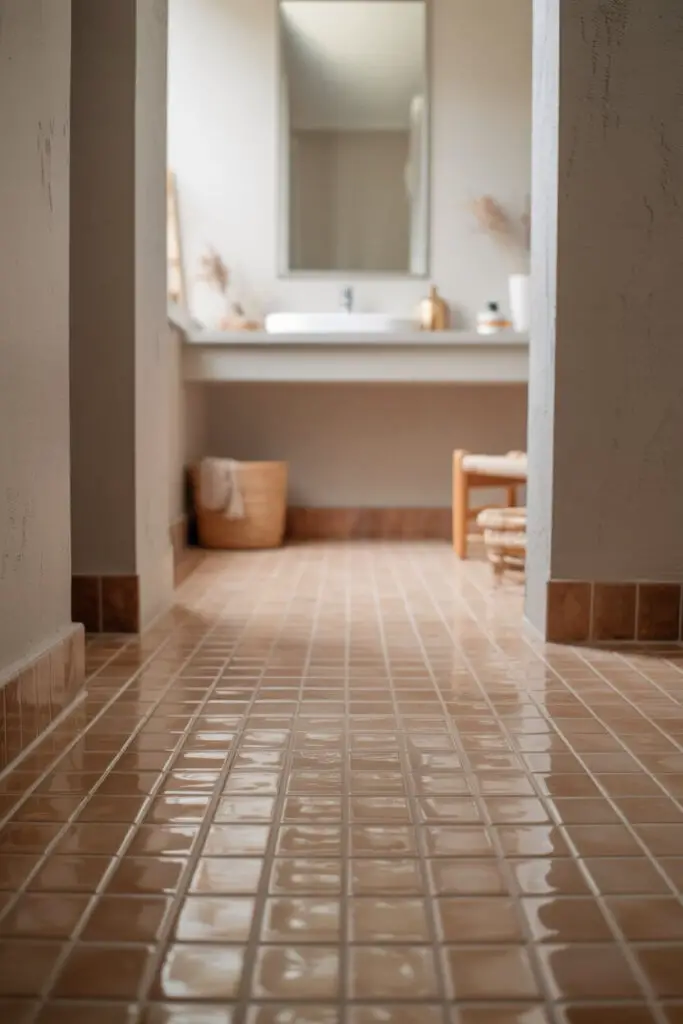
Color sets your mood and controls how visible dirt looks. Choose wisely and clean less. That’s the dream, right?
Choose a palette that flatters small spaces
- Light, warm neutrals: Pick warm gray, soft beige, or sand to bounce light and stay cozy.
- Soft mid-tones: Try greige, mushroom, or sage gray if you want warmth without the glare of bright white.
- Deep, grounded floors: Use charcoal or espresso to ground a white bathroom. Keep walls light so the room still feels open.
Finishes that hold up
- Matte or honed: Reduce glare and hide water spots better than gloss.
- Textured porcelain: Choose subtle texture for traction that still feels easy to wipe.
- Sealed grout and edges: Seal where the floor meets walls and around fixtures for longevity and easier cleaning.
Grout: small line, big impact
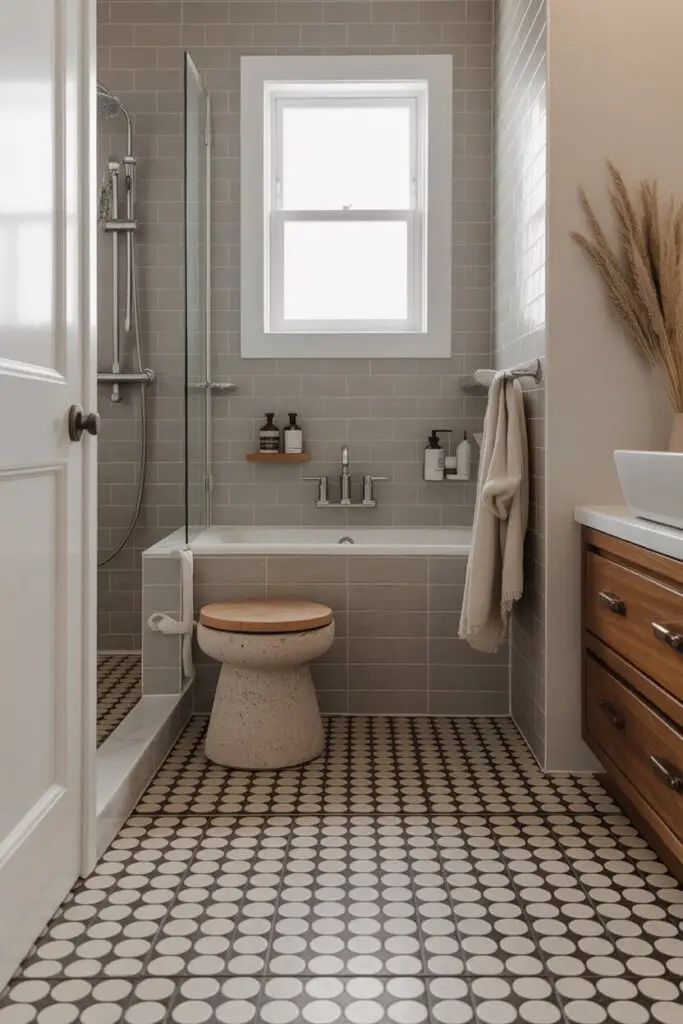
Grout lines act like visual gridlines. In small bathrooms, you want those lines to guide, not distract.
Width, color, and product
- Joint width: Aim for 2–3 mm joints with rectified porcelain for a clean, modern look.
- Color choice: Use tone-on-tone grout to blur lines and hide dirt. Go one shade darker than the tile for forgiveness.
- Grout type: Pick epoxy grout for stain resistance and low maintenance. If you go cementitious, seal it and plan to reseal annually.
Where to use caulk instead of grout
- Movement joints: Use color-matched silicone where the floor meets walls, tub, shower curb, and fixtures. You avoid cracking.
- Transitions: Flex and seal at door thresholds and meeting points with different materials.
Slope, drains, and waterproofing (the unsexy heroes)
Water runs downhill whether you plan for it or not. Plan for it.
Slope and drain strategy
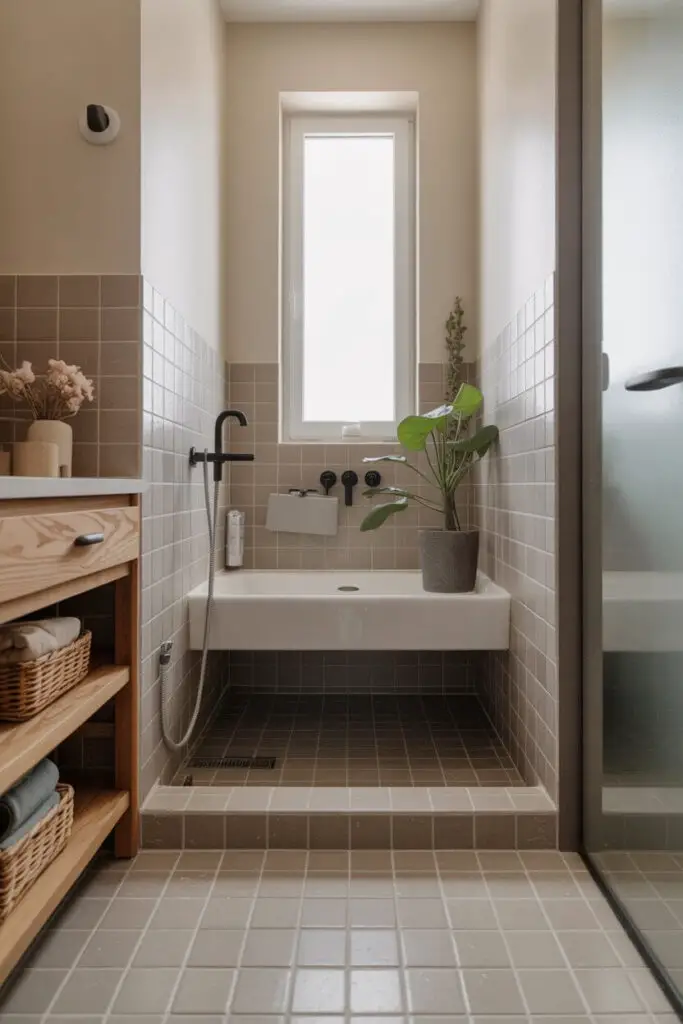
- Know your slope target: Create 1–2% slope in wet zones (roughly 6–12 mm per meter). You encourage drainage and avoid puddles.
- Linear drain vs. center drain:
- Linear drain: Pros: Single-plane slope, large-format tile friendly, sleek look. Cons: Higher cost, precise install needed.
- Center drain: Pros: Budget-friendly, classic. Cons: Requires smaller tiles to contour slopes.
- Curbless or curb:
- Curbless: Pros: Seamless, accessible, visually larger. Cons: Demands perfect waterproofing and accurate slope.
- Curb: Pros: Easier to contain water. Cons: Adds a visual break; keep it low and neat.
Waterproofing system
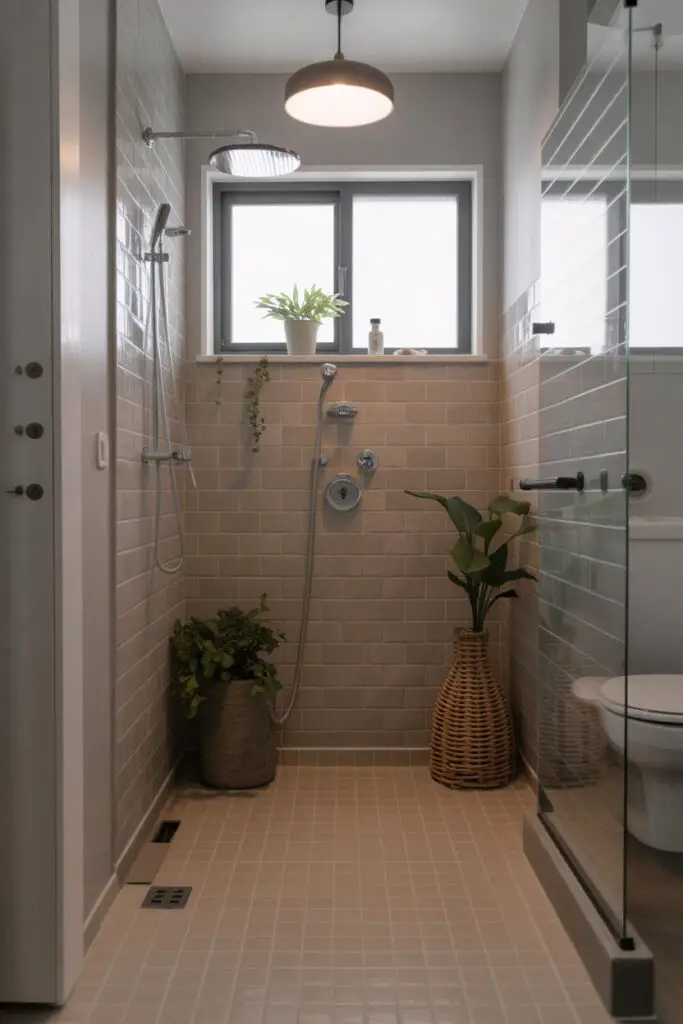
- Continuous membrane: Install a sheet or liquid waterproofing over the floor and up the walls at least 10–15 cm in wet rooms.
- Shower pan integrity: Build or install a preformed pan that matches your drain type. Test for leaks before tile.
- Uncoupling layer (for tile): Use a decoupling membrane to reduce crack transfer from substrate movement.
FYI: Water always finds the shortcut. Give it a reliable path to the drain and it won’t invent one through your ceiling.
Transitions, thresholds, and edges
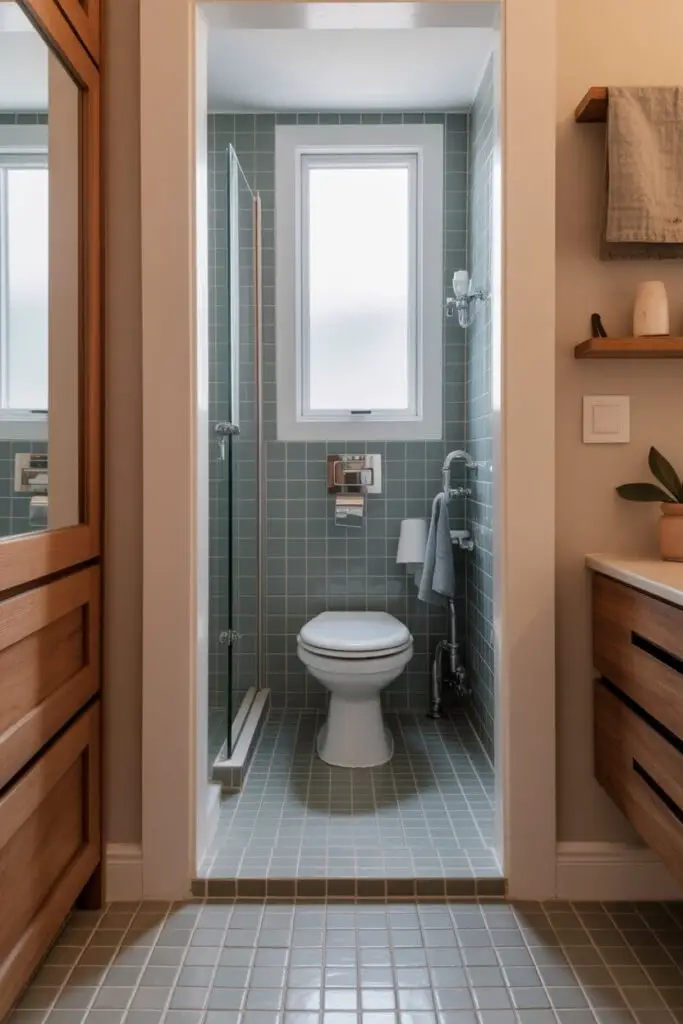
Small rooms need clean endings. Sloppy edges can ruin great tile work.
Doorway details
- Low-profile thresholds: Use stone or metal profiles to transition to the hall floor. Keep trip hazards low and the look clean.
- Finish caps: End tile with a metal schluter profile or a bullnose trim. You avoid raw edges that chip and collect grime.
Where floor meets walls and fixtures
- Base tile or skirting: Run a 10–12 cm base tile around the perimeter for a scrubbable edge. It also looks polished.
- Toilet and vanity edges: Scribe cuts tightly and seal the perimeter with color-matched silicone. Clean edges = custom look.
Comfort and extras: heat, sound, and feel
You can add comfort without overcomplicating the project.
Radiant heat and underlayment
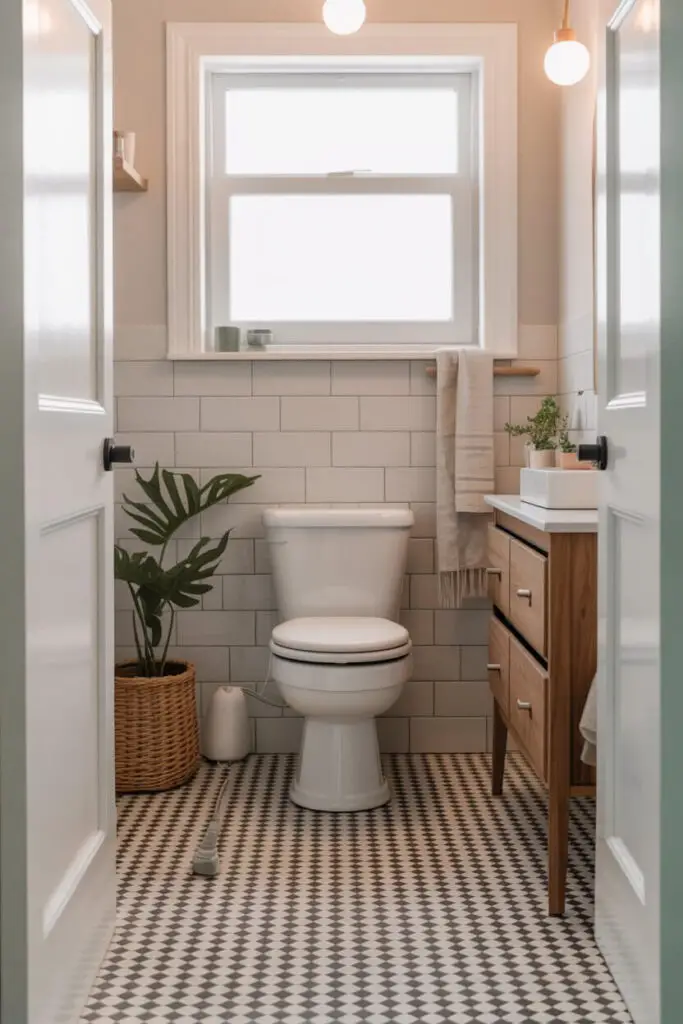
- Electric radiant mats: Install electric heat under tile for a warm feel and faster drying.
- Underlayment for vinyl: Use approved moisture barriers and flat substrates to avoid telegraphing imperfections.
- Sound and feel: Tile feels solid underfoot; vinyl feels softer and warmer. Choose the feel you prefer for daily comfort.
Bath mats and runners
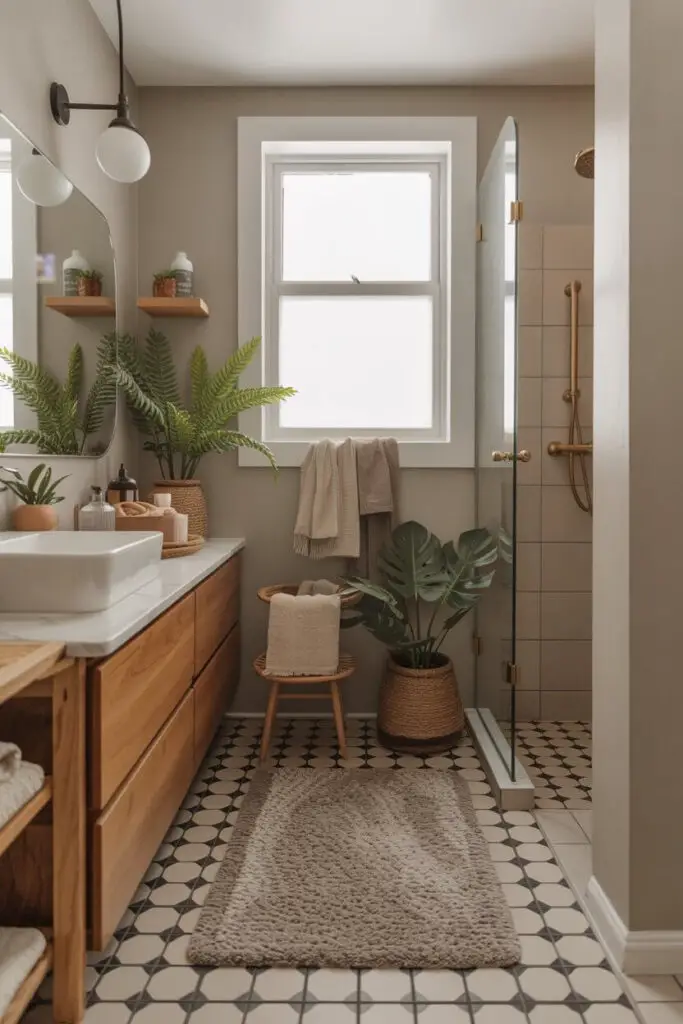
- Right-size mats: Pick dense cotton or memory foam mats that sit flat and dry quickly. Avoid thick rugs that trap moisture.
- Placement: Use one large mat by the vanity and a smaller one by the shower to avoid visual clutter.
Style playbook: small bathroom floor looks that work
You can lock a vibe with your floor. Use these style formulas to fast-track a decision.
Spa calm
- Floor: Matte porcelain in warm light gray, 60×60 cm.
- Shower floor: Matching 5×5 cm mosaics for grip.
- Grout: Tone-on-tone mid-gray.
- Edge: Brushed steel profile and tile skirting.
Modern minimal
- Floor: Large-format 60×120 cm porcelain in soft beige with rectified edges.
- Shower: Linear drain and single-plane slope.
- Grout: Ultra-narrow 2 mm, color-matched.
- Detail: Curbless for a seamless line.
Warm classic
- Floor: Porcelain “marble” with soft veining, 30×60 cm in herringbone.
- Shower floor: Hex mosaics in coordinating tone.
- Grout: Light warm gray for easy upkeep.
- Trim: Bullnose base tile.
Earthy natural
- Floor: Textured porcelain that mimics slate or terrazzo, 60×60 cm.
- Shower: Pebble-look mosaic (flat-cut) for comfort.
- Grout: Charcoal for depth.
- Accent: Wood bench or teak mat (outside shower).
Budget, durability, and timeline: quick reality check
You want the truth on cost and wear. Here’s how I frame it with clients.
- Best value: Textured porcelain with epoxy grout lasts long and cleans easily. You pay a little more upfront and save time forever.
- Budget option: Ceramic tile with sealed grout works in low-impact spaces. Keep sizes modest to reduce breakage during install.
- Speed install: LVT installs fast and feels warm. Confirm waterproof spec and seal edges.
- Long-term durability: Stone delivers soul and patina. Accept maintenance and sealing as part of the ritual.
- Timeline: Plan demo + prep (1–2 days), waterproofing (1–2 days), tile set (1–2 days), grout + cure (1–2 days). Don’t rush cure times.
DIY vs. hire: when to bring in a pro
I love a confident DIY, and I also love a leak-free ceiling. Some calls are easy.
- DIY-friendly: LVT, simple ceramic, and small powder rooms where waterproofing isn’t critical.
- Pro-recommended: Curbless showers, linear drains, stone installs, and complex patterns. Waterproofing and slope need skill.
- Middle ground: You prep and demo, a pro handles waterproofing and tile. You save money and sleep at night.
Common mistakes (and how to fix them fast)
You can rescue most problems with a few smart moves.
- Slippery floor choice: Fix: Add textured mats, seal with anti-slip, or swap to textured porcelain in key zones.
- Grout looks dirty: Fix: Deep clean, recolor grout with a colorant/sealer, or regrout small sections.
- Bad cuts at edges: Fix: Install metal trim or base tile to cover exposed edges cleanly.
- Puddles after shower: Fix: Check slope and drain speed. Add a water stop strip or adjust the shower head while you plan a proper fix.
- Room looks busy: Fix: Switch to tone-on-tone grout, larger tiles, and fewer patterns. Keep the bath mat solid and simple.
Step-by-step plan: how to design a small bathroom floor
Follow this sequence and avoid chaos. You’ll make decisions in the right order and stay on budget.
Step 1: Define the goals and measurements
- Measure the room precisely: Action: Note length, width, door swing, fixtures, and drain locations.
- Decide on curbless vs. curb: Action: Pick your drain type and slope strategy.
- Choose a visual goal: Action: Decide whether you want longer, wider, or calmer as the key illusion.
Step 2: Select material and safety spec
- Pick the floor tile material: Action: Choose textured porcelain or a material you can maintain.
- Confirm slip resistance: Action: Check for wet traction and matte/honed finish.
- Choose shower floor tile: Action: Go small-format mosaic for grip and slope.
Step 3: Lock the layout and pattern
- Dry-lay to avoid slivers: Action: Center the layout so cut tiles at edges look intentional.
- Pick orientation: Action: Run rectangles with traffic; consider diagonal if you need visual width.
- Set grout joint width: Action: Use 2–3 mm for a clean, modern line.
Step 4: Choose grout and trim
- Select grout type and color: Action: Use epoxy or sealed cement grout; choose tone-on-tone.
- Pick transitions and trims: Action: Use metal profiles or bullnose, and low thresholds at the door.
- Plan base tile: Action: Run a 10–12 cm tile skirting around the room.
Step 5: Waterproof, then set and grout
- Prep the substrate: Action: Flatten and clean; add uncoupling membrane for tile.
- Waterproof thoroughly: Action: Apply continuous membrane on floor and up the walls in wet areas.
- Set tile, then grout: Action: Confirm slope, alignment, and consistent joints; finish with your chosen grout and silicone at movement joints.
Step 6: Finish with comfort and care
- Add radiant heat (optional): Action: Lay electric mats beneath tile before setting.
- Choose mats and accessories: Action: Keep one or two mats, simple colors, and quick-dry materials.
- Seal and set a maintenance plan: Action: Seal cement grout, keep a gentle cleaner, and schedule quick weekly wipes.
Design combos you can copy today
Steal these pairings and tweak them to your palette.
- Light and calm:
- Floor: Warm light-gray 60×60 cm matte porcelain
- Grout: Mid-gray 2 mm
- Shower floor: Matching 5×5 cm mosaic
- Edge: Brushed steel trim
- Compact and characterful:
- Floor: 30×10 cm porcelain in herringbone, clay-beige tone
- Grout: Tone-on-tone
- Shower floor: Hex mosaic in the same family
- Threshold: Stone strip, low profile
- Bold but balanced:
- Floor: Charcoal 30×60 cm laid running bond
- Grout: Charcoal for seamless depth
- Walls: Warm white to lift the room
- Detail: Linear drain, curbless shower
- Nature-forward:
- Floor: Terrazzo-look porcelain 60×60 cm
- Grout: Light warm gray
- Shower floor: Flat-cut pebble mosaic
- Accent: Teak stool and cane basket (outside wet zone)
Quick FAQs that save you a headache
- Do large tiles work in tiny bathrooms? Yes. Large tiles reduce grout lines and calm the room. Cut them cleanly at edges and avoid slivers.
- Should I match the shower floor tile to the main floor? Coordinate rather than match. Use a similar tone; switch to a smaller mosaic for grip and slope.
- Light or dark floor in a small bathroom? Either works. Light floors reflect more light; dark floors ground the space. Keep contrast with walls moderate.
- Glossy or matte? Matte or honed wins for floors. Save glossy for walls if you want sparkle.
- Is epoxy grout worth it? Yes for small bathrooms. It resists stains and reduces maintenance.
Final thoughts: design small, think smart, live easy
You just learned how to design a small bathroom floor that looks bigger, feels safer, and cleans up fast.
You mapped wet zones, chose slip-friendly materials, and planned a layout that stretches the room. You picked tone-on-tone grout, clean transitions, and smart waterproofing.
You even considered heat and maintenance because real life happens.
Ready to commit? Choose your tile, set your layout on paper, and lock your grout and trims. Then move with confidence.
Small bathrooms reward clarity, consistency, and calm. Keep the palette tight, the lines straight, and the slope perfect.
If a choice fights the room, cut it. If it makes the floor look longer and the routine easier, say yes. Your future 6 a.m. self will step in, sigh happily, and think, “Worth it.” 🙂
If you want a quick second opinion on your layout or a sanity check on your tile choice, send me your plan. I’ll tell you straight and cheer you on—no contractor drama, IMO.