Bold lighting in a luxury kitchen is the ultimate flex.
You can have stunning cabinetry, top-notch countertops, and high-end appliances, but lighting is what makes a luxury kitchen sing.
I’ve seen multimillion-dollar kitchens where the lighting felt…meh.
It’s a letdown. When lighting shines, it changes a room from “nice kitchen” to pinch-me-this-is-my-home. Bold fixtures set the mood, highlight your design, and add character.
If you want your kitchen to feel like a high-end restaurant you actually cook in, let’s talk about bold lighting—without stepping into “airport duty-free shop” territory.
Step 1: Start with Your Kitchen’s Personality
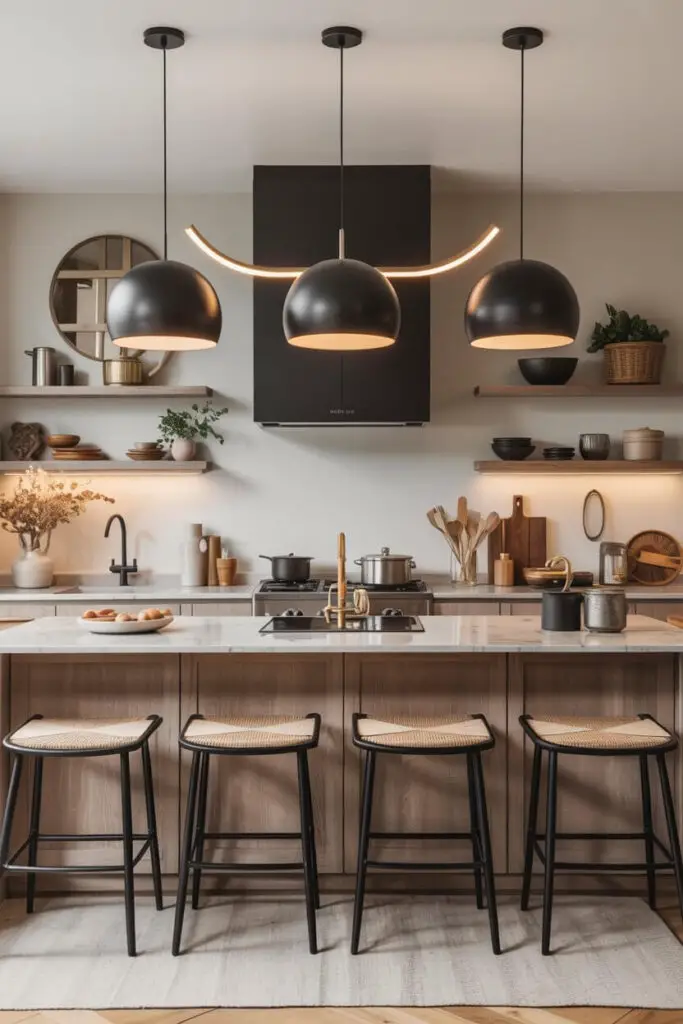
Every luxury kitchen has its own vibe—modern minimalism, rustic chic, art-deco glam—and your lighting should amplify that personality.
Match the Mood
- Sleek, modern kitchen? Go for clean-lined pendants, geometric chandeliers, or sculptural LED designs.
- Transitional style? Large drum pendants or mixed-metal fixtures can strike a balance.
- Rustic luxury? Think wrought iron, aged brass, or lantern-style lights with warm tones.
Personal tip: In my own kitchen revamp, I fell in love with a cluster of matte black pendants. They weren’t just fixtures—they were jewelry for the room.
Step 2: Understand the Three Layers of Lighting
If you want a kitchen that looks incredible and functions well, you need all three layers working together.
1. Ambient Lighting
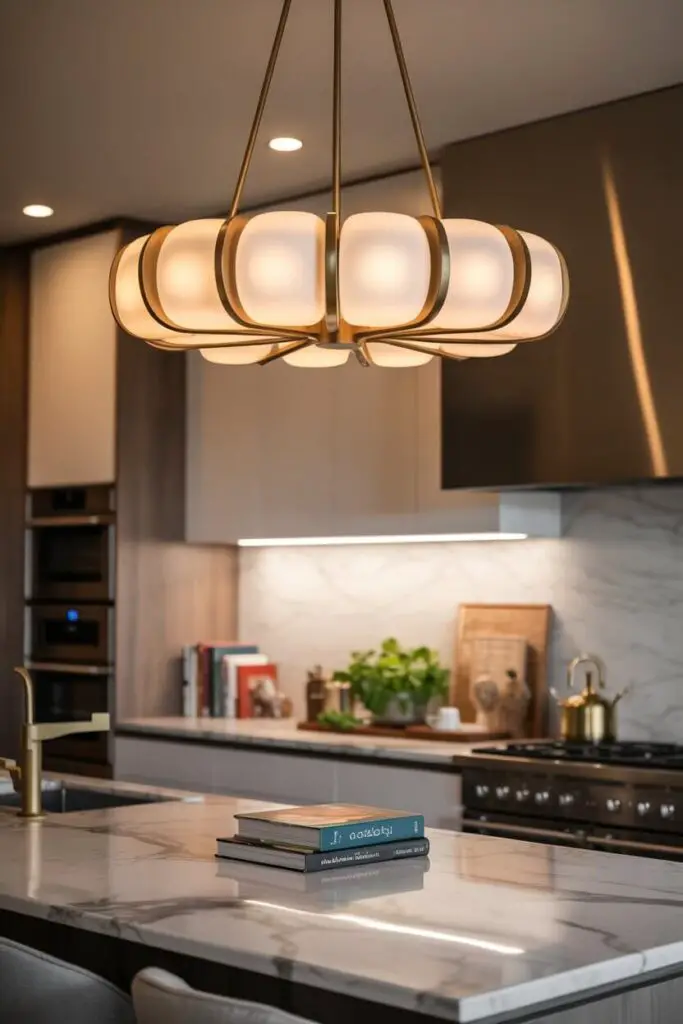
This is your base light—what lets you see without bumping into the island. Bold ambient lighting could be a statement chandelier or a series of large pendants that double as art.
2. Task Lighting
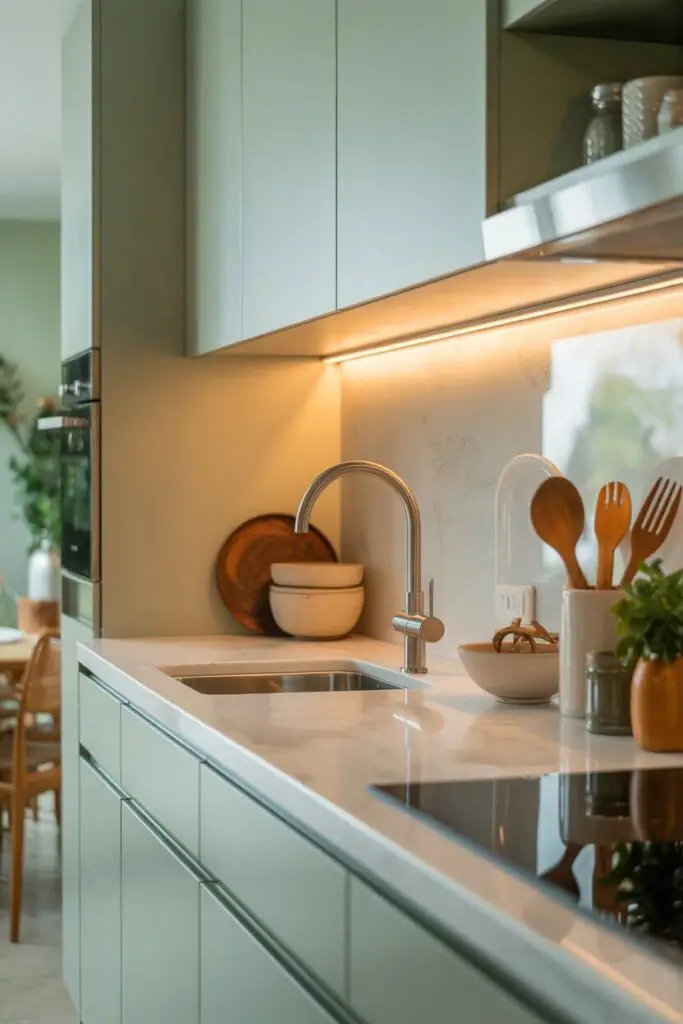
Focused illumination for cooking, chopping, and food prep. Under-cabinet LED strips or recessed spots over work areas fit here.
3. Accent Lighting
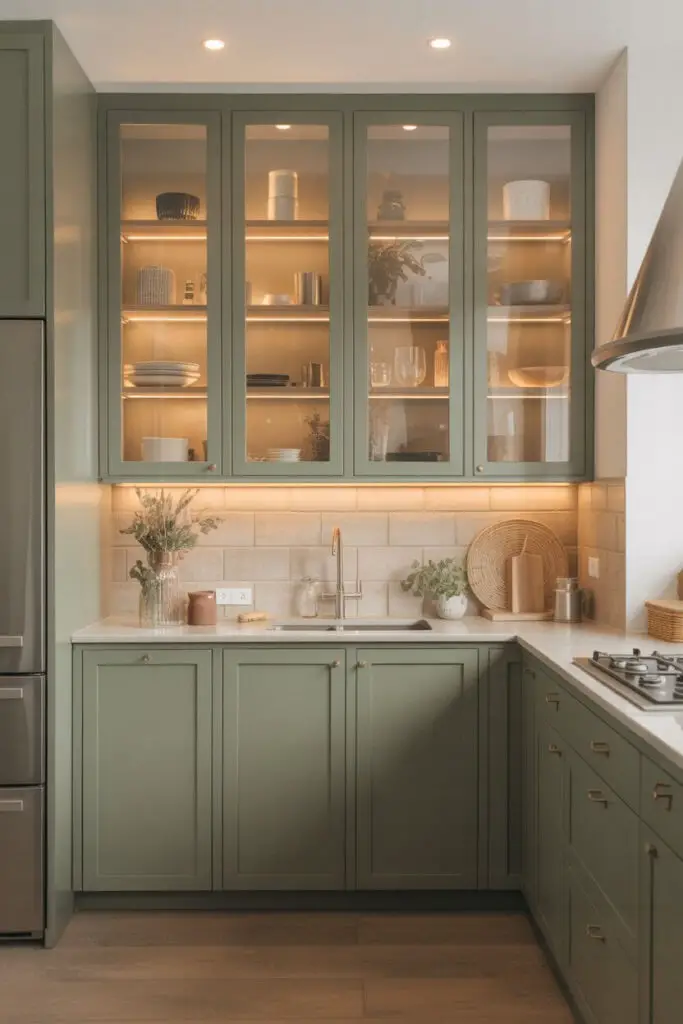
The drama-maker. This could be lights inside glass cabinets, toe-kick lighting at the base of cabinetry, or uplighting to wash walls in a soft glow.
Why it matters: Bold lighting in a luxury kitchen works best when it’s layered, not lonely. One statement fixture won’t carry the whole space.
Step 3: Go Big, But Keep It Balanced
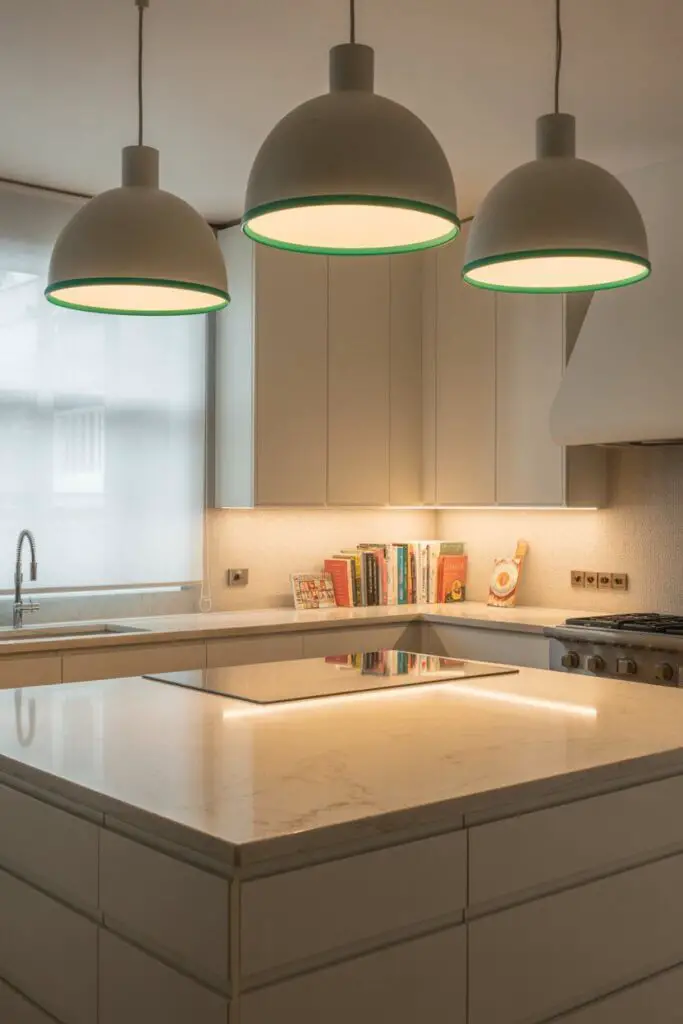
When I say “bold,” I don’t mean “oversized at the expense of everything else.” Proportion is key.
- For an island, choose fixtures that are big enough to stand out but leave breathing room.
- Space pendants evenly so they don’t compete or look cramped.
- If your ceiling is low, bold can come from color, shape, or finish—not just size.
Pro tip: If your kitchen is already visually busy (patterned backsplash, veiny marble), choose statement lights that bring balance instead of chaos.
Step 4: Materials and Finishes That Scream Luxury
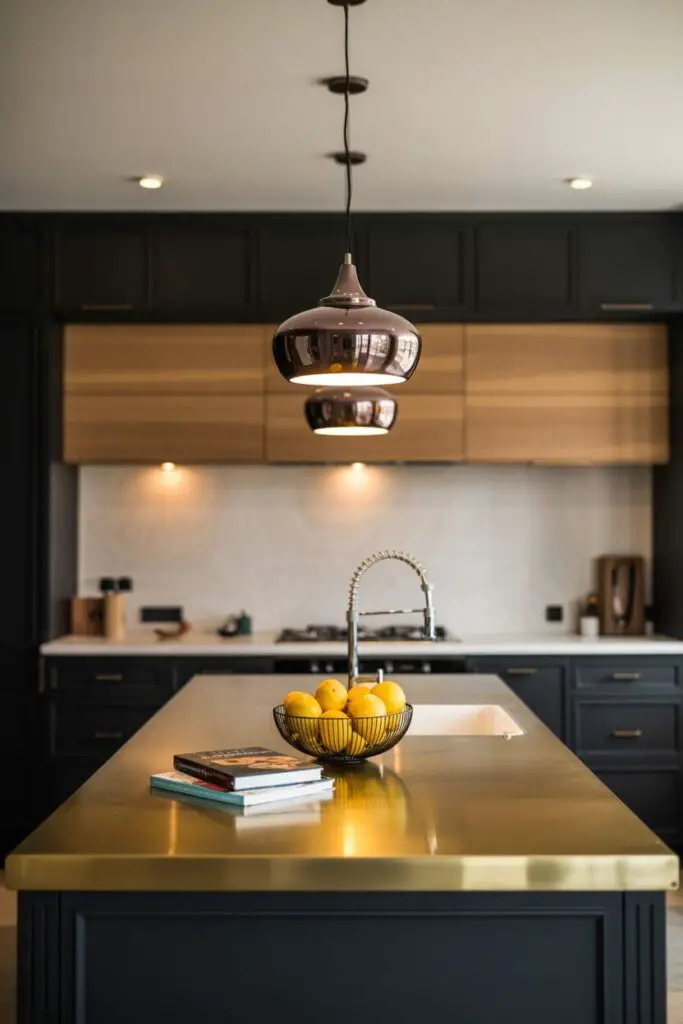
Bold lighting isn’t just about the design—it’s about the quality and finish.
- Brushed brass or gold for warmth and glamour.
- Matte black for drama and contrast.
- Polished chrome for a cool, reflective edge in modern settings.
- Mixed materials (wood + metal, glass + stone) for custom, collected looks.
FYI: Cheap finishes show wear quickly, which is basically the opposite of luxury.
Step 5: Play with Shape and Form
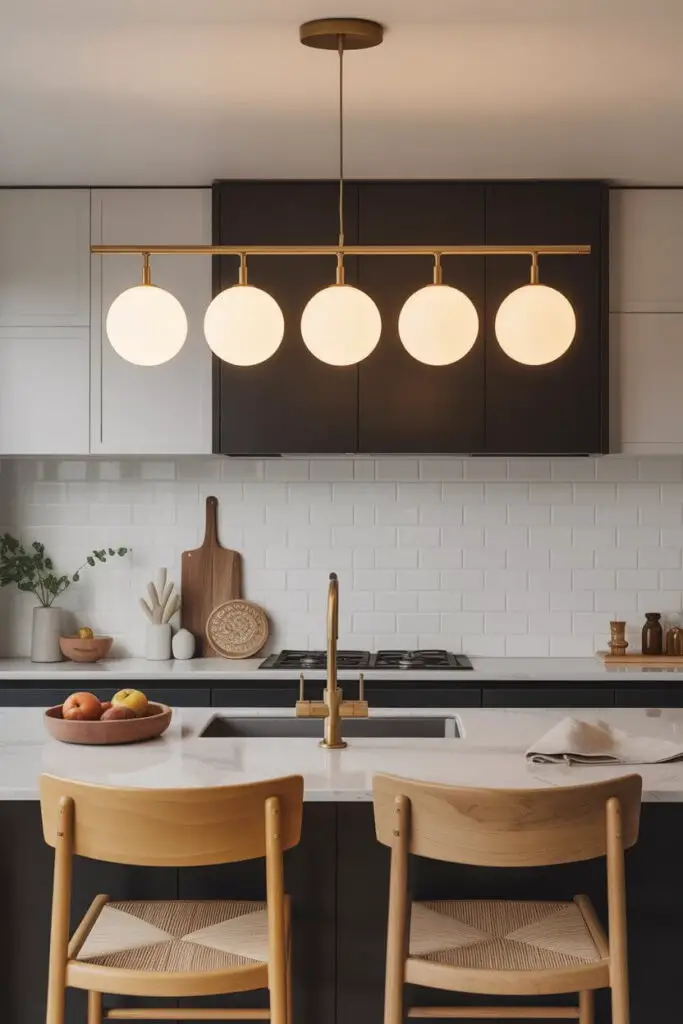
A bold fixture should be visually interesting even when switched off.
Shapes That Make an Impact
- Oversized globes
- Linear multi-bulb bars
- Clustered pendant arrangements
- Sculptural asymmetrical designs
Personal anecdote: I once convinced a friend to hang an asymmetrical brass chandelier over her island. Every guest comments on it—it’s become her kitchen’s unofficial mascot.
Step 6: Don’t Forget the Bulbs (Seriously)
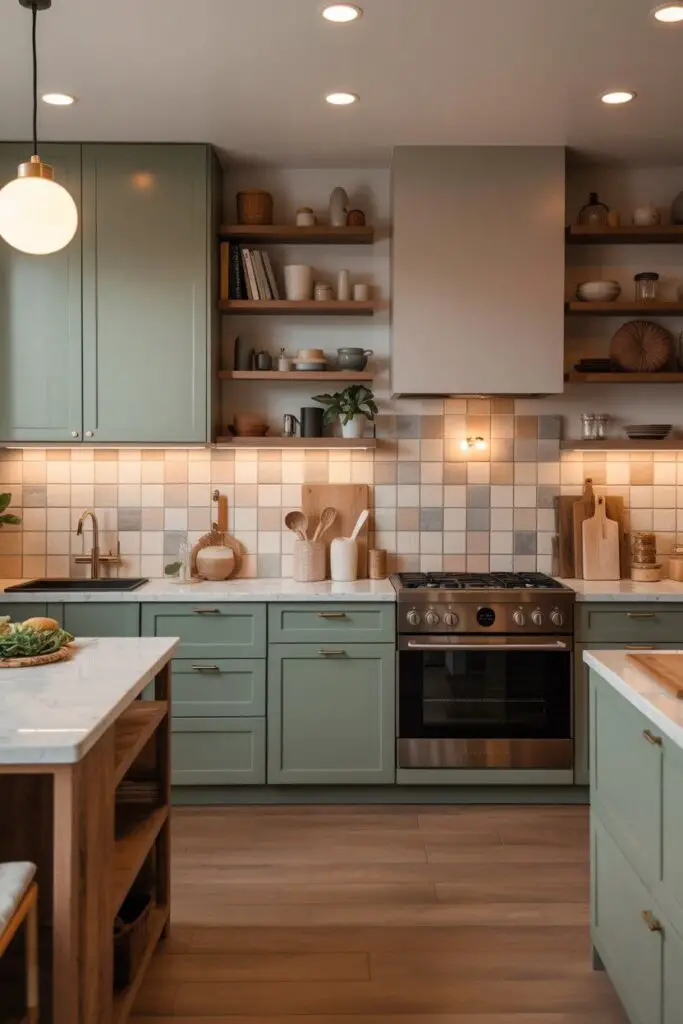
It’s easy to overlook bulbs when focusing on fixtures, but they make or break the vibe.
- Warm white (2700K–3000K) for a cozy, inviting glow.
- Cool white (3500K–4000K) for crisp, modern spaces.
- Dimmable bulbs give you flexibility—from task lighting to mood lighting for wine night.
Pro tip: Stay consistent with color temperature throughout the kitchen for a polished, intentional look.
Step 7: Integrate Lighting into the Architecture
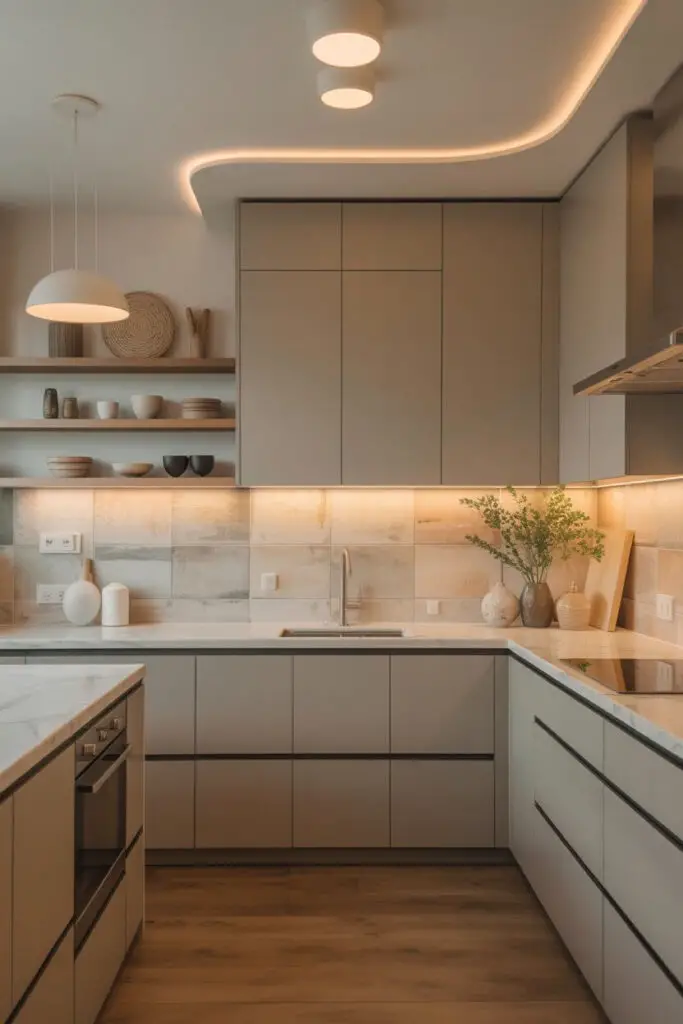
Bold lighting isn’t always dangling from the ceiling—it can be built into the bones of your kitchen.
- Cove lighting along the ceiling perimeter.
- LED strips tucked under floating shelves.
- Recessed spotlights angled to highlight your backsplash art.
This kind of integration says, “I planned every inch of this space,” which is peak luxury energy.
Step 8: Mix Statement Fixtures with Subtle Support
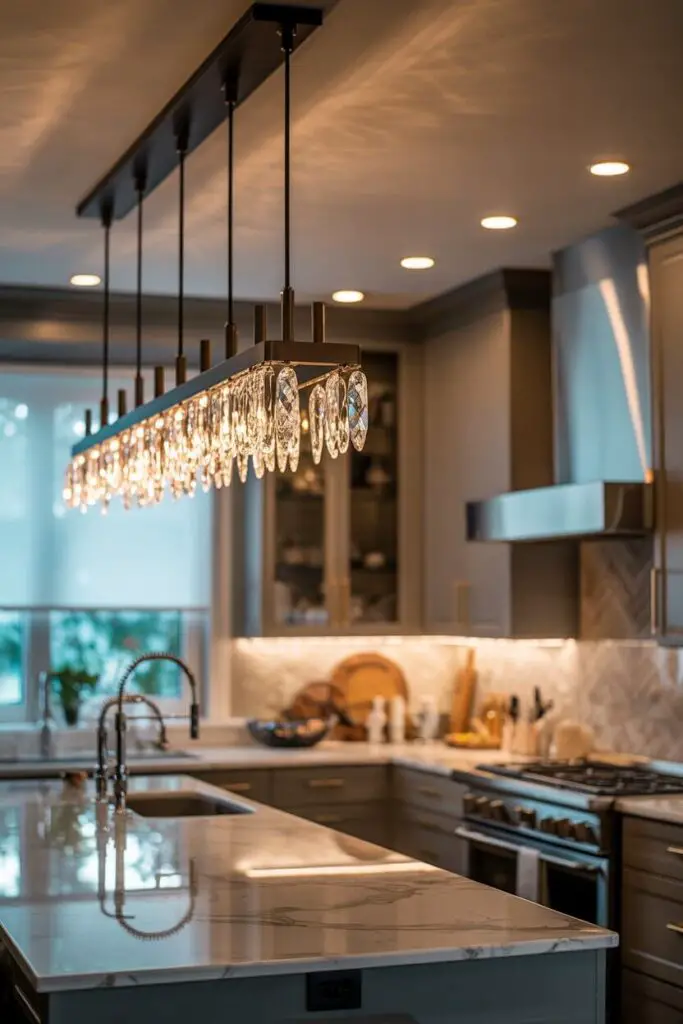
Your focal-point lights should shine (pun intended), but they need a supporting cast.
- Pair a dramatic chandelier with discreet recessed lights.
- Use minimal under-cabinet strips to let your pendants stay center stage.
- Add in-cabinet lighting to layer depth without visual clutter.
Step 9: Use Lighting to Highlight Luxury Details
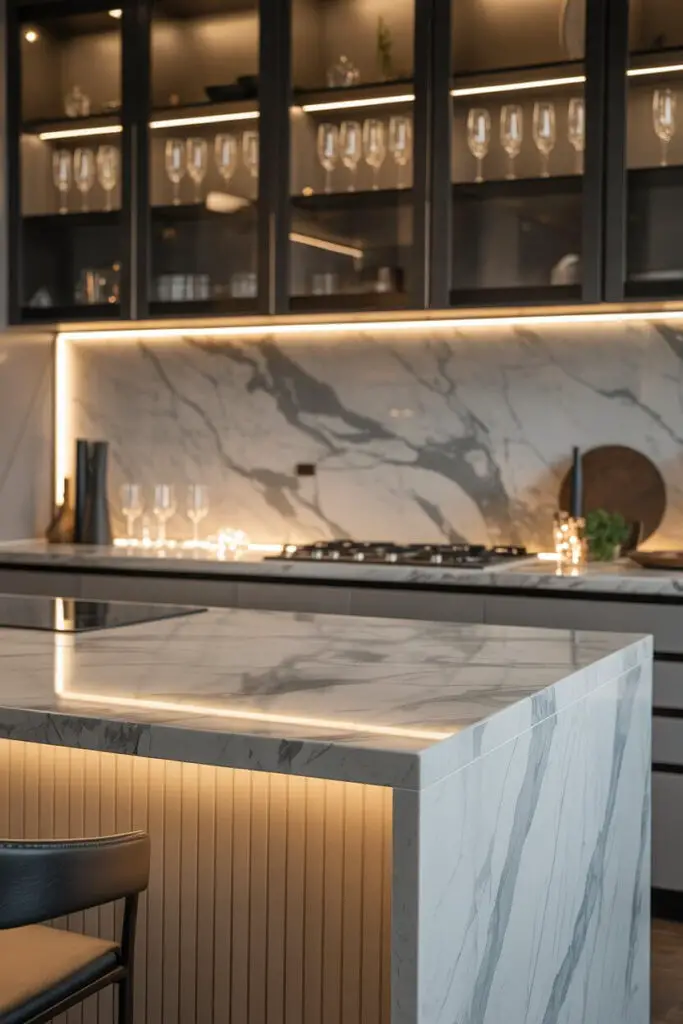
What’s the point of having a gorgeous marble island waterfall if it’s lurking in the shadows? Lighting is your spotlight.
- Aim directional lights at textured backsplashes.
- Add LED strips under island overhangs to emphasize shape.
- Use downlights in glass cabinets to make stemware sparkle.
Step 10: Bold Lighting for Different Kitchen Layouts
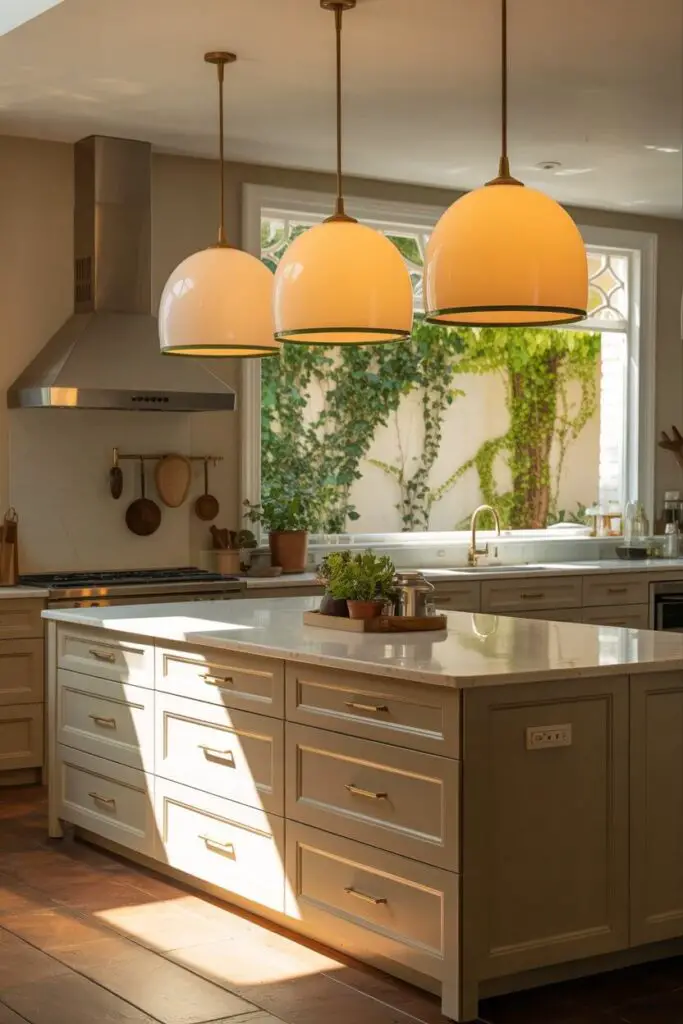
Island Kitchens – Large pendants or a linear chandelier work best. Galley Kitchens – Flush-mount bold fixtures or a series of mini-pendants keep sightlines open.
Open Plan Kitchens – Lighting can define the kitchen zone while complementing dining/living areas.
Step 11: Color Coordination with Lighting
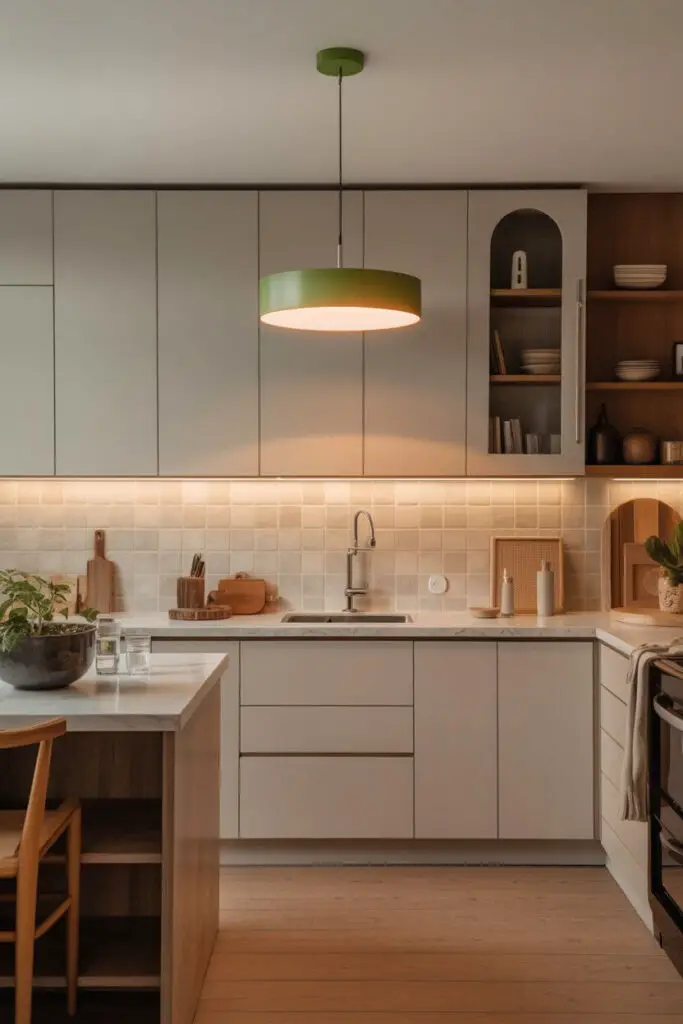
Yes, lighting can have color. But bold doesn’t mean rainbow disco (unless that’s your thing).
- Use colored glass shades for a subtle tint.
- Choose warm metallic finishes to coordinate with cabinet hardware.
- For risk-takers, a pop of color in the fixture frame can be stunning against neutral cabinetry.
Step 12: Consider Scale with Ceiling Height
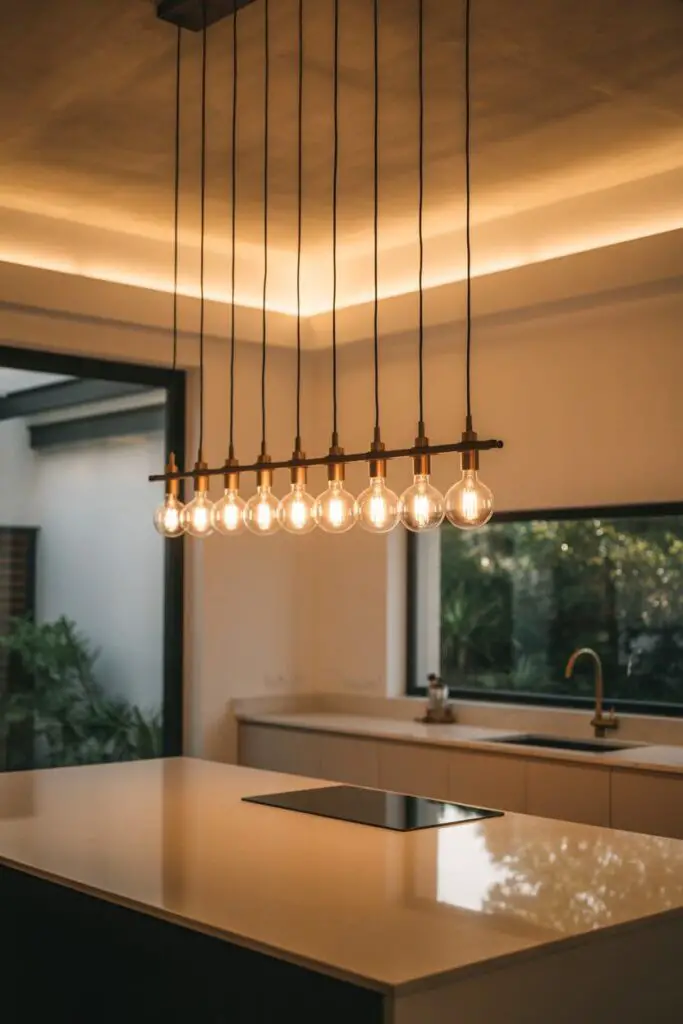
Tall ceilings love dramatic drop fixtures—low ceilings need wide, shallow designs to make a statement without overwhelming.
Rule of thumb: Pendant bottoms should sit 30–36 inches above the counter or island surface.
Step 13: Lighting as Art
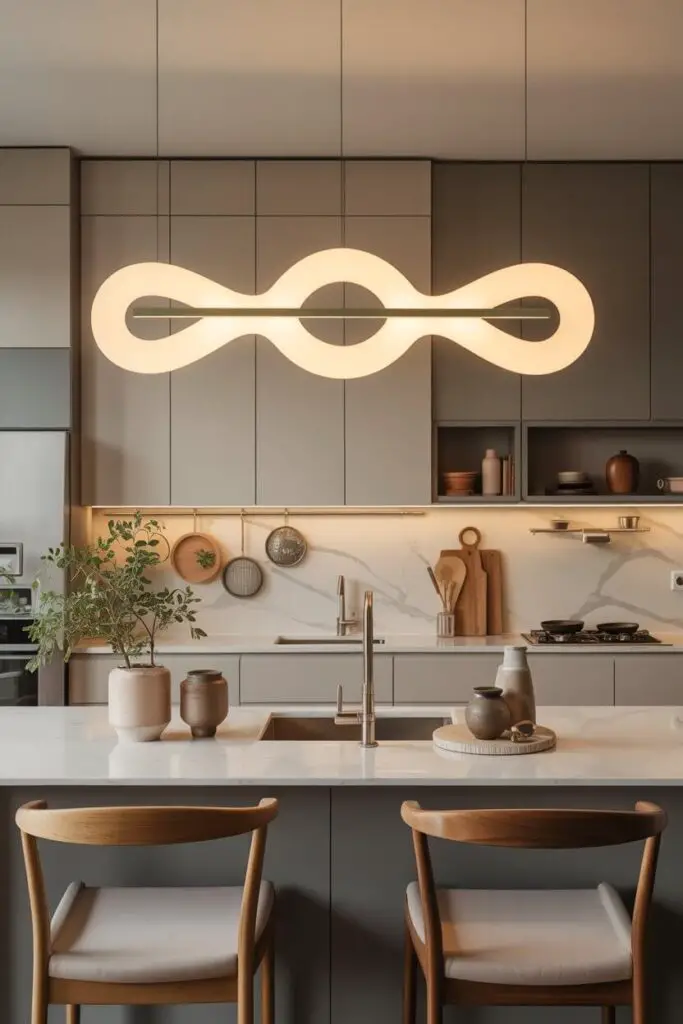
One of my favorite luxury kitchen trends? Treating lighting like sculpture.
- Install an oversized linear fixture with interlocking shapes.
- Go for blown-glass artisan pendants that double as conversation starters.
- Commission a custom chandelier for a truly one-of-a-kind piece.
Step 14: Keep It Functional, Not Just Pretty
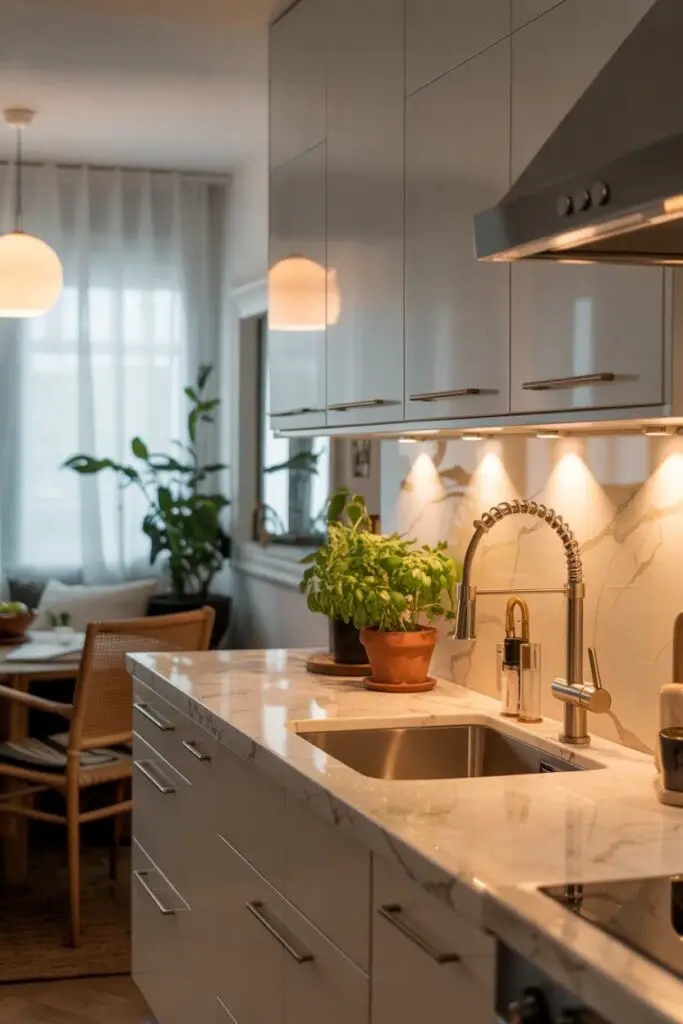
A bold light that blinds you while chopping onions is… not ideal.
- Avoid fixtures that cast awkward shadows over work zones.
- Choose bulbs with high CRI (Color Rendering Index) to see food colors accurately.
- Make sure controls are intuitive—luxury should feel effortless.
Step 15: Install Smart Controls
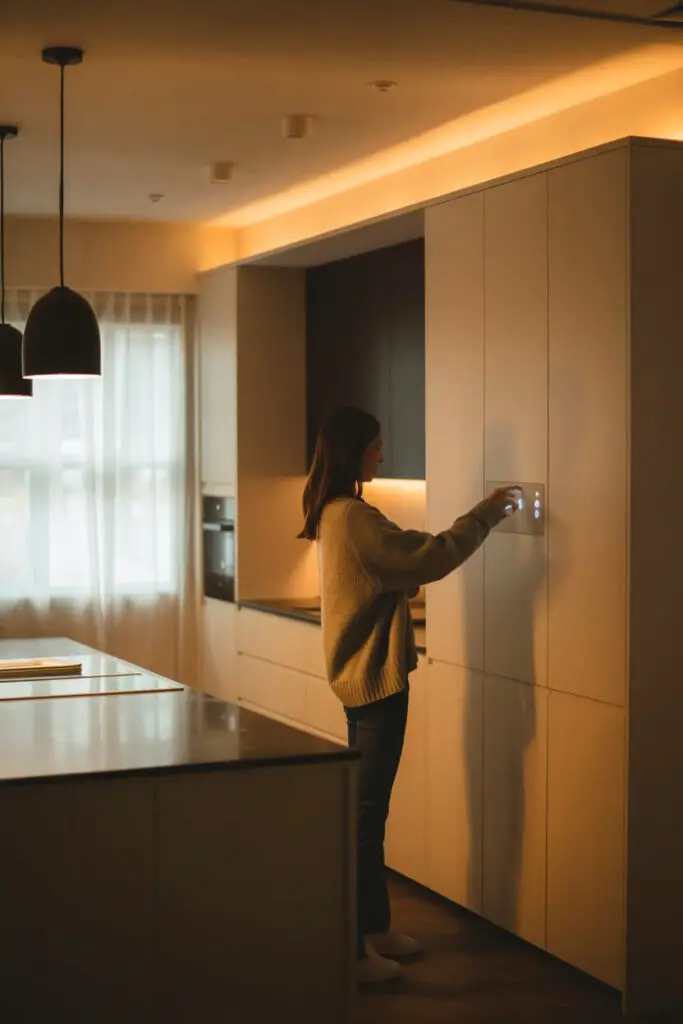
Bold lighting deserves smart dimmers, programmable scenes, and even app or voice control.
Imagine this: “Hey, set kitchen lights to dinner mode” and the room glows like a five-star restaurant. Pure luxury.
Step 16: Test Before You Commit
If possible, test your fixture at home before permanent installation.
- See how it looks in natural daylight vs. evening.
- Check for glare or unwanted reflections.
- Confirm it plays nicely with your other finishes.
Step 17: Common Bold Lighting Mistakes to Avoid
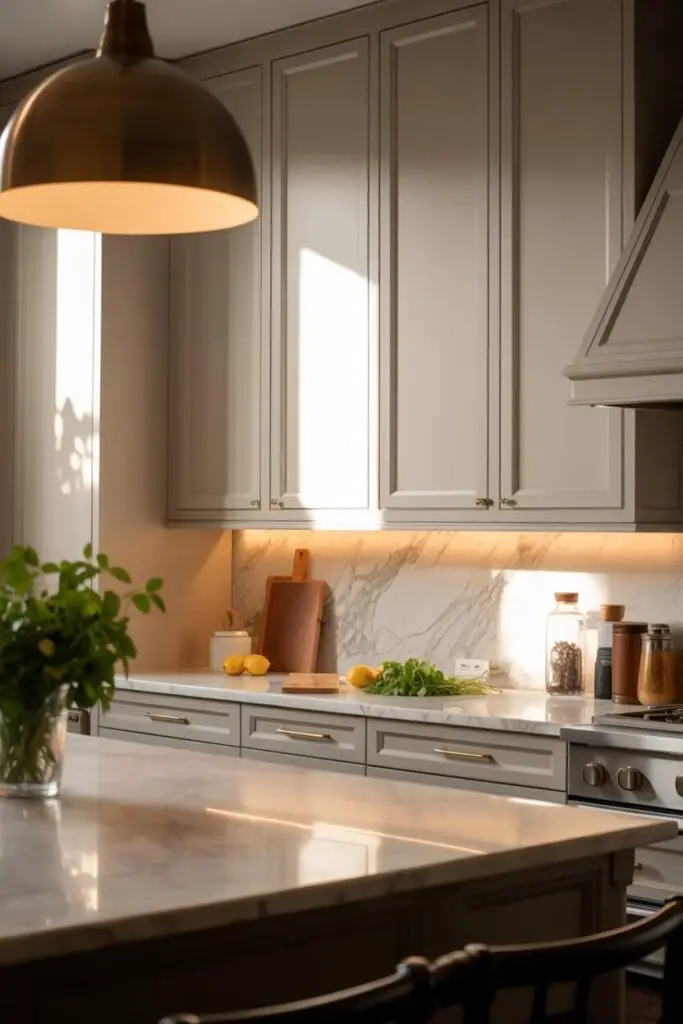
- Going too bold everywhere – choose one main statement and let other lights support.
- Ignoring maintenance – fixtures with hundreds of glass pieces look great until cleaning day.
- Skimping on quality – luxury lighting is an investment, not a place to cut corners.
Step 18: Making Bold Lighting Timeless
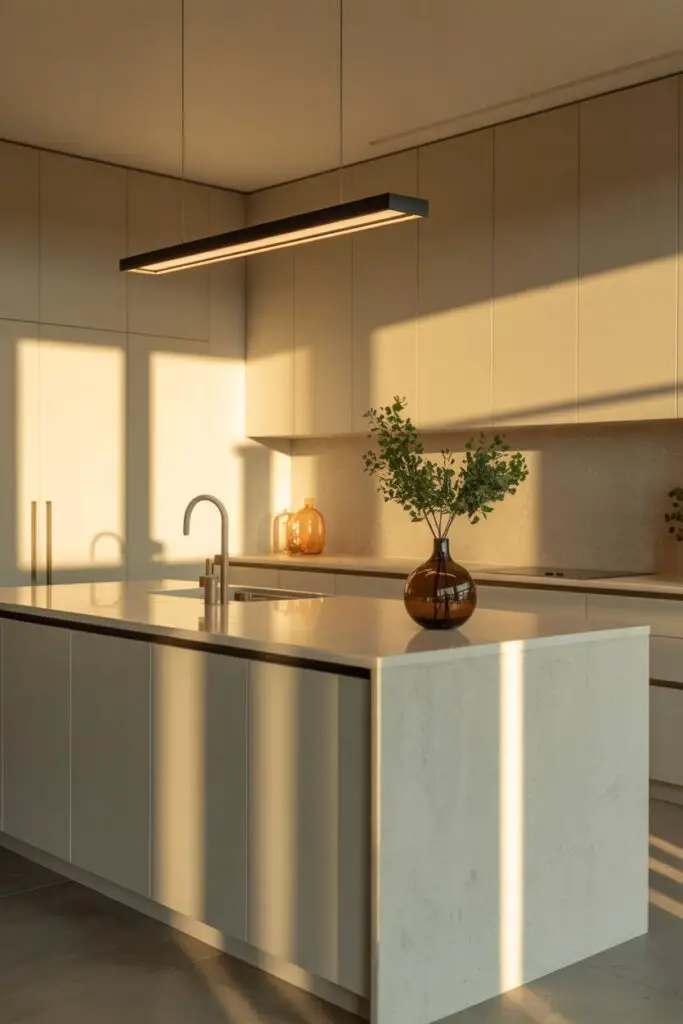
Here’s the secret: timeless bold lighting blends strong design with adaptability.
- Stick to shapes and finishes that complement your kitchen’s architecture.
- Choose boldness in scale or form, but keep the color neutral for longevity.
- Ensure fixtures are easy to re-lamp or upgrade as technology changes.
Conclusion: Let Your Kitchen Shine (Literally)
Bold lighting is the crown jewel of a luxury kitchen—it draws the eye, sets the mood, and elevates every other design choice.
If you:
- Layer your lighting thoughtfully,
- Choose quality materials and finishes,
- Balance statement pieces with functional support,
…you’ll have a kitchen that feels both indulgent and inviting every single day.
Because IMO, the only thing better than cooking in a luxury kitchen is cooking in one that glows like it knows it’s fabulous. 🙂