Picture this: You’re sweaty, covered in sunscreen, and dreaming of a cold rinse after a day of gardening or hiking.
But instead of trudging inside, you step into your own backyard oasis—a charming, rustic outdoor shower that looks like it was plucked straight from a Pinterest board.
Sounds dreamy, right? Well, grab your tool belt and a cold drink, because I’m about to walk you through how to build one yourself using natural materials.
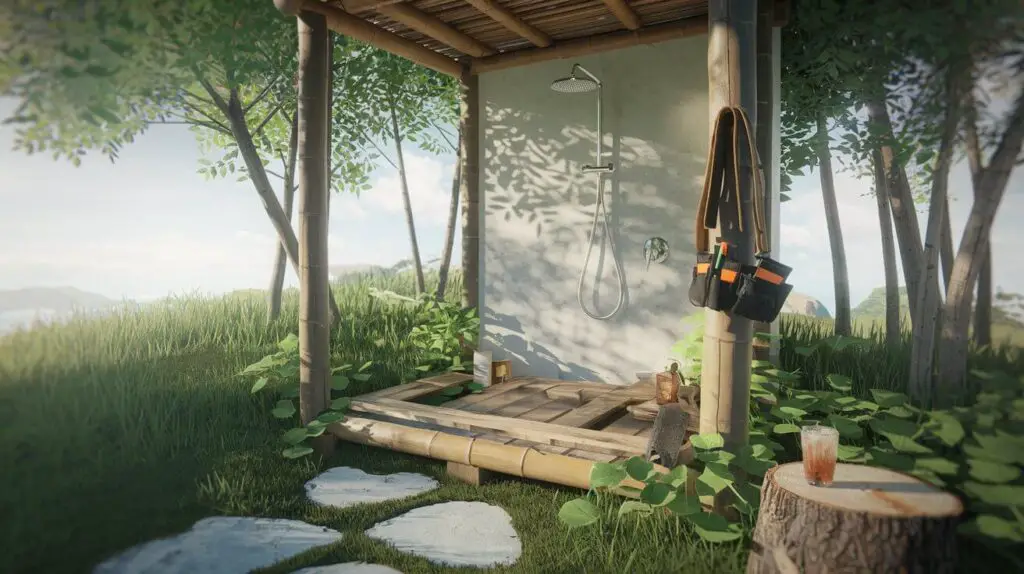
Spoiler alert: It’s easier than assembling IKEA furniture (and way less likely to make you cry).
I built mine last summer after a particularly sweaty camping trip left me craving a backyard upgrade.
Let’s just say my first attempt involved a garden hose duct-taped to a tree. It worked, but let’s aim higher, yeah?
Step 1: Plan Like a Pro (Or at Least a Semi-Organized Human)
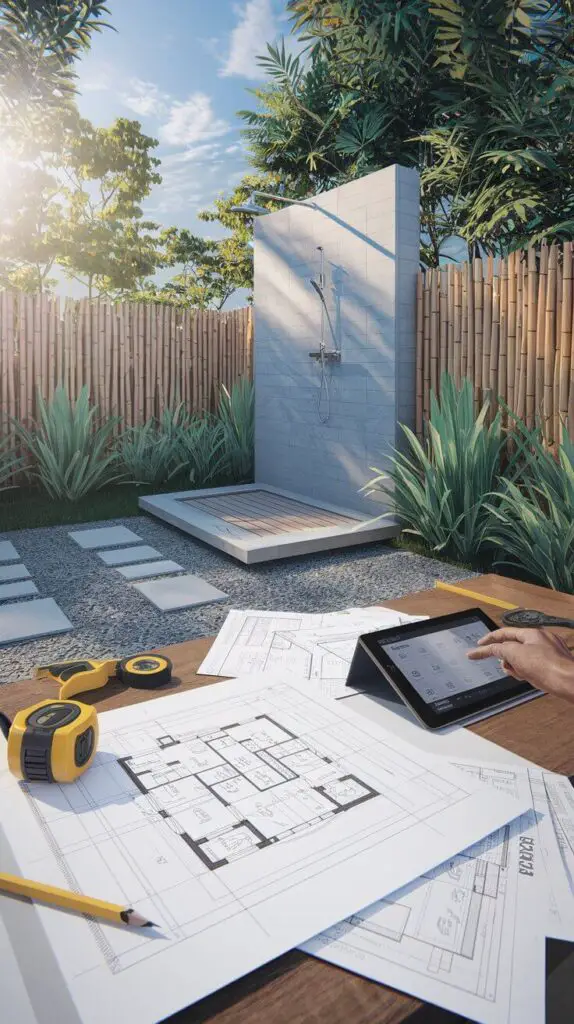
Before you start swinging a hammer, let’s talk logistics. Rushing into this project without a plan is like trying to bake a cake without flour—messy and disappointing.
Location, Location, Location
Where’s your shower going? Ideally, you want:
- Privacy: Unless you’re cool with mooning the neighbors. Bamboo screens or tall plants work wonders.
- Drainage: Avoid creating a mud pit. Slope the ground slightly or use gravel for runoff.
- Sun vs. Shade: Want warm water? Place it in sunlight. Prefer cool rinses? Shade’s your friend.
Check Local Codes
FYI, some areas require permits for outdoor plumbing. A quick call to your local government could save you a headache (or fine).
Step 2: Gather Materials—Nature Is Your Bestie
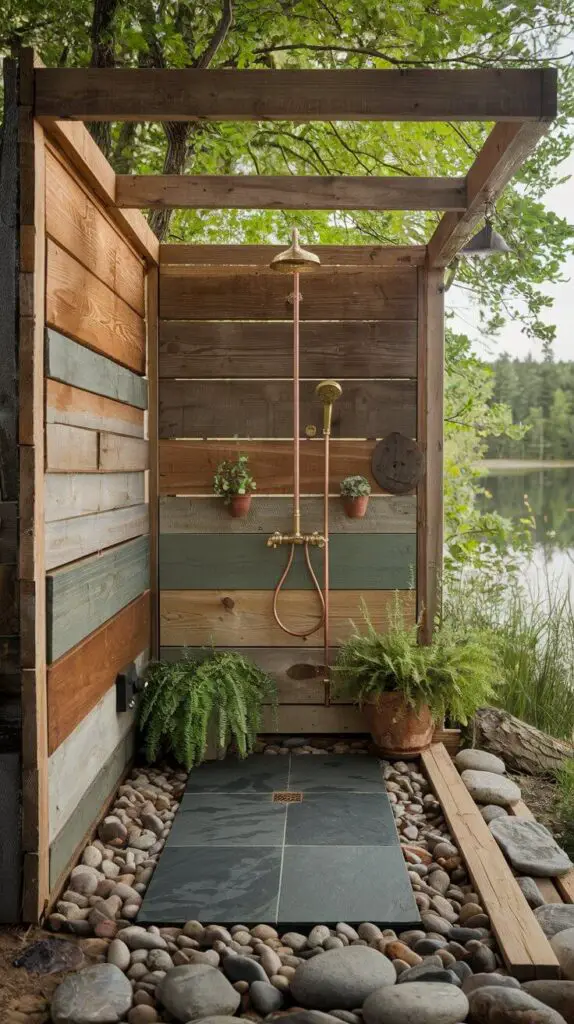
The magic of a rustic shower? It’s all about raw, organic textures. Think reclaimed wood, river stones, and plants. Here’s your shopping list:
Structural Must-Haves
- Wood: Cedar, teak, or reclaimed barn wood for walls/frame (rot-resistant is key).
- Fasteners: Galvanized screws or copper nails (rust = bad).
- Base: Slate tiles, cedar planks, or a simple gravel bed.
Plumbing Basics
- Showerhead: Go for a solar-powered or on-demand system if you’re off-grid.
- Piping: Copper or PVC (copper looks fancier; PVC is cheaper).
- Valve: A simple knob or pull-chain for that “cabin in the woods” vibe.
Pro Tip: Scour flea markets for vintage fixtures. I snagged a 1920s brass showerhead for $20—total win.
Step 3: Build the Frame (Channel Your Inner Bob Vila)
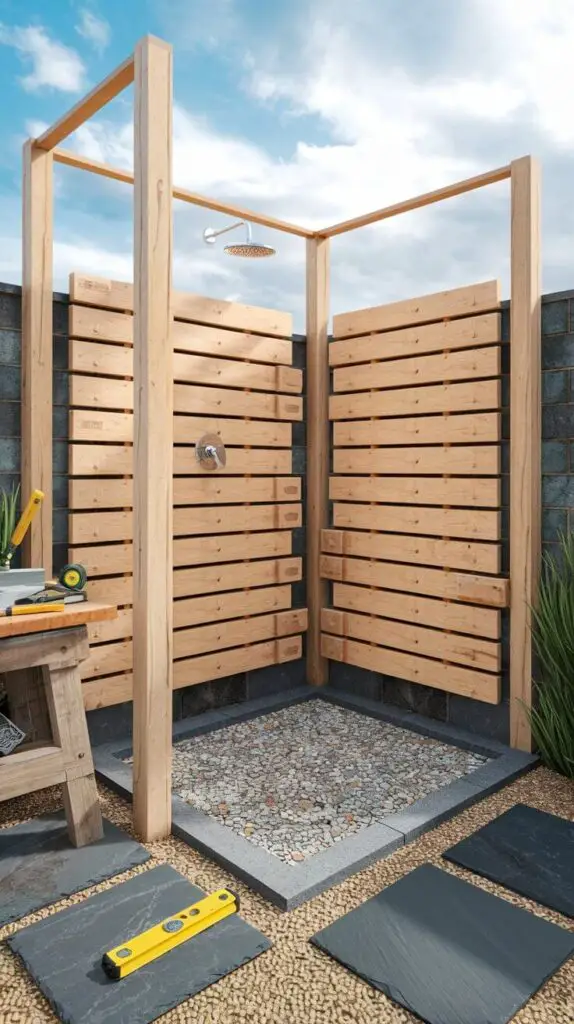
Time to get hands-on. If I can do this with my questionable DIY skills, so can you.
Assemble the Walls
- Cut wood to size: Measure twice, cut once. Or measure once, cuss twice—your call.
- Build a simple frame: Use 4×4 posts for corners and horizontal beams for stability.
- Attach planks vertically: Leave small gaps for drainage and airflow.
Install the Floor
- Gravel base: Cheap, drains well, and looks earthy. Win-win-win.
- Slate tiles: For a fancier vibe, set tiles in mortar (but prepare for sore knees).
Step 4: Add Personality (Because Basic Is Boring)
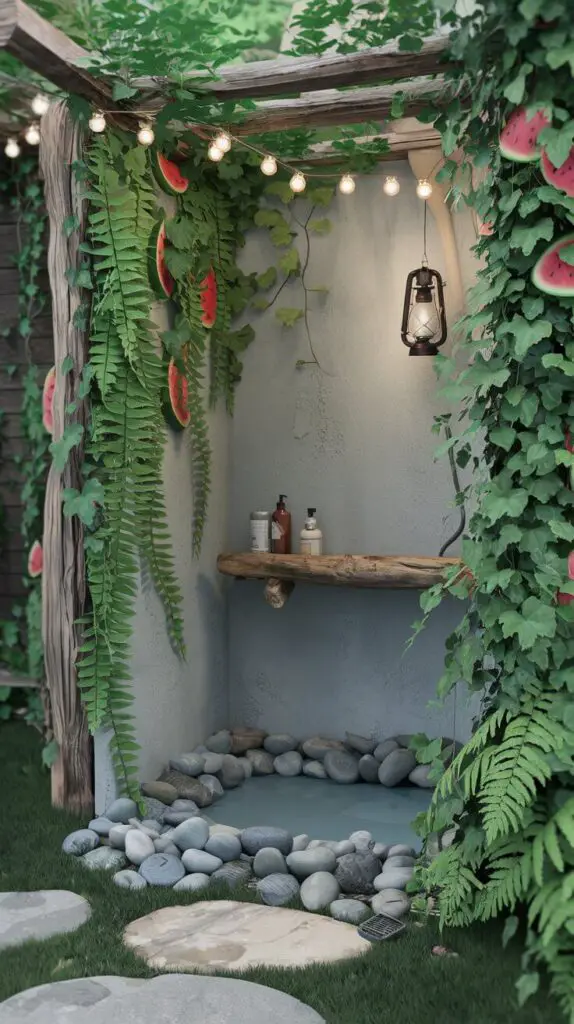
This is where you flex your creativity. Your shower should scream “you”—but maybe not literally.
Natural Accents
- River rock border: Line the base with smooth stones for a creek-side feel.
- Hanging plants: Ferns or ivy soften the structure and boost privacy.
- Driftwood shelves: Perfect for holding soap or that craft beer you’ll inevitably bring out there.
Lighting
String up solar fairy lights or hang a lantern. Pro tip: Citronella candles = mood lighting and mosquito defense.
Story Time: I accidentally grew a watermelon vine around my shower last year. It was equal parts chaotic and glorious.
Step 5: Test It Out (And Maybe Do a Victory Dance)
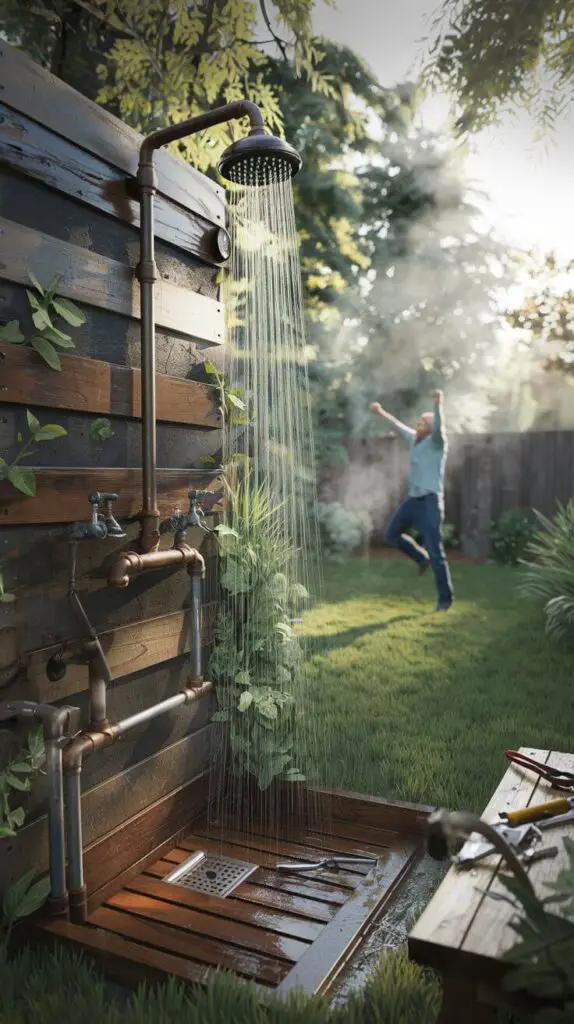
Turn on the water, check for leaks, and adjust the temperature. If everything works, congratulations—you’ve just built something epic. If not, grab a wrench and channel your inner plumber.
Final Thoughts: Go Forth and Shower Al Fresco
Building a rustic outdoor shower isn’t just about functionality—it’s about creating a little slice of paradise.
Whether you’re rinsing off after a swim or just pretending you’re in a spa commercial, this project adds serious charm to your backyard.
Plus, you’ll never have to explain why there’s a hose dangling from your maple tree again.
Ready to get started? Grab those materials, crank up your favorite playlist, and remember: Imperfections are just “rustic character.” Now go make your neighbors jealous. 🚿