Choosing a countertop for a small bathroom can be tough. It seems simple, right? Just one slab of material. But it’s harder than picking a Netflix show when you’re hungry.
In a small space, every inch counts—both for style and function. The wrong countertop can make your room feel cramped or chaotic.
It might even bring back memories of a 1993 motel makeover (and not in a good way). I’ve helped many people select counters for tiny bathrooms.
The key is balancing beauty, practicality, and proportions.
So, grab your coffee—or wine, no judgment—and let’s make this decision without second-guessing. 🙂
Step 1: Start With Your Bathroom’s Personality
Bathrooms have personalities. Don’t roll your eyes; it’s true.
Some are sleek minimalists, others have cottage-core charm, and some—bless them—are pure chaos with no idea who they are yet.
Here’s why this matters: Your countertop should match or complement the vibe you already have (or the vibe you’re aiming for).
- Minimalist/Modern: Think quartz, glass, or sleek solid surface materials in clean colors.
- Coastal or Beachy: Light marble or sand-toned engineered stone works wonders.
- Industrial: Concrete, stainless steel, or darker stone can fit right in.
- Vintage Chic: Butcher block, marble with veining, or patterned tile can give a soft, romantic feel.
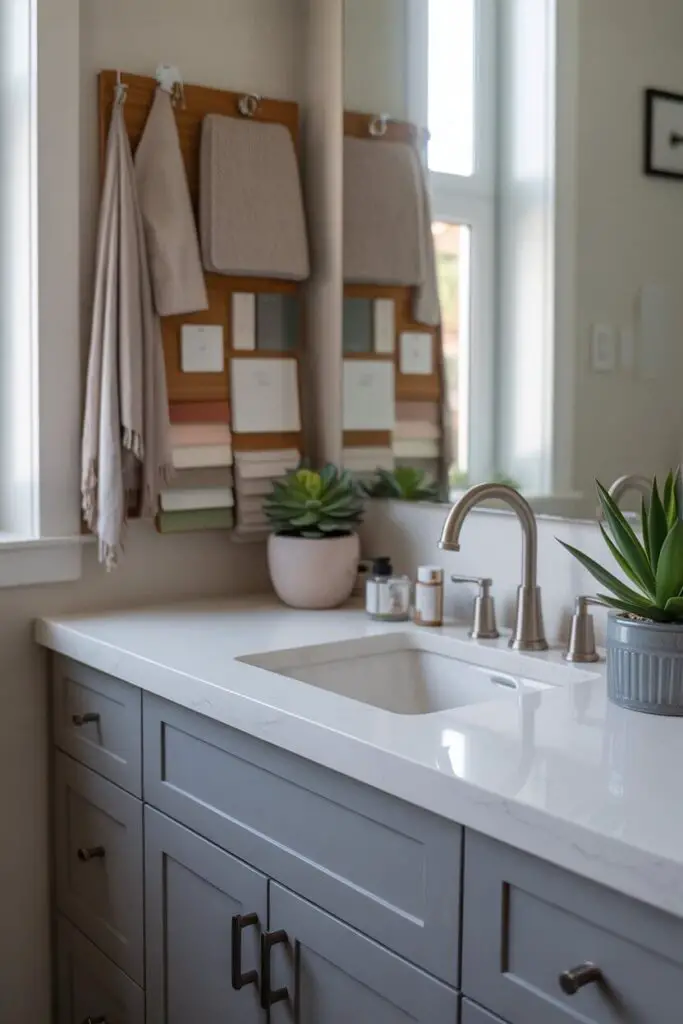
Pro tip: If your bathroom’s vibe is still TBD, start a mood board on Pinterest or with physical samples.
It’s easier to choose a countertop when you can see how it plays with tile, paint, and fixtures.
Step 2: Know Your Space Like a Realtor Trying to Sell It
Ever bought something that looked perfect in-store… only to discover at home it makes your space feel like a shoebox? Yeah.
That’s what happens when you skip the measuring tape.
Here’s your mini checklist:
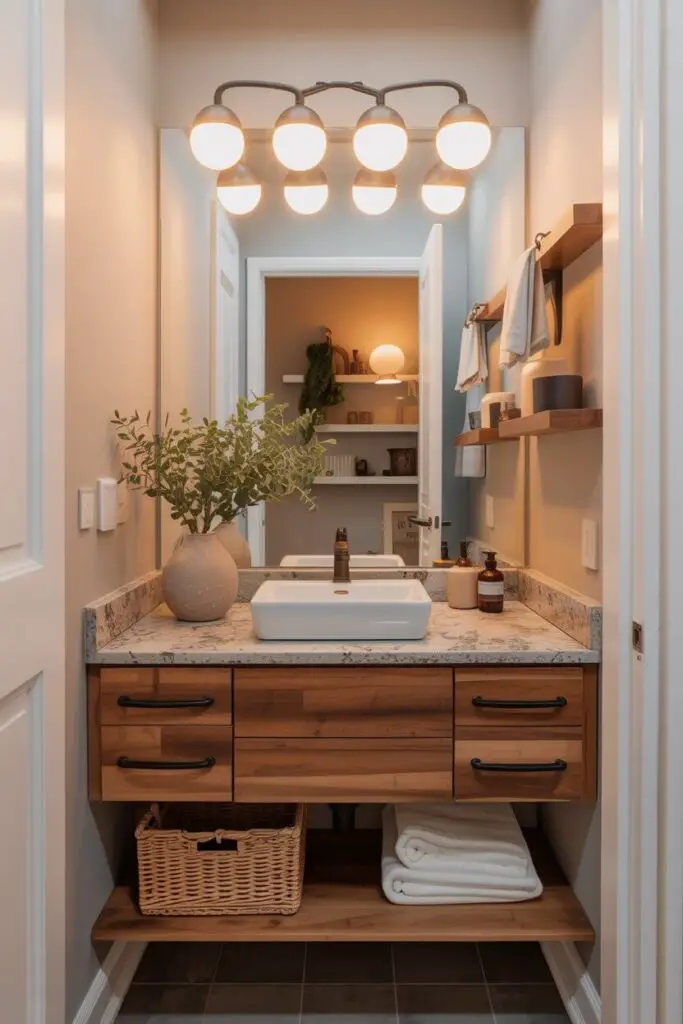
- Measure length, width, and depth of the countertop area.
- Note sink type (undermount, vessel, drop-in) because it affects usable space.
- Factor in door swings—nothing like discovering your bathroom door smacks into your vanity.
- Think vertical: in a small bathroom, counter thickness affects how “heavy” the space feels.
Personal anecdote: I once saw a gorgeous thick granite counter in a studio apartment bathroom. It looked like a kitchen island landed in there. Beautiful stone, wrong room. The poor thing looked like it was suffocating.
Step 3: Weigh the Pros and Cons of Each Material
Let’s play matchmaker between your space and some countertop materials.
Quartz
- Pros: Non-porous, stain-resistant, low maintenance. Looks expensive without needing to sell a kidney.
- Cons: Pricier than laminate; can look “too perfect” if you love natural imperfections.
- Best for: Modern, minimal, or high-traffic bathrooms.
Marble
- Pros: Elegant, timeless, “I summer in the Hamptons” vibes.
- Cons: Stains and scratches easily; needs sealing.
- Best for: Low-traffic guest baths where you can protect it from toothpaste explosions.
Granite
- Pros: Durable, unique patterns, natural feel.
- Cons: Needs periodic sealing; can feel visually heavy in small spaces if too dark.
- Best for: Transitional or natural-inspired designs.
Solid Surface (e.g., Corian-type)
- Pros: Seamless look, repairable, mid-range price.
- Cons: Can scratch; less “luxurious” look than natural stone.
- Best for: Family bathrooms or rental spaces.
Laminate
- Pros: Affordable, many patterns mimic stone.
- Cons: Less durable, not heat-friendly.
- Best for: Quick refreshes or tight budgets.
Concrete
- Pros: Custom shapes, industrial chic.
- Cons: Needs sealing; can crack if not installed well.
- Best for: Statement bathrooms with an urban edge.
Key takeaway: Small bathroom? Go for lighter colors or fine-grained patterns to keep the space airy.
Step 4: Color Choices That Don’t Shrink the Room
Color psychology is a real thing—and in a small bathroom, it’s your secret weapon.
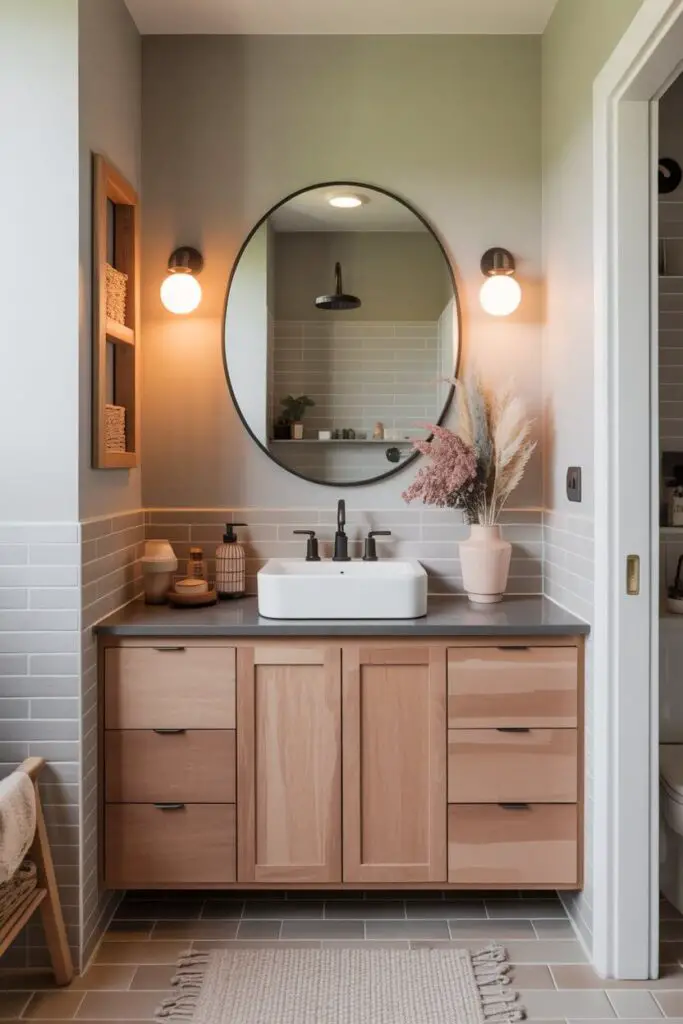
- Light neutrals (white, cream, soft gray): Make the room feel bigger.
- Soft pastels: Add personality without overwhelming.
- Bold/dark colors: Dramatic, but can visually shrink the space—best in powder rooms where mood beats practicality.
Pro tip: Match countertop undertones with wall and floor colors.
If your tile is warm-toned beige, don’t drop in a cool-toned gray top unless you want it to look like a bad blind date.
Step 5: Maximize Function Without Losing Style
Your countertop isn’t just a pretty face—it needs to work.
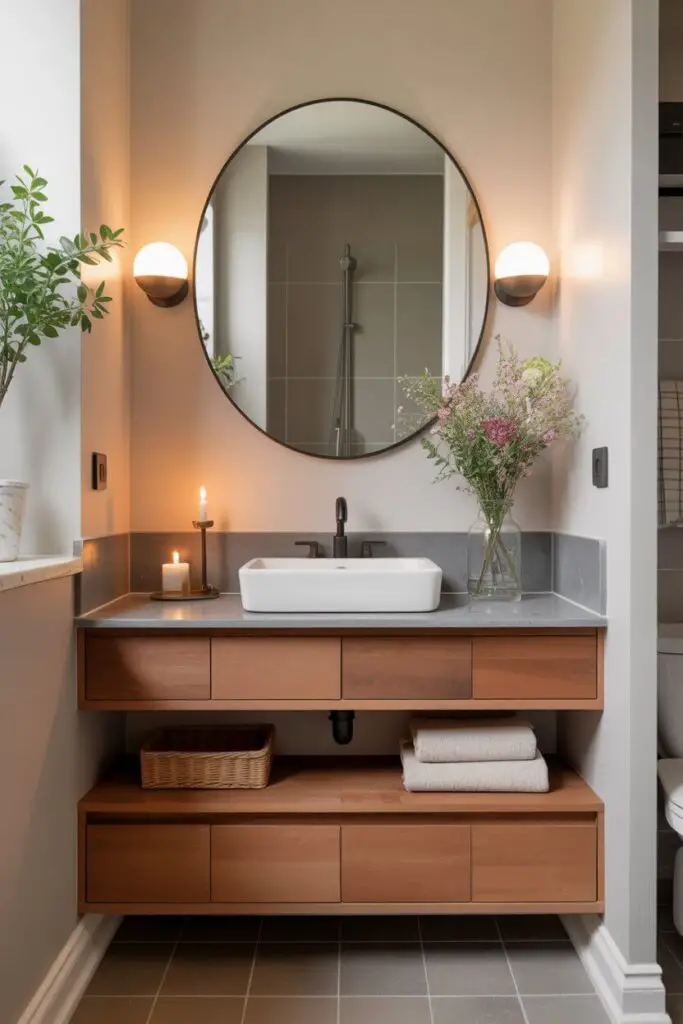
- Integrated sinks create a seamless look and make cleaning easier.
- Overhangs can create a tiny bit of extra usable space.
- Built-in backsplashes save walls from water damage.
Personal experience: I once swapped a bulky vessel sink for a sleek undermount in a small bath.
Not only did it look cleaner, but suddenly there was space for a candle, soap, and—my personal joy—a tiny vase with fresh flowers.
Step 6: Don’t Ignore Maintenance (Future You Will Thank You)
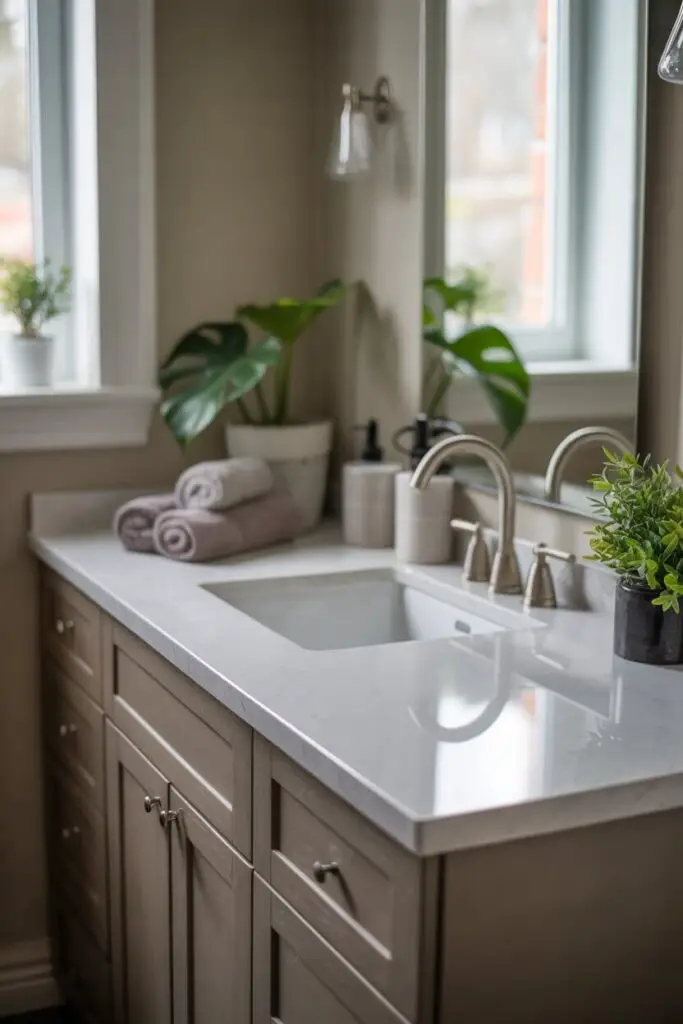
Some materials are high-maintenance divas. Others are low-drama, low-effort.
Ask yourself: Do I want to spend my weekends sealing stone or actually living my life?
- Low maintenance: Quartz, solid surface, laminate.
- Medium maintenance: Granite (occasional sealing).
- High maintenance: Marble, concrete (frequent sealing, gentle cleaners only).
Step 7: Think About the Edges
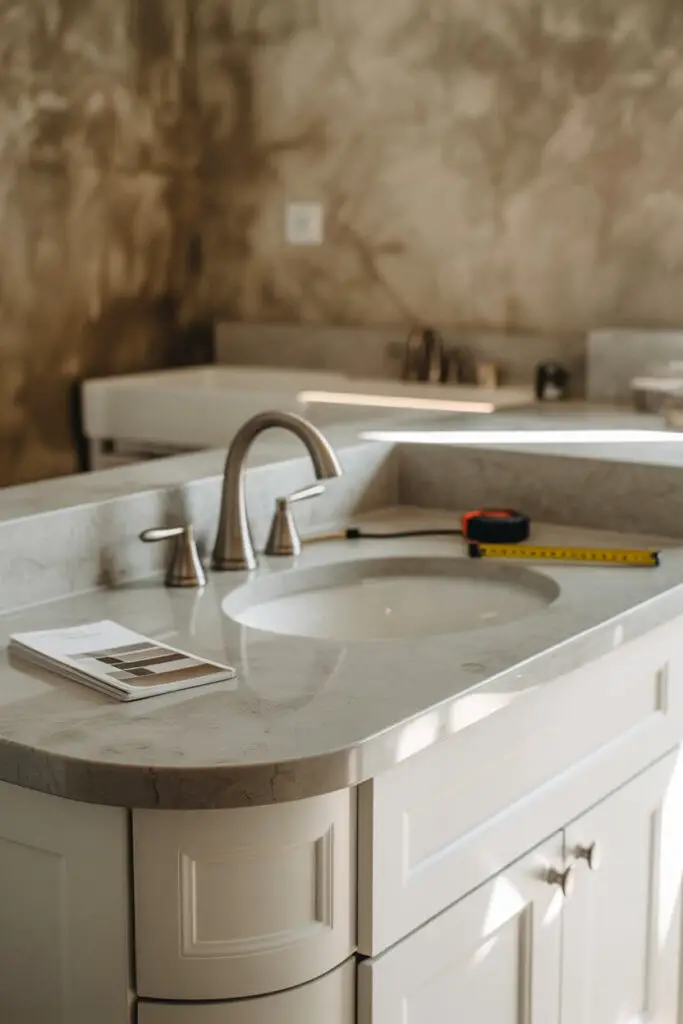
Yes, countertop edges matter—especially in small bathrooms where you’re guaranteed to bump into them at some point.
- Rounded edges = safer and softer look.
- Straight edges = crisp, modern.
- Ogee or decorative edges = traditional, but can feel fussy in tight spaces.
IMO, rounded or eased edges win most of the time in small spaces. Less hip-bruising, more flow.
Step 8: Make It Look Custom (Even on a Budget)
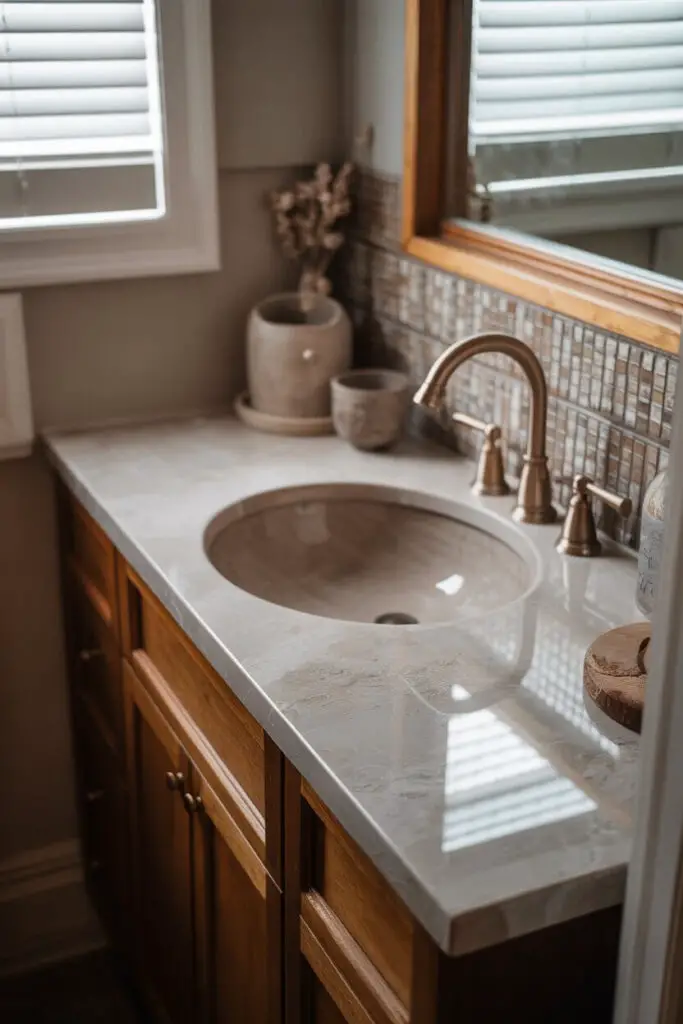
- Mix materials—wood accents with stone, or a tile backsplash with a plain top.
- Add an unusual sink shape or faucet to make the counter feel special.
- Use a remnant piece from a stone yard for big savings (and eco points).
Step 9: Lighting Makes or Breaks the Countertop
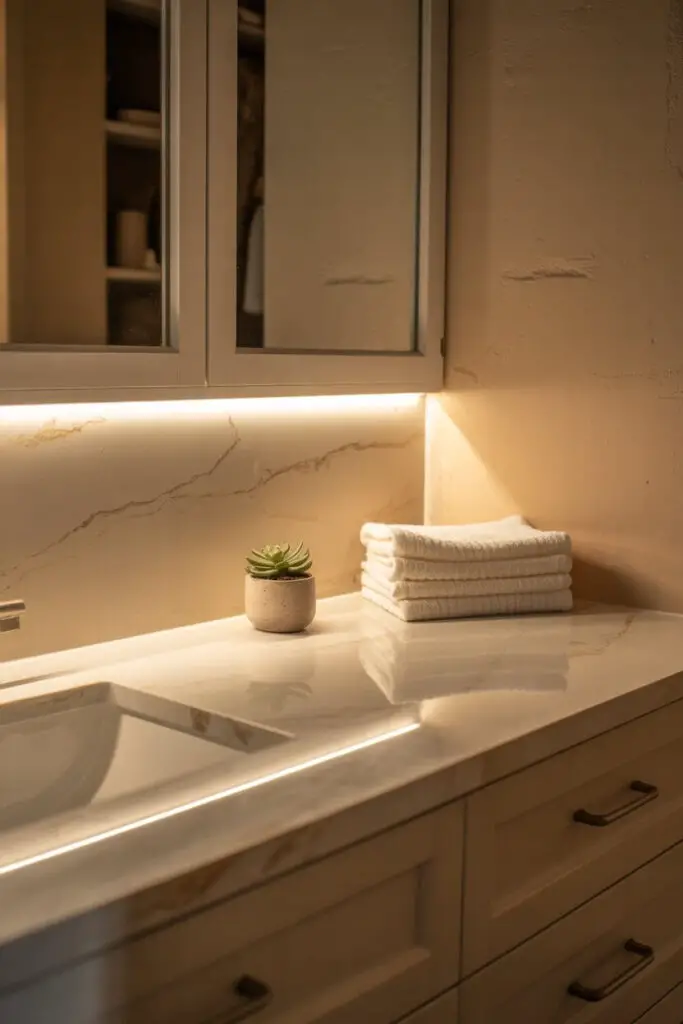
I can’t stress this enough—bad lighting can make even the fanciest counter look sad.
- Warm LED lighting flatters stone veining and skin tones.
- Under-cabinet lighting creates a glow that elevates the space.
Ever noticed how everything looks better in a cozy café? Same concept.
Step 10: Sustainability and Eco-Friendly Options
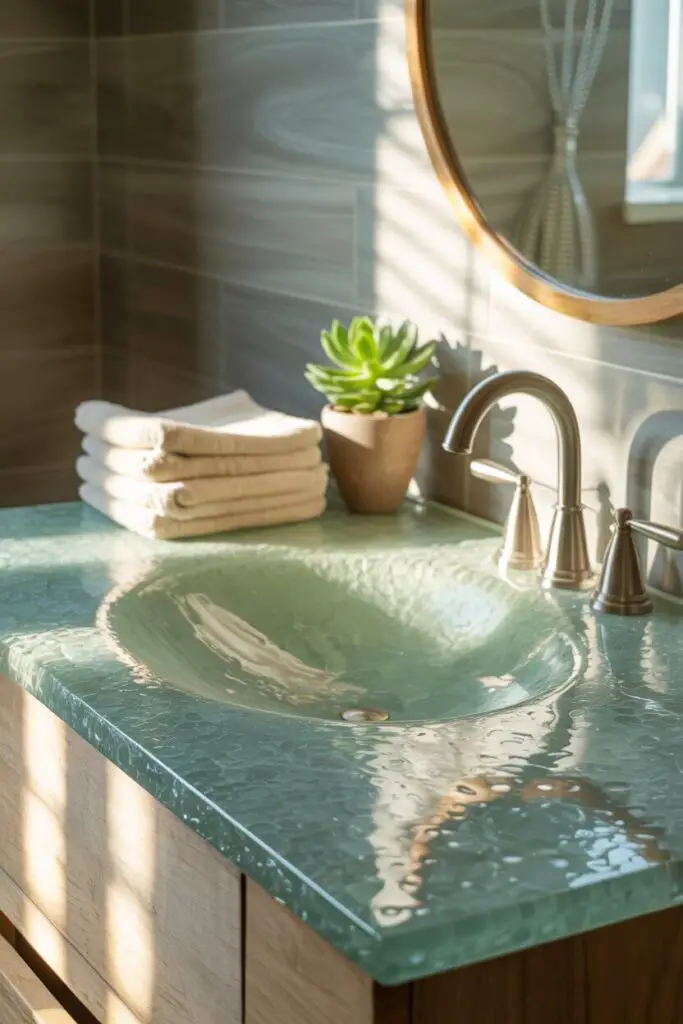
If you care about sustainability (and your conscience), consider:
- Recycled glass countertops—beautiful and eco-smart.
- Bamboo or reclaimed wood tops—warm and sustainable.
- Local stone—reduces transportation emissions.
Step 11: Budget Like a Pro
In small bathrooms, the countertop is a smaller surface area—so you can sometimes afford to splurge. But remember:
- Factor in installation—it can cost as much as the material itself.
- Don’t forget sink, faucet, and backsplash costs in your budget.
- Set aside 10–15% for surprises (because there will be some).
Step 12: Order Samples (Non-Negotiable)
Never skip samples. Lighting, wall colors, and even your mirror frame can change how a material looks.
Order a few, live with them for a week, and watch how they look morning, noon, and night.
Conclusion: Your Small Bathroom Deserves Main Character Energy
Choosing a small bathroom countertop isn’t about picking “the nicest one” in a vacuum—it’s about finding the one that fits your style, space, and lifestyle.
If you remember nothing else, remember this:
- Size and proportion first.
- Material and maintenance second.
- Style and personality third.
Trust your gut, get hands-on with samples, and don’t be afraid to make a choice that makes you smile every time you brush your teeth.
Because IMO, if your bathroom can make you happy before coffee… you’ve nailed it.