Small bathrooms can challenge both your patience and Tetris skills. Every inch counts, and a single mistake can turn “cozy” into “claustrophobic.”
I’ve seen bathrooms where turning around feels like a dance. The good news? With smart planning and some tricks, you can make a small bathroom stylish and spacious.
In this guide, I’ll share my top layout strategies and clever tips from real-life makeovers. Think of this as a friendly chat.
One friend moved the vanity three times in a day just to see if it felt better (guilty).
Step One: Know Your Space Before You Start Moving Things
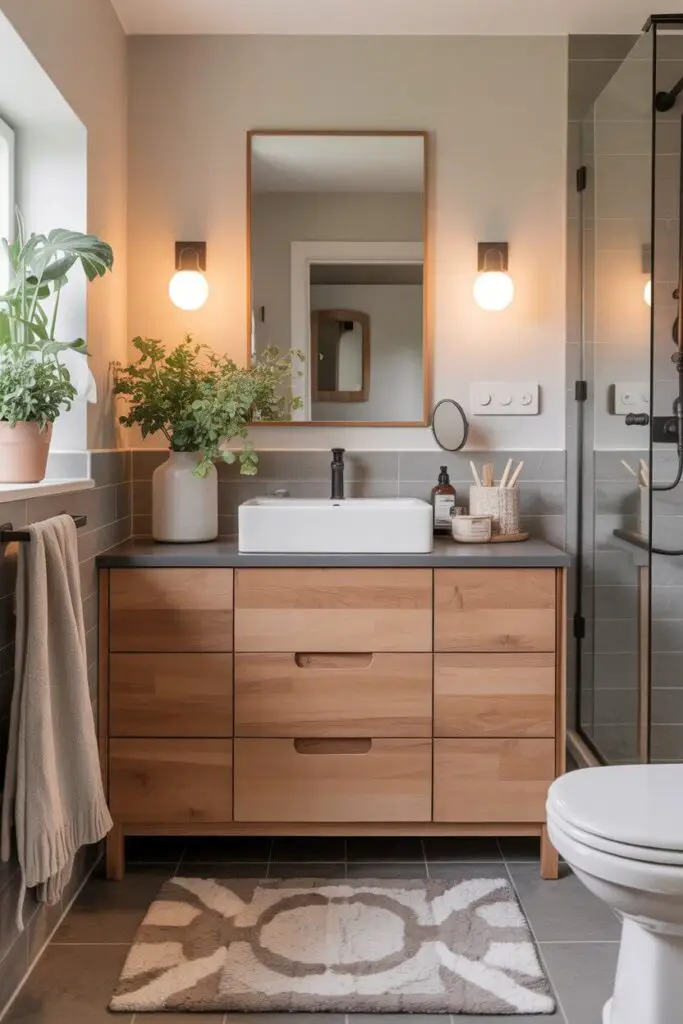
Measure like your sanity depends on it
You can’t arrange what you don’t measure. Grab a tape measure and note every dimension: length, width, height, and the placement of doors, windows, and plumbing points. Don’t skip this step — guessing is the fastest way to end up with a vanity you can’t open without hitting the toilet.
- Measure clearances for doors, drawers, and shower screens.
- Mark fixed elements you can’t move (plumbing stacks, windows).
- Sketch a scale layout — even a rough pencil sketch will save headaches later.
Pro tip from experience: Always check if the bathroom door can swing without hitting anything. I once had to reverse a door because it blocked half the shower. Not my proudest layout moment.
Step Two: Decide What Furniture You Actually Need
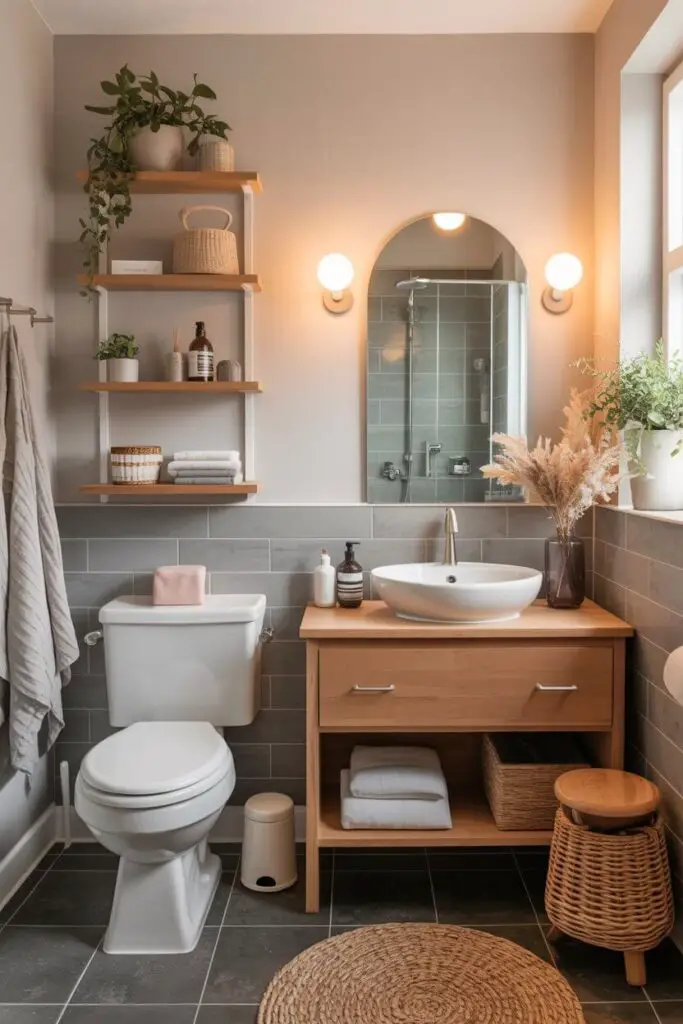
Prioritize the essentials
In a small bathroom, everything must earn its place. Start with must-have pieces: toilet, sink/vanity, shower or tub. Only after those are set should you consider “extras” like storage towers or stools.
Ask yourself:
- Do I need a full vanity or would a pedestal/small wall-mounted sink free up floor space?
- Will a corner sink or shower open up more movement area?
- Could I swap a bulky cabinet for slim floating shelves?
Ditch what doesn’t serve you
If a piece is purely decorative but hogs space, rehome it. Style in a small bathroom should come from function + design, not filler.
Step Three: Work with Your Bathroom’s Shape
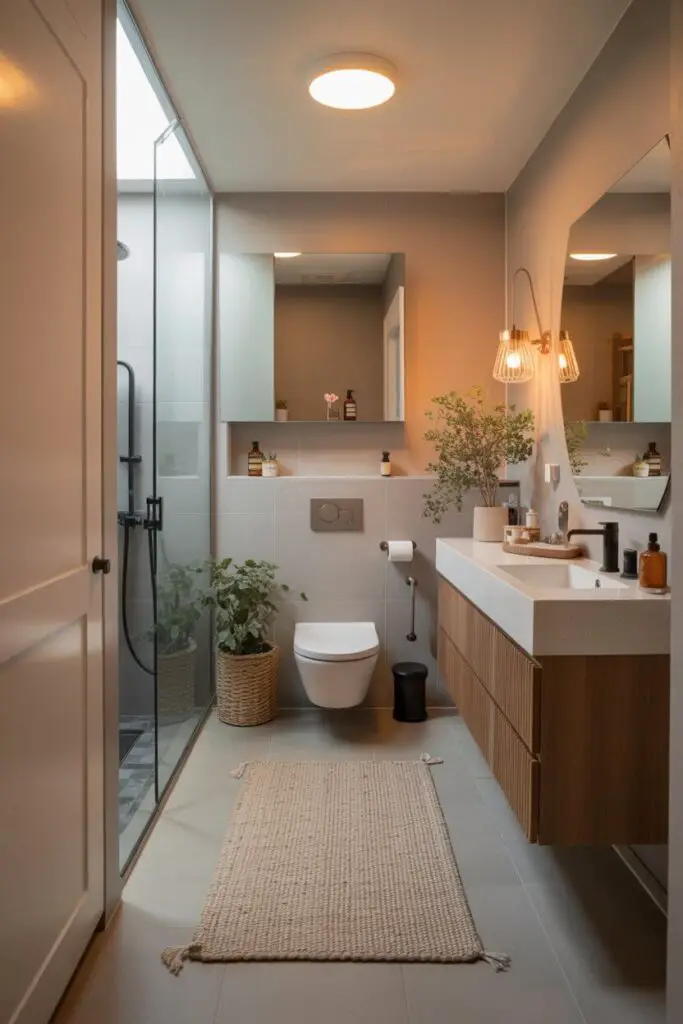
Rectangular bathrooms
- Place the largest piece (often the vanity) along the longer wall to create visual balance.
- Align the toilet and shower opposite each other to maintain an open walkway.
Square bathrooms
- Keep fixtures to the perimeter to leave a clear center.
- Floating vanities or wall-mounted toilets work wonders here.
Odd-shaped or angled bathrooms
- Corners are gold in unusual layouts. Corner sinks, angled showers, or triangular storage units can fit where standard pieces can’t.
- Built-ins can disguise awkward nooks while adding function.
Step Four: Play the “Line of Sight” Game
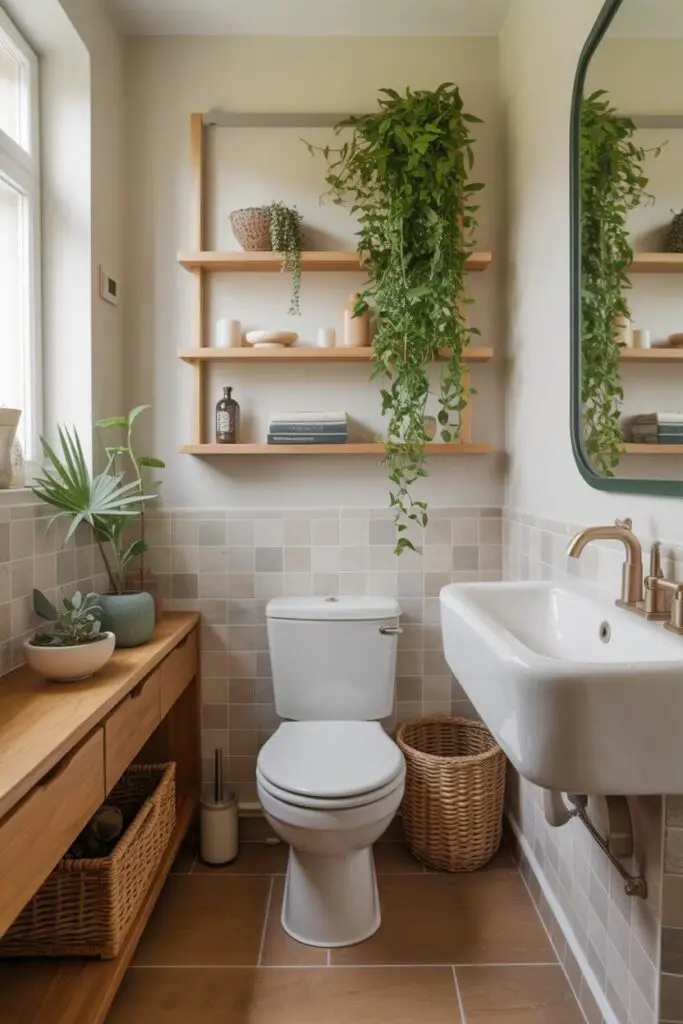
What you see first when you walk in matters. Place visually light pieces in direct view and tuck bulkier items to the sides.
- If the toilet is unavoidable in sightline, use a slim shelving unit or plant above it to soften the look.
- Position mirrors where they reflect light or open space, not clutter.
Step Five: Think Vertical, Not Just Horizontal
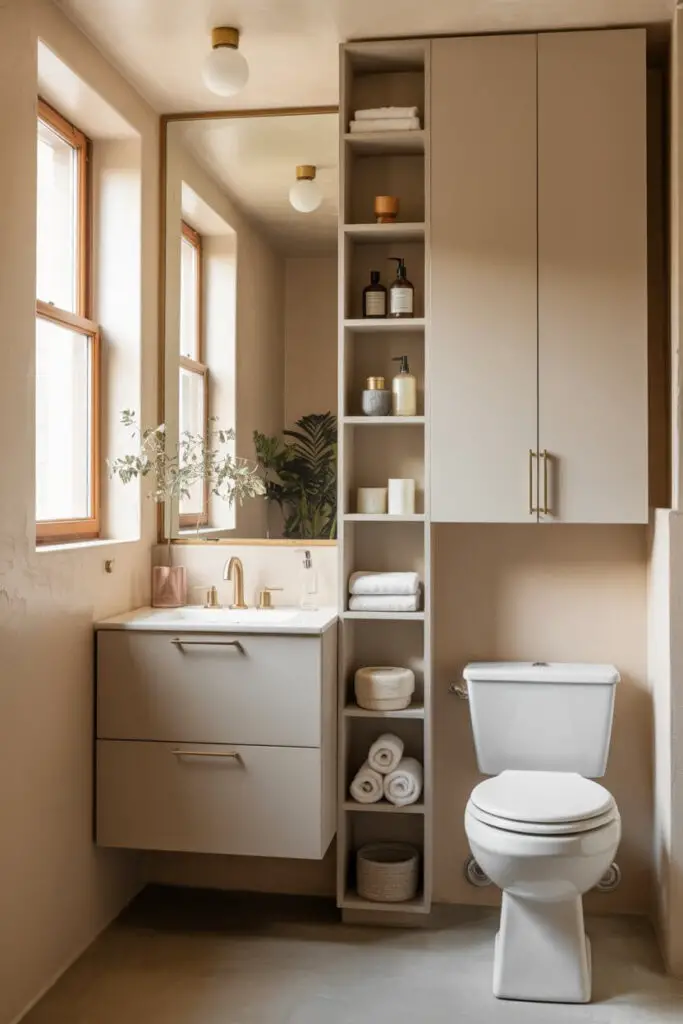
Mount when you can
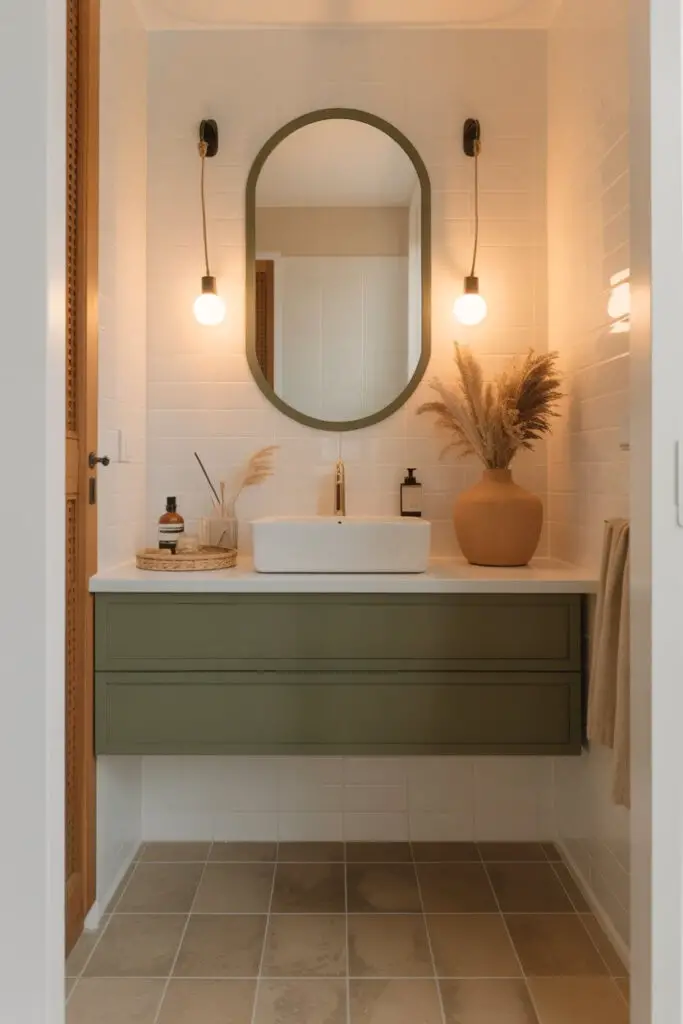
- Floating vanities open up floor space and make the room feel bigger.
- Wall-mounted cabinets or shelves above the toilet store essentials without crowding the floor.
Tall but slim storage
- A slender tower unit in a corner can hold towels and toiletries without dominating the room.
- Over-the-door storage is perfect for renters or quick upgrades.
Step Six: Keep Pathways Clear
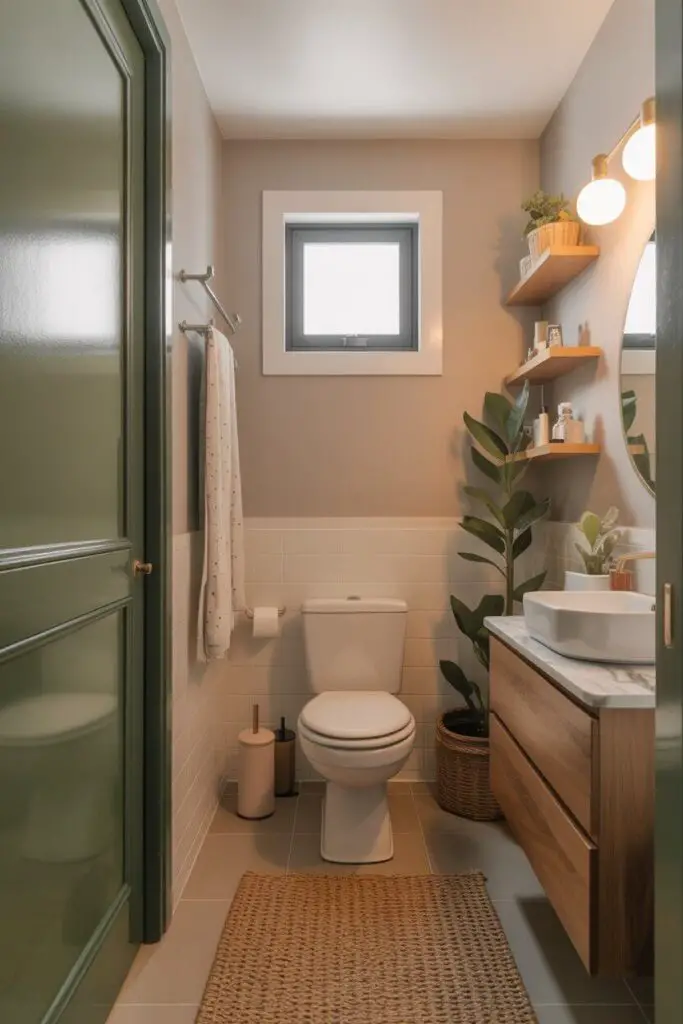
Your walking space is sacred in a small bathroom. Avoid blocking access to any area.
- Maintain at least 60 cm (about 24 inches) of clear space in front of the toilet and sink.
- In very tight spots, a sliding barn door or pocket door can replace a swinging door to free up valuable interior space.
Step Seven: Arrange by Frequency of Use
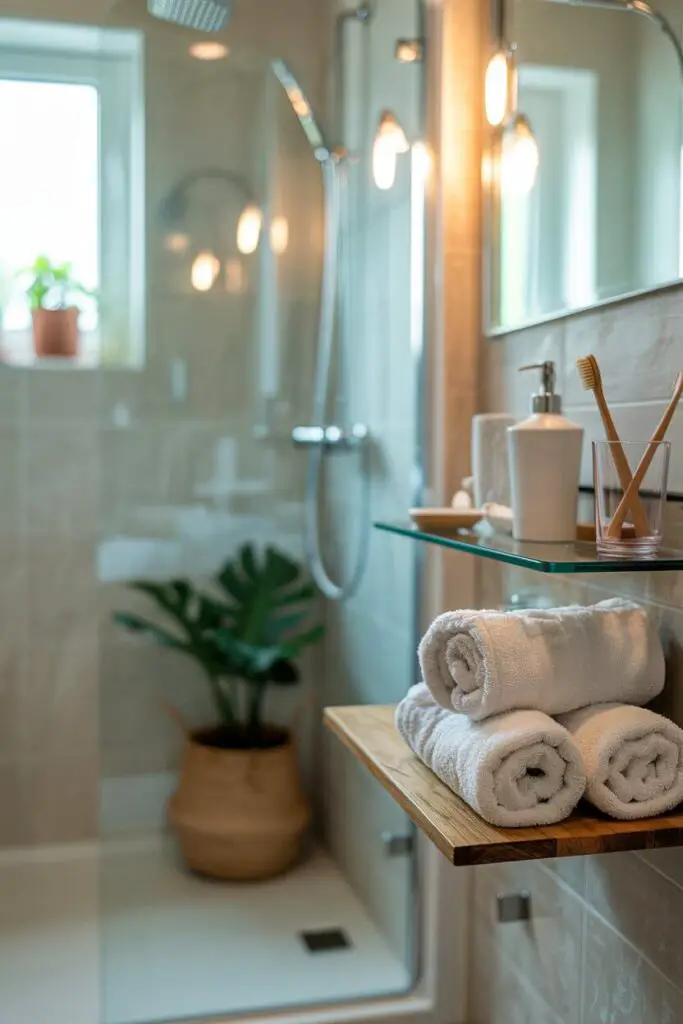
Daily items close at hand
Store toothbrushes, towels, and toiletries within arm’s reach of where you use them. Example: keep extra towels near the shower, not across the room.
Occasional-use items higher or farther
Backup toiletries or seasonal items can live up high or in less accessible spots.
Step Eight: Use Corners Like a Pro
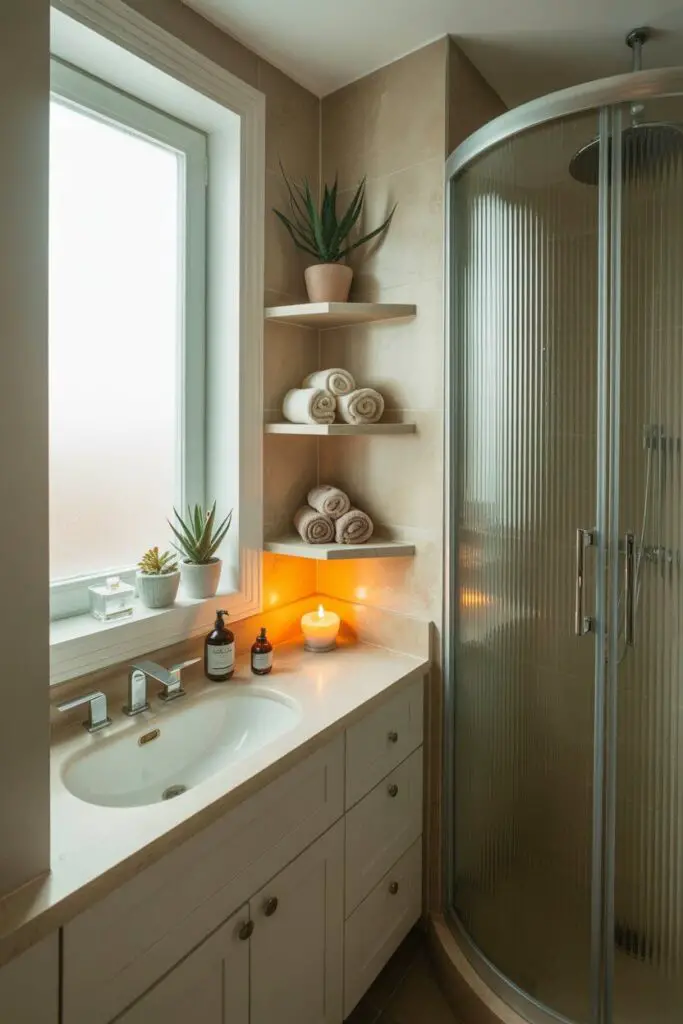
Corners are the unsung heroes of small bathroom layouts.
- Corner sinks can free up wall length for other storage.
- Curved corner showers maximize usable space and ease movement.
- Triangular corner shelves are perfect for small plants, candles, or folded towels.
Step Nine: Furniture Ideas That Actually Work in Small Bathrooms
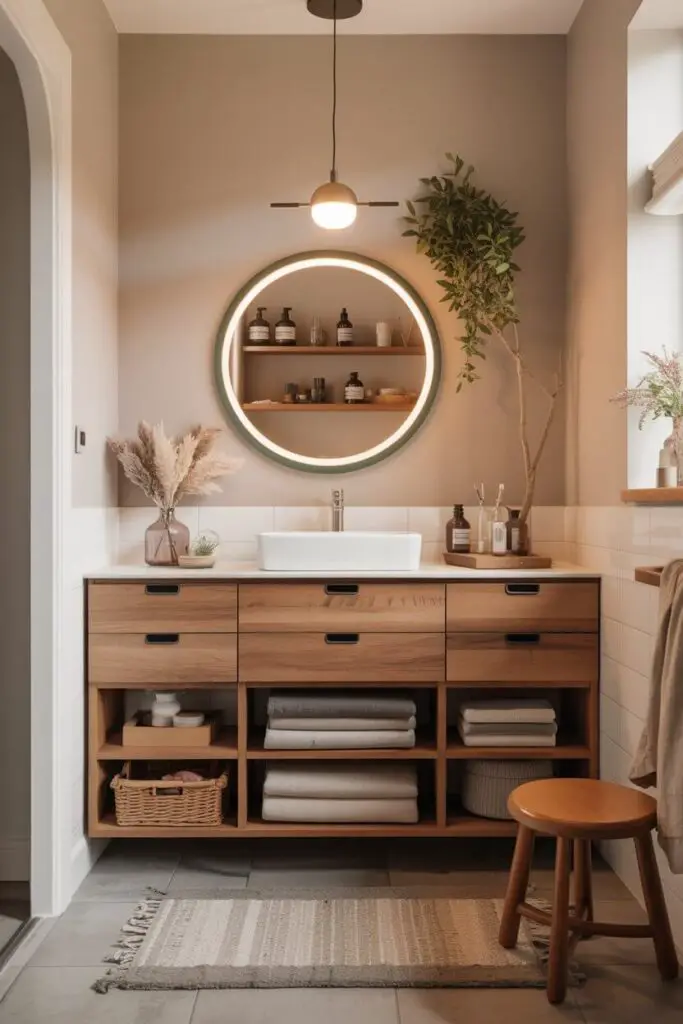
Slim vanities
Go for depths of 40–45 cm instead of standard 50–60 cm to save space without sacrificing function.
Multi-taskers
- Vanity with drawers + shelves: hides clutter but still has open space for display.
- Storage stool: doubles as seating and a bin for towels.
Transparent pieces
Acrylic or glass shelving keeps the room airy while still offering storage.
Step Ten: Be Strategic with the Toilet Area
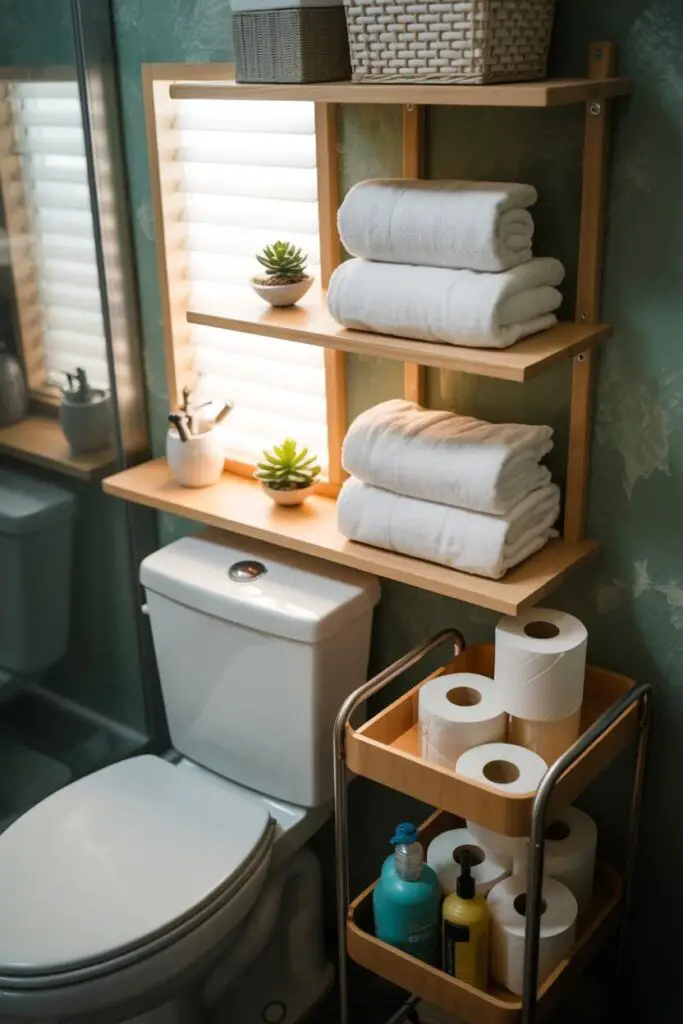
- Add over-toilet shelving to store tissues and décor.
- Use a slim rolling cart next to the toilet if space allows — ideal for spare toilet paper and cleaning supplies.
- Wall-mount the toilet (if budget allows) to gain a few extra inches of floor space.
Step Eleven: Mirror, Mirror on the Wall
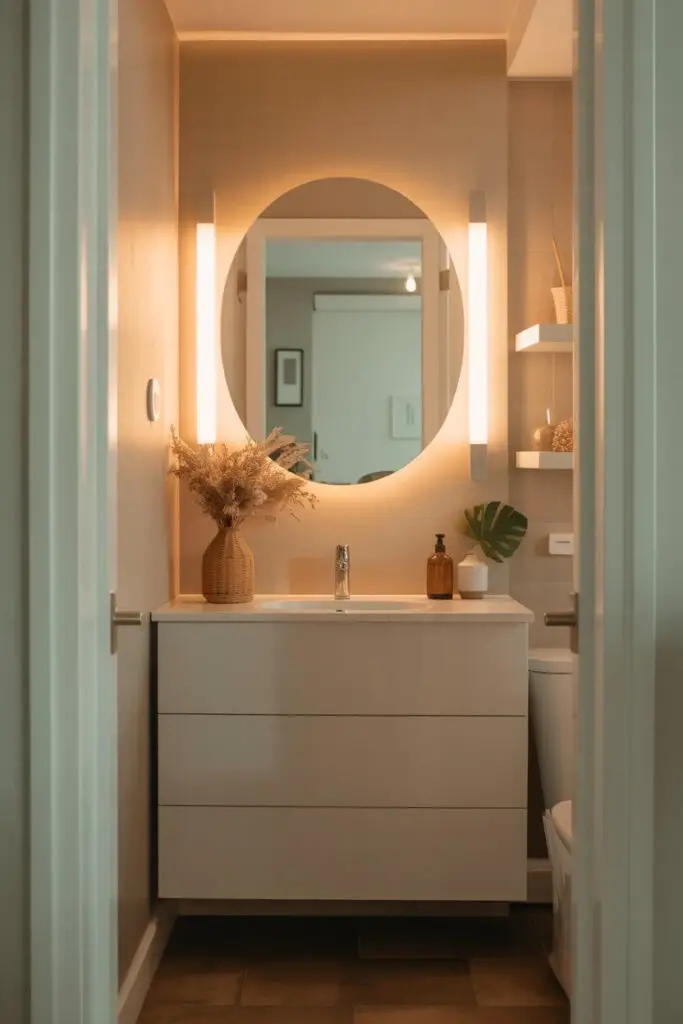
Large mirrors can double the sense of space. Place them opposite windows or light sources to bounce light around.
If storage is tight, opt for mirrored medicine cabinets for a two-in-one win.
Step Twelve: Lighting Can Influence Layout
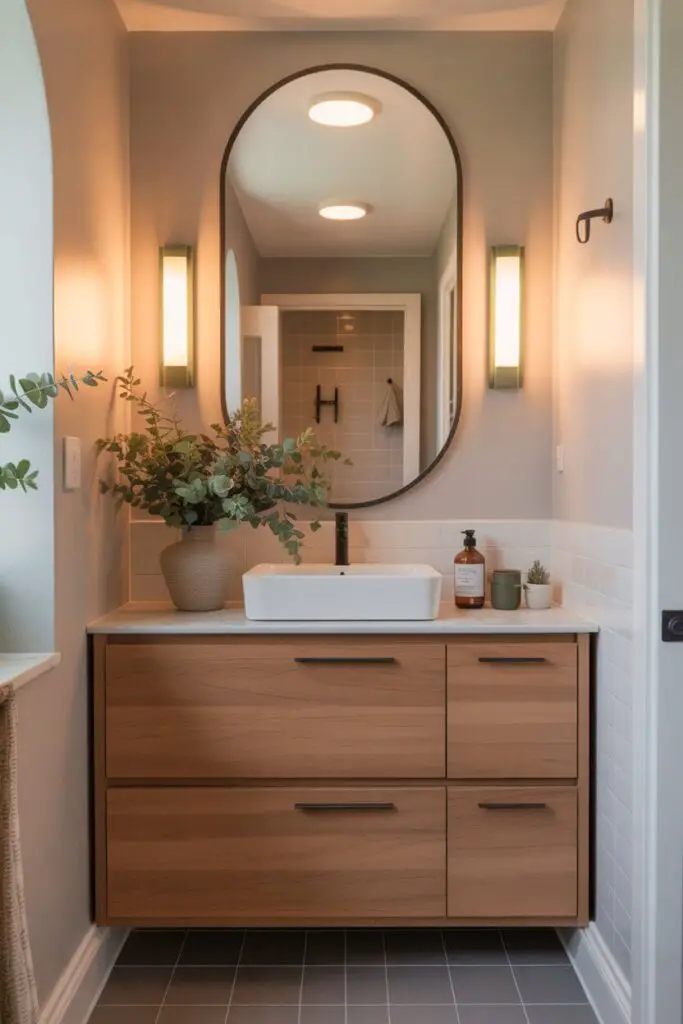
Furniture placement should work with your lighting.
- Keep mirrors aligned with your best light source — natural or artificial.
- If possible, install sconces beside the mirror instead of overhead to avoid unflattering shadows.
Step Thirteen: Make Space Feel Bigger Without Moving Walls
Color choices
Light colors (white, cream, soft grey) keep the space open. But don’t fear contrast — a dark vanity on a light wall can add depth.
Patterns and tiles
Lay floor tiles diagonally to give an illusion of width. Vertical wall tiles can make ceilings feel taller.
Step Fourteen: Don’t Forget Comfort
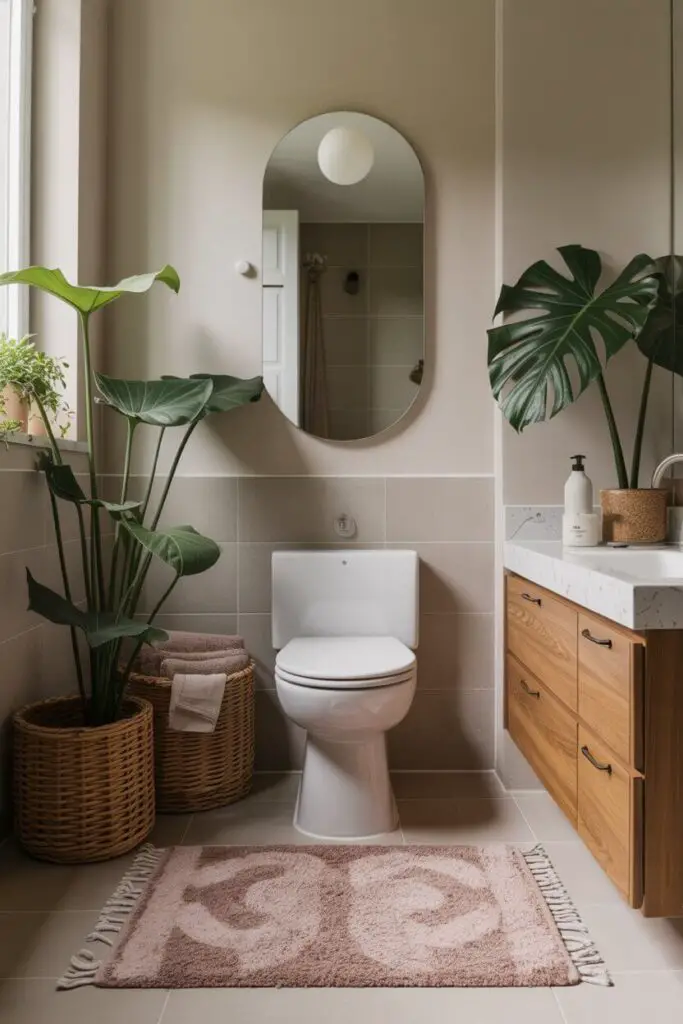
A small bathroom can still feel luxurious.
- Keep soft textures like plush towels within view.
- A small rug or bath mat can ground the space — just don’t go oversized.
Sample Layout Scenarios
Layout 1: Narrow Room
- Wall-mounted sink on one long wall, toilet next to it, slim storage across from both.
- Sliding glass shower door at the far end.
Layout 2: Almost Square
- Floating vanity centered on one wall, toilet next to shower with a glass divider.
- Tall storage unit tucked in a corner.
Layout 3: Awkward Angles
- Corner vanity and angled shower to maximize floor.
- Custom shelving in unusual nooks.
Common Mistakes to Avoid
- Overcrowding with storage units — less is more here.
- Ignoring door swings — always check clearance.
- Placing the vanity opposite the shower door if both swing out — awkward traffic jam guaranteed.
- Skipping vertical storage — you lose a lot of potential space.
Quick Wins for Instant Improvement
- Swap a bulky vanity for a floating sink to reveal more floor.
- Replace an opaque shower curtain with a clear glass panel to open sight lines.
- Add a mirror over the toilet to bounce more light.
Personal Trick: The “Mock-Up” Method
Before committing, I mock up the layout using masking tape on the floor to outline where each piece will go.
It’s a quick way to check if you’ll bump your hip on the vanity every time you reach for the towel. Trust me, it’s better to know now than to regret it later.
Final Thoughts
Arranging furniture in a small bathroom is about balance, priorities, and clever thinking. You’re not just squeezing pieces into a space — you’re designing for comfort, efficiency, and style.
By measuring carefully, prioritizing essentials, using corners and vertical space, and keeping pathways open, you can make even the tiniest bathroom functional and beautiful.
So grab your tape measure, sketch out the plan, and start playing with the possibilities.
And remember: if it feels cramped when you mock it up, it will feel cramped in real life. Make the changes now, thank yourself later. 🙂