So… Why Homemade Ice Cream?
Confession: I’m obsessed with homemade ice cream. It’s not just a scoop after dinner; I own three ice cream makers and even have a flavor-testing spreadsheet. 🫠
But you don’t need to go that far to enjoy homemade ice cream.
Ever wonder why store-bought tubs taste off? It’s simple: homemade ice cream is creamier, fresher, and totally customizable.
You also don’t need fancy tools or a cooking degree to make it. So, grab a spoon. Let’s churn our way to happiness, one scoop at a time.
The Basics: What You Actually Need to Get Started
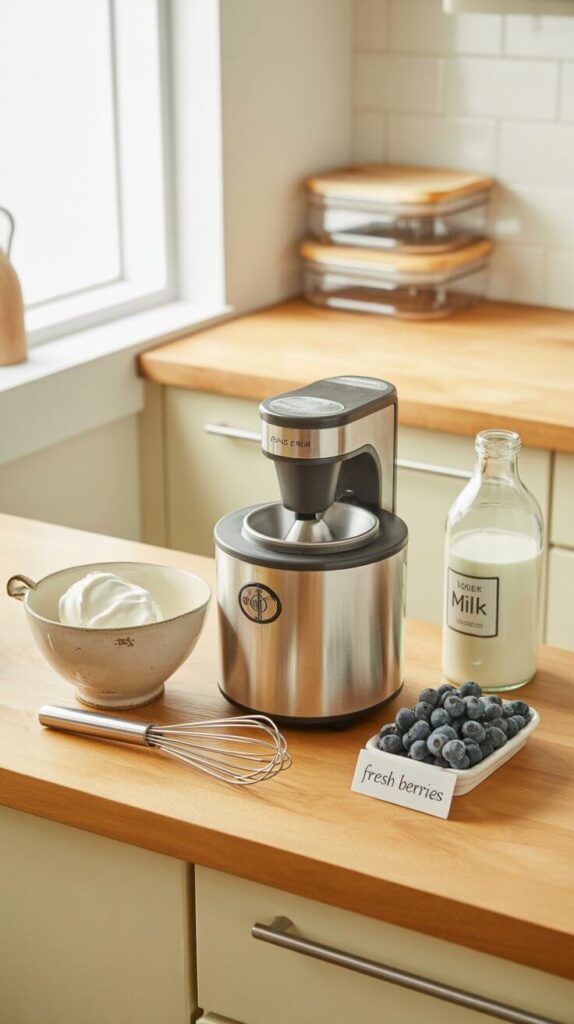
Let’s start simple—because you don’t need a chef’s hat to whip this up (but wear one if it makes you feel powerful).
🧰 Your Starter Kit
- A basic ice cream maker (manual or electric – I use a $50 one from Amazon and it works like a dream)
- Mixing bowls (because ice cream isn’t going to stir itself)
- Whisk or electric mixer (the more air, the better)
- Storage containers (unless you want to eat straight out of the mixing bowl… which I fully support)
🥛 The Core Ingredients
- Heavy cream (the queen of creaminess)
- Whole milk (don’t even think about skim)
- Sugar (because ice cream without sugar is just cold sadness)
- Flavoring/extras (vanilla, chocolate, fruits, etc.)
Pro tip: Use high-quality ingredients. Cheap cream tastes like, well, cheap cream. 🙃
Classic Vanilla Ice Cream (A.K.A. The One Flavor to Rule Them All)
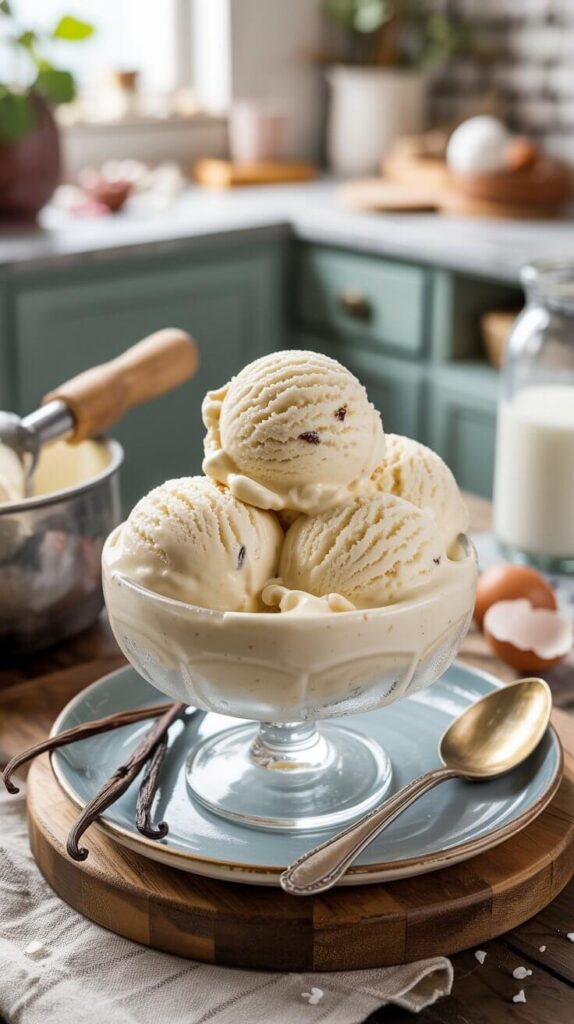
Before you start throwing bacon bits and lavender oil into your mix (please don’t), let’s get the vanilla base down. It’s the canvas for every other flavor.
Ingredients:
- 2 cups heavy cream
- 1 cup whole milk
- ¾ cup granulated sugar
- 1 tbsp pure vanilla extract
- Pinch of salt
Instructions:
- Whisk everything together until the sugar dissolves.
- Chill in the fridge for at least 2 hours (overnight is even better).
- Pour it into your ice cream maker and churn for 20–25 minutes.
- Transfer to a container, freeze for 2–4 hours… then dig in. 😍
Why it works: Vanilla isn’t “boring” when done right. It’s rich, smooth, and pairs with literally everything—from hot fudge to existential crises.
Chocolate Ice Cream That’ll Ruin Store-Bought for You Forever
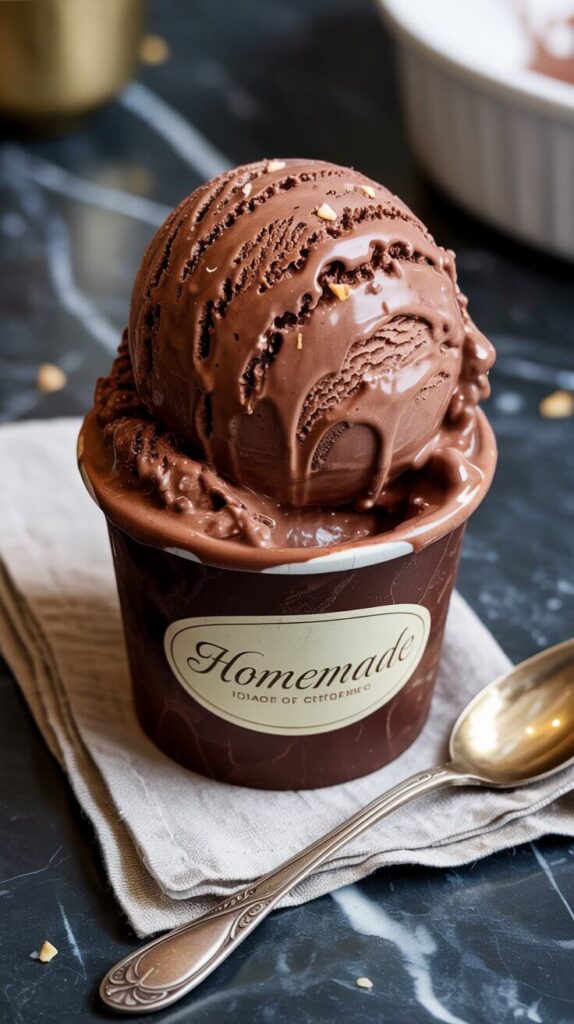
Chocolate lovers, listen up. This one’s not playing around—it’s dark, dreamy, and dangerously addictive.
Ingredients:
- 2 cups heavy cream
- ¾ cup cocoa powder (unsweetened)
- 1 cup whole milk
- ¾ cup sugar
- 1 tsp vanilla extract
- 100g melted dark chocolate (optional, but recommended for chocoholics)
How to Pull It Off:
- Whisk cocoa and sugar with a bit of cream to make a paste.
- Slowly mix in remaining cream and milk.
- Add vanilla and melted chocolate.
- Chill, churn, and freeze like you’ve done this a million times.
Personal note: I once ate an entire pint of this while binge-watching crime documentaries. No regrets.
Fruity & Fabulous: Strawberry Ice Cream That Tastes Like Summer
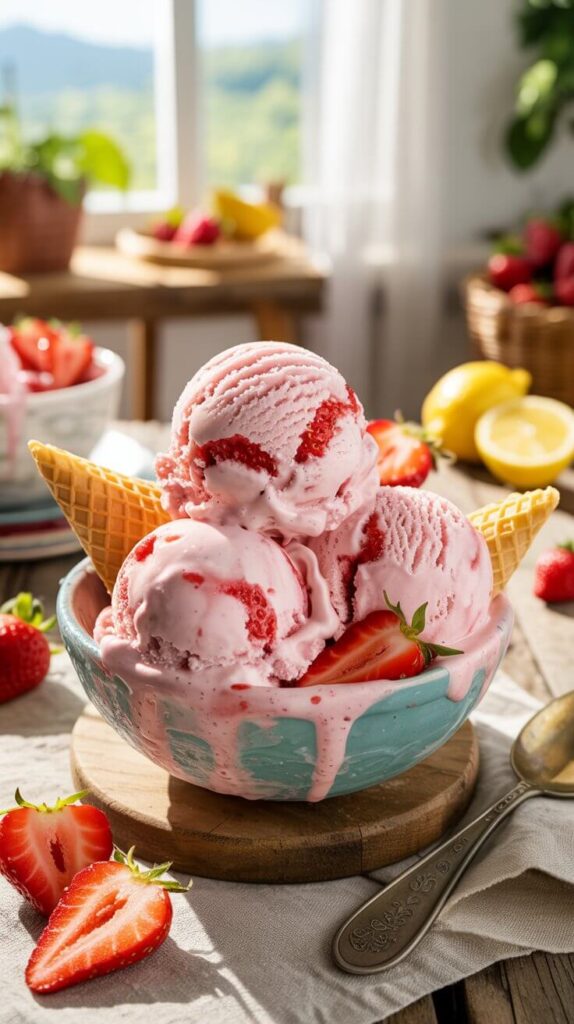
Ever had strawberry ice cream that actually tastes like strawberries? Yeah, that’s homemade magic.
Ingredients:
- 1½ cups fresh strawberries, chopped
- ¾ cup sugar (split into halves)
- 2 cups heavy cream
- 1 cup whole milk
- 1 tsp lemon juice
Steps:
- Macerate strawberries with ½ the sugar for 30 mins (fancy word for “let them get juicy”).
- Blend half into a purée; leave the rest chunky.
- Mix with cream, milk, remaining sugar, and lemon juice.
- Chill, churn, freeze—and pretend you’re eating it on a porch swing somewhere warm.
Hot take: Store-bought strawberry ice cream tastes like bubblegum. This one? Tastes like actual fruit. Imagine that.
No-Churn Ice Cream (a.k.a. The “I’m Too Lazy for a Machine” Method)
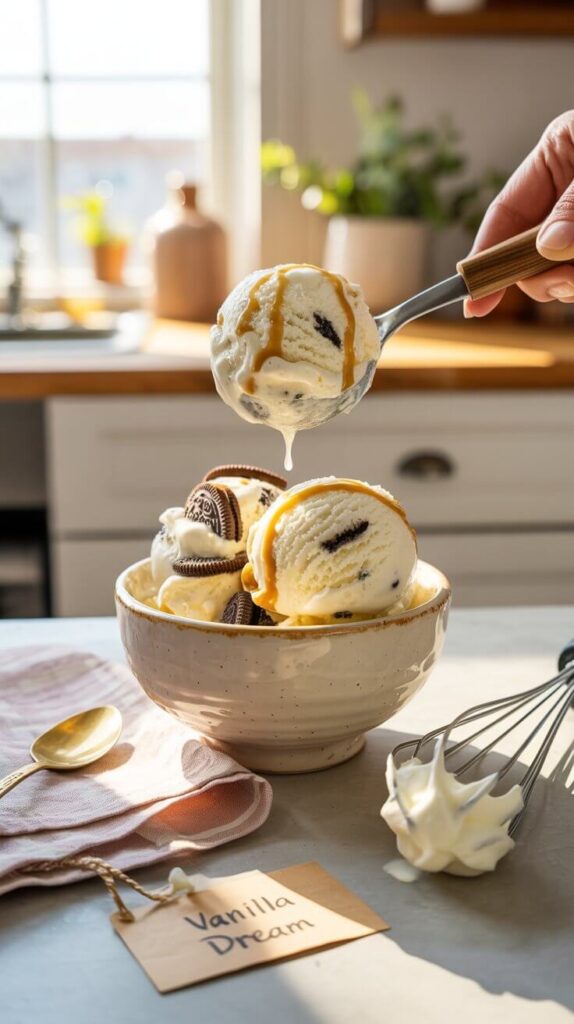
Got no ice cream maker? No prob. This one’s for you.
Ingredients:
- 2 cups heavy whipping cream
- 1 can (14 oz) sweetened condensed milk
- 1 tsp vanilla extract
- Optional mix-ins: crushed Oreos, caramel swirls, chocolate chips, etc.
Instructions:
- Whip the cream until stiff peaks form (channel your inner pastry chef).
- Fold in condensed milk and vanilla.
- Toss in your mix-ins and freeze for 6 hours.
FYI: This version is denser than churned ice cream, but still insanely good.
Mix-In Mania: Creative Add-Ins That’ll Make You Feel Like a Dessert Genius
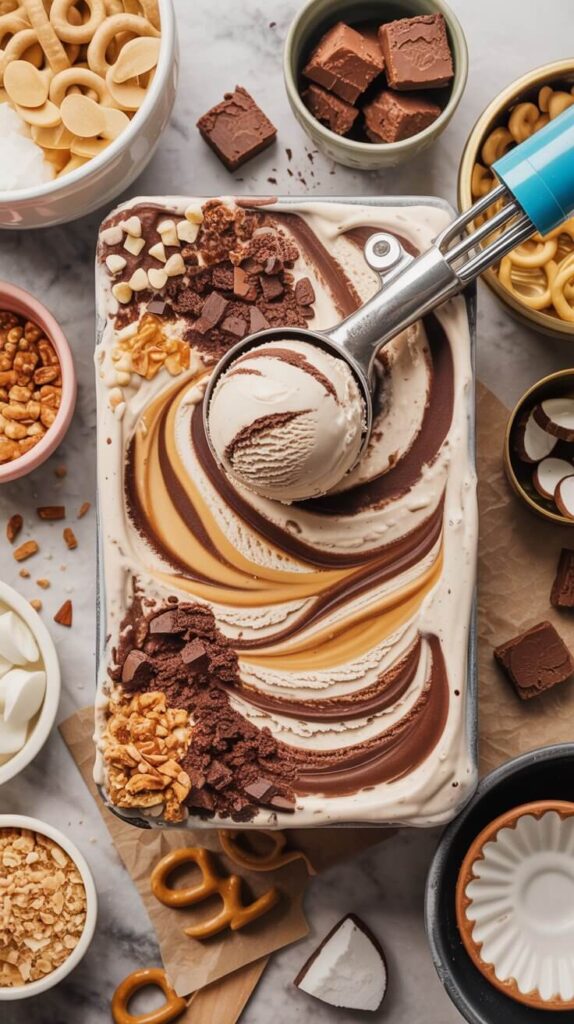
Let’s get wild, shall we? Once you’ve nailed your base, you can go full Willy Wonka.
My Favorite Add-Ins:
- Brownie chunks – because more dessert in your dessert = better
- Crushed pretzels – salty-sweet magic
- Peanut butter swirls – never met anyone who regretted this
- Toasted coconut – tropical vibes without the airfare
- Espresso powder – for that “I’m awake AND happy” feeling
Quick tip: Add mix-ins during the last 5 minutes of churning. Any earlier, and they sink like your motivation on a Monday morning.
Vegan Ice Cream That Doesn’t Taste Like Sadness
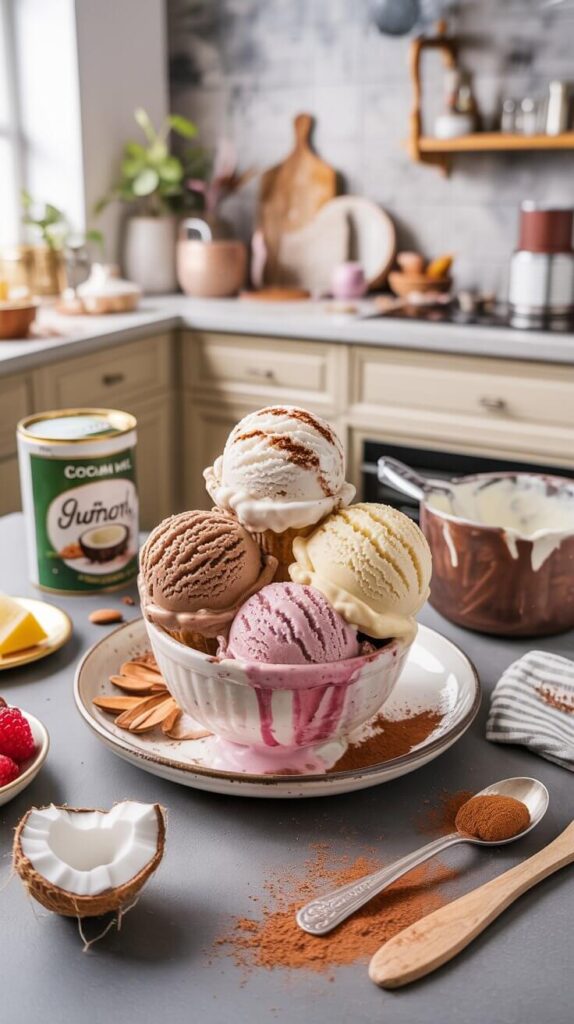
Plant-based doesn’t mean flavor-free. Trust me, I’ve had some vegan ice creams that slapped hard.
Ingredients:
- 2 cans full-fat coconut milk
- ¾ cup sugar
- 1 tbsp vanilla extract
- Pinch of salt
- Optional: almond butter, cocoa powder, or blended berries
The Process:
- Mix everything together until smooth.
- Chill, churn, and freeze.
- If using a no-churn method, whip it up with frozen bananas for a “nice cream” vibe.
IMO: Coconut milk is your best friend here—it’s creamy, rich, and not a compromise.
Weird but Wonderful Combos (That Somehow Work)
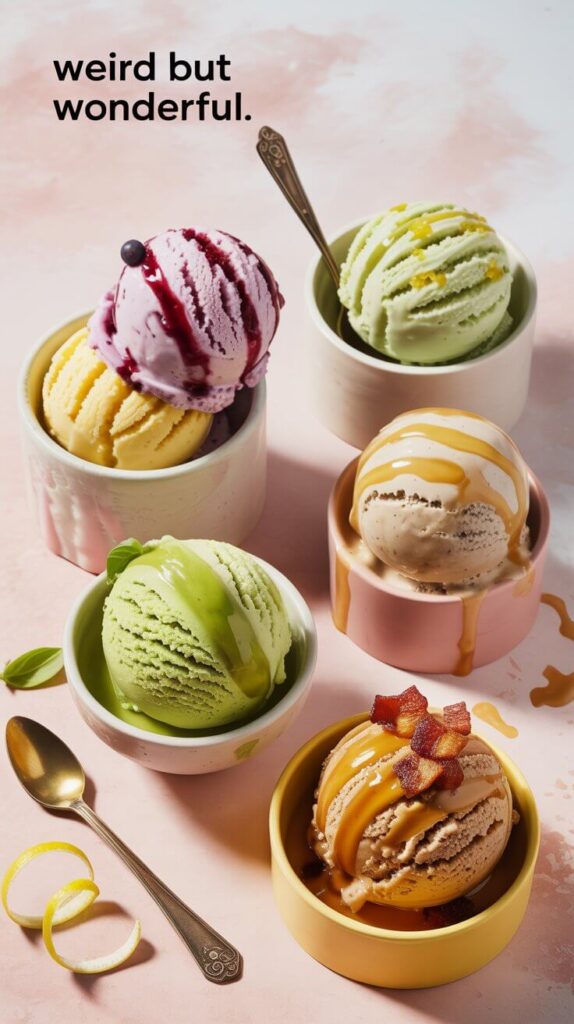
Some of these sound sketchy, but hear me out—they slap.
Strange Flavors Worth Trying:
- Sweet corn & blackberry – sweet, buttery, and summery
- Basil & lemon – tastes like fancy spa water but in frozen form
- Earl Grey & honey – classy AF
- Avocado lime – creamy, zesty, and weirdly addictive
- Bacon maple – not a joke. This one has serious brunch energy.
Rhetorical question alert: Who says ice cream has to be basic?
Storage Tips So Your Ice Cream Doesn’t Turn Into a Freezer Brick
Let’s avoid the heartbreak of rock-hard scoops, shall we?
Keep It Creamy:
- Use airtight containers – air is the enemy of texture
- Cover with plastic wrap before sealing to block ice crystals
- Let it soften for 5–10 minutes before scooping (unless you enjoy bent spoons)
Pro move: Store it in the back of your freezer where temps are most stable. Yes, that means not next to your roommate’s fish sticks.
Final Thoughts: You’ve Got This (and Probably Should Open a Shop)
There’s something deeply satisfying about making your own ice cream. It’s not just a dessert—it’s a flex. You control the ingredients, the flavors, the sugar levels… basically, you’re now the Beyoncé of frozen treats. 👑
So whether you’re rocking a classic vanilla or whipping up a weird little avocado-lime mashup, remember this: you made it yourself—and that alone makes it taste 10x better.
Now go grab that spoon (or a ladle, I won’t judge) and make some magic.
And hey—if someone says “Why go through all that trouble when you can just buy it?” just smile and nod… then hand them a scoop and wait for the conversion. 😏